 · 6 min read
Scrapbooking with children
Cutting, sticking and telling what happened: children are natural scrappers. Here's how to start together, with materials that are safe and a book that's truly theirs.
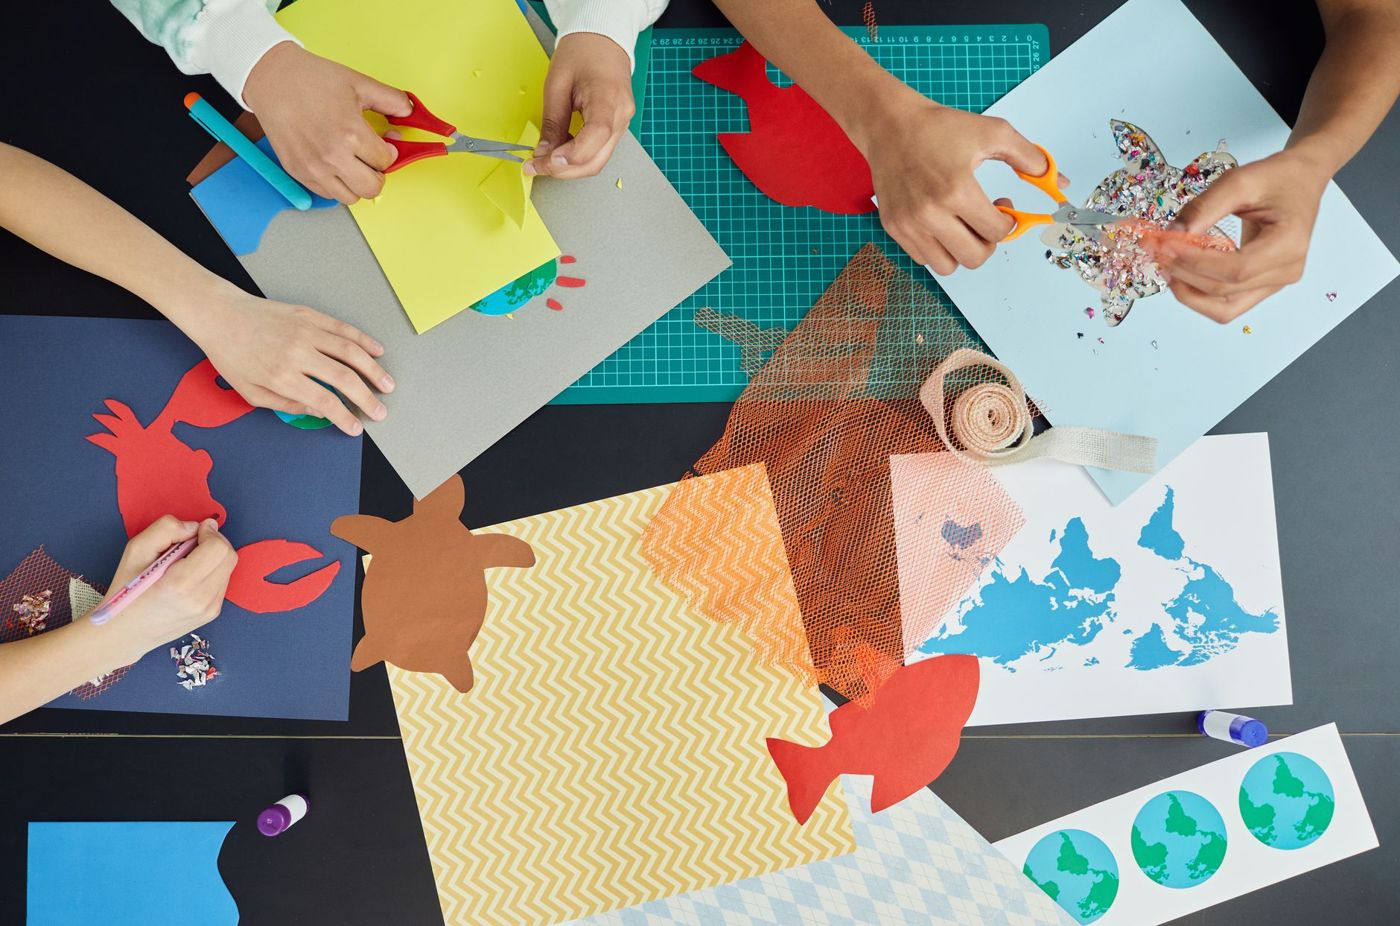
Children cut, stick and collect long before they know the word scrapbook. A train ticket, a pretty leaf, a drawing from the day: it all needs to be kept somewhere. Scrapping together gives it a home. It's also a hobby where you and your child sit at the same table doing the same kind of work, each at your own level.
What age can they start
Really from the moment a child can press something onto paper. Toddlers of around two can put on stickers, draw with chunky crayons and lay a scrap of paper on a dab of glue. With child-safe scissors, children from about three can make their first snips under supervision.
Up to the age of about five, keep it simple and short. Cutting and gluing don't come naturally yet, and attention often runs out after a quarter of an hour. Share the work: you trim the photos, your child chooses where they go and sticks them down.
From about six, children can cut by themselves, write a few words and lay out a page. Older children often want to decide how it looks, and sometimes already write whole stories to go with their photos. Age is a guideline; you'll soon see what your child can manage.
Safe glue, scissors and materials
For young children a glue stick works best. It's clean, dries quickly and wipes away easily. White PVA glue is handy for heavier things such as card or buttons, but it soon makes thinner paper wet and wrinkly. Double-sided tape is for older children, because it's tricky to peel off if it goes on wrong.
Be careful with precious photos. Children's glue is usually washable and not always acid-free, and over time it can damage a photo. So give children prints or copies to work with, and keep originals out of reach. A photo that ends up crooked or with a fingerprint in the book is then no disaster.
For young children, choose child-safe scissors with a rounded tip. Craft knives and paper trimmers are for adults. Stay close by while there's cutting going on, and put the scissors away afterwards.
A few other things to keep in mind:
- Small bits such as sequins, little buttons and rhinestones aren't for children under three, because they can be swallowed.
- You can tape over staples on the back of a page, so nobody gets caught on them.
- A glue gun is not for children's hands.
- Cover the table with a wipe-clean cloth or old newspaper, and keep a damp cloth ready for glue and glitter.
You'll definitely need that cloth for confetti and glitter. Children love it, but expect to find it between the cushions for months afterwards.
An album of their own
Children who help with your album soon notice they're not allowed to do everything. A book of their own solves that. In it, they decide what goes in, even if that's a photo of a bin lorry or a page full of stickers and no photos.
Choose something sturdy that can take a few knocks. A sketchbook with thick paper or a ring binder with loose sheets of card works fine. A ring binder has the advantage that a page that didn't work out can come out, and new ones are easy to add.
Give a child their own little box with a few photos, paper, stickers and things they've collected themselves: tickets, napkins, a paper bag from the bakery. Cards and tags from clothes or a ribbon from a present work well too. Agree that you'll only help when your child asks. The book may not be pretty by your standards, but it really is theirs.
A holiday diary is a good first step. Take a folder with loose sheets, a glue stick, scissors, some felt tips and an envelope for tickets. A drawing or three short sentences a day is enough. A fixed moment, after dinner for example, helps to keep it going. Don't push: a skipped day is part of it.
What they learn from it
Scrapping is more than keeping busy. Cutting, tearing, folding and placing small things just so trains fine motor skills: the small movements of hands and fingers they also need to hold a pencil. It can also teach them to stay with one task for longer.
The storytelling is at least as valuable. Making a page means choosing what mattered and putting it in order. For each photo, ask what happened, who was there and what the best bit was. Write the answers down word for word, or let your child do it once they can write. A sentence like “the duck ate my bread and then I had to cry” will be worth its weight in gold in twenty years.
Focus on the making, not the result. If a child gets frustrated because it isn't working out the way they wanted, find a solution together. A photo cut crooked can get a new frame, a smudge can become a flower.
Keep children's supplies separate
If you scrap yourself, you'll know the feeling: your nicest patterned paper is suddenly cut to pieces, and your expensive stamping ink is on the tablecloth. So keep a separate box or drawer of supplies that children are free to use.
That could include:
- offcuts of paper and card from your own stash
- stickers you no longer use yourself
- a glue stick, child-safe scissors and a few felt tips
- coloured paper, tissue paper and a hole punch
- collected tickets, tags, bits of ribbon and buttons (for older children)
Store your own things somewhere children can't reach by themselves. Then you don't have to keep saying no while you're scrapping, and your child knows exactly what's allowed. Tidying up is easier too: everything from the children's box goes back in the children's box.
Simple projects for a rainy afternoon
You don't need to plan a whole album. A few ideas for an afternoon indoors:
- A page about one day. Print three or four photos from a day out, let your child choose and stick them, and write a few sentences together.
- A handprint card. Trace around your child's hand on sturdy paper, cut it out and stick it onto a card or page. Do it every year, and you'll see the hands grow.
- A paper chain. Cut strips of about 1.5 by 20 cm, glue them into linked rings and use a section as a border on a page.
- Making confetti with a hole punch. Children punch coloured paper and sprinkle the circles onto a patch of glue. Good for little hands, and a treat to do.
- A page about something they collect: shells, pebbles, conkers. Take a photo of it and stick it in, with where they found it.
- An “all about me” page with favourite food, best friend, favourite colour and a self-portrait. Do it again every year.
Keep it short, especially with young children. Better twenty minutes of fun than an hour of tears.
Keep what they make
Children's pages are often full and fragile, with thick layers of glue and stickers coming loose. Put them in a sleeve or store them flat in a box. If you want to be able to show them later without wearing out the original, scan the best pages. In Scrappd you can then put them on a shelf of their own, so grandma and grandad can have a look too.
Questions about this topic
What age can children start scrapbooking?
Toddlers of around two can already put on stickers and draw. From about six, children usually cut by themselves and can lay out a page.
What glue is safe for kids to use for scrapbooking?
For young children a glue stick works best: it's clean, dries quickly and wipes away easily. Give children prints or copies instead of original photos.
How do you help a child make their own scrapbook?
Give them a sturdy sketchbook or a ring binder and their own little box with photos, paper and stickers. You only help when the child asks.
What are some easy scrapbook projects to do with kids?
Think of a page about one day with a few printed photos, a handprint card or an ‘all about me’ page. Keep it short: better twenty minutes of fun than an hour of tears.