· 7 min read
Mixed media and gesso: getting started with paint, paste and layers
Gesso, acrylic paint, sprays and texture paste: what they do, the order to use them in and which paper can handle wet media.
Putting paint on a scrapbook page feels a bit nerve-racking the first time. The paper buckles, the colour sinks in or everything turns to mud. With a few basic rules about gesso, layers and paper, it all gets much calmer, and above all it stays fun.
What is mixed media
Mixed media literally means mixed materials. On one page you combine things that are normally used separately: paint, ink, paper, stamps, stencils, pencil, texture paste and sometimes found bits and pieces such as fabric, cardboard or lace.
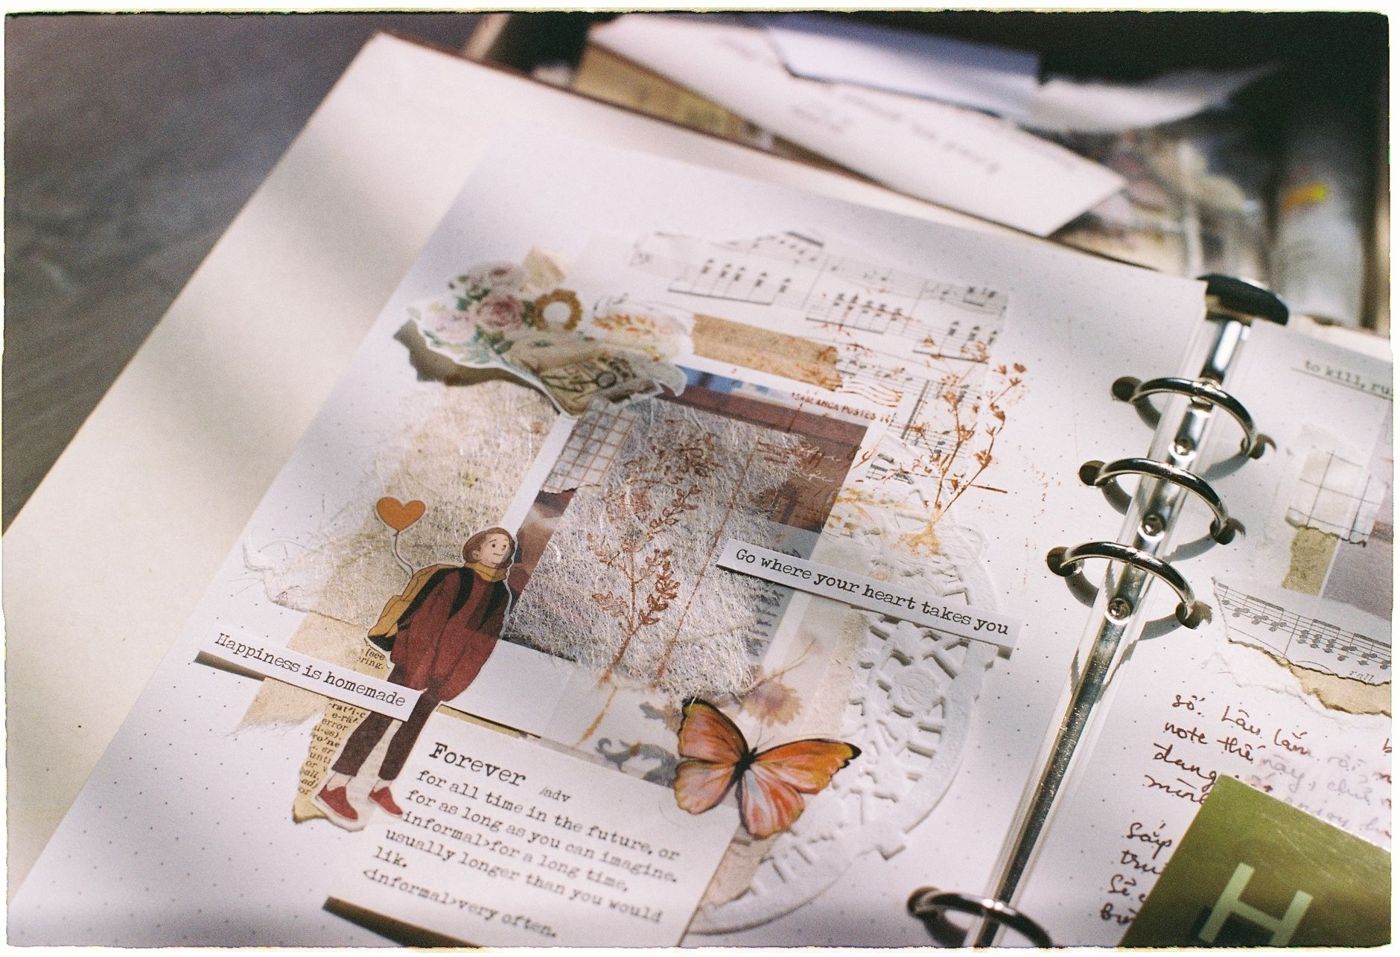
In scrapbooks and journals, scrappers often use it in two ways. Sometimes the whole page is a painted background that a photo or text goes on. Sometimes it's a small accent, like a patch of texture behind a photo or a few splatters around a title. Both are mixed media, and both need the same foundation.
You don't have to buy everything at once. A pot of gesso, two or three tubes of acrylic paint, a small jar of texture paste, a stencil and a spray bottle of water will already take you a long way.
What does gesso do
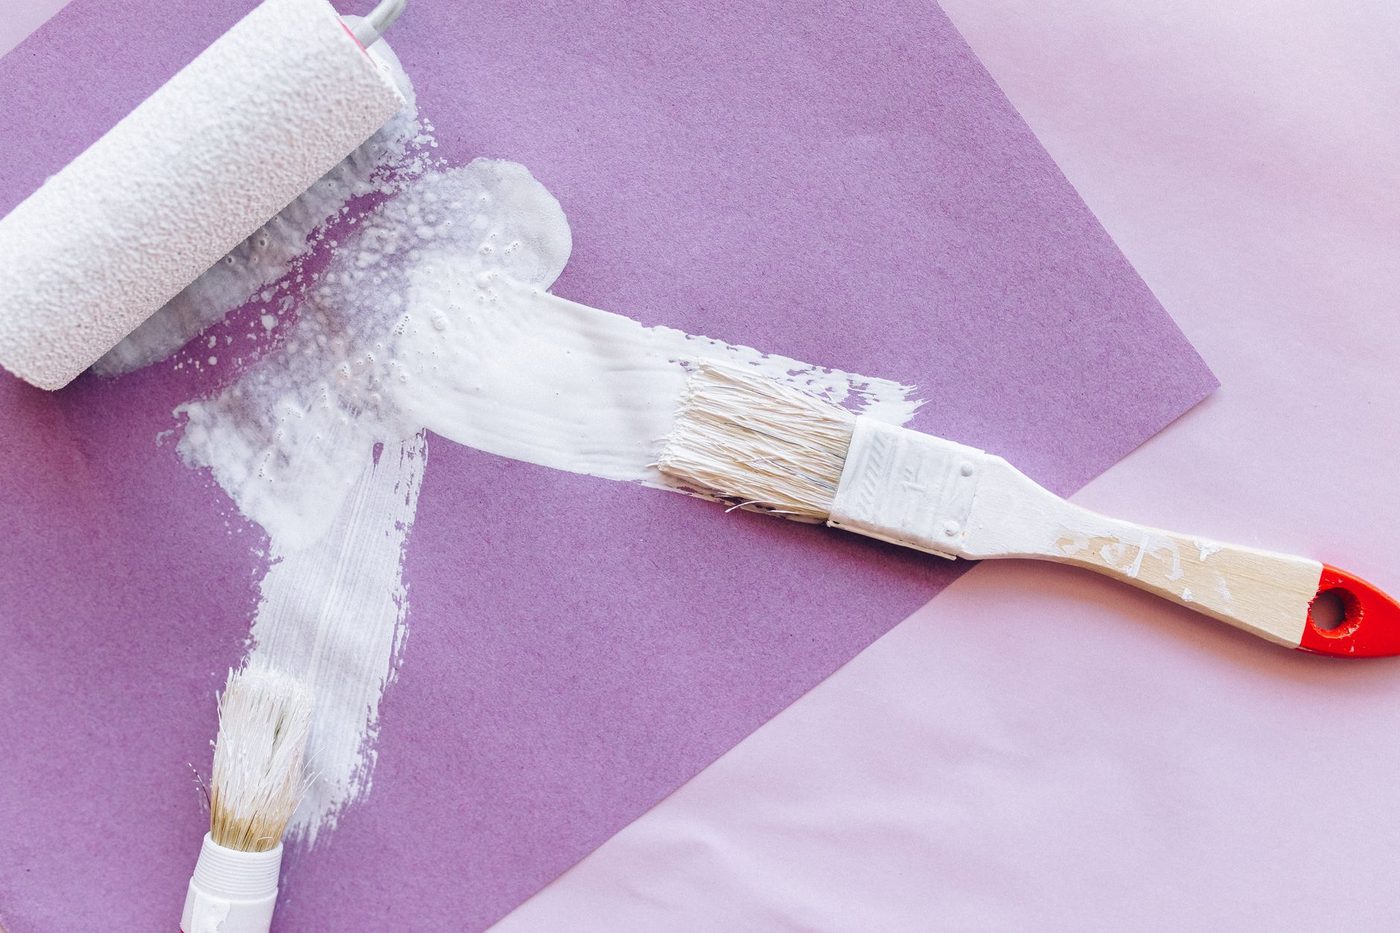
Gesso is a base coat, a kind of primer for paper. It's a thick, creamy paint that dries to a slightly rough, matt layer. It comes in white, black and clear.
Gesso does three things:
- It makes paper less absorbent. Paint then doesn't soak straight into the fibres but sits on top, blends more easily and keeps its colour.
- It gives paint, paste and ink something to grip. Layers stay put better.
- It covers. A thin coat of white gesso over a busy background or a printed sheet tones down the colours, so whatever you add next stands out more.
That last one is also your lifeline. Not happy with a page? Put a layer of gesso over it and start again. What was underneath sometimes still shows through a little, and that often adds depth.
You don't always have to cover the whole page. Many scrappers apply gesso unevenly with a brush or an old bank card, so bits of paper stay visible. A layer of gesso is also a good start on cardboard, chipboard or wooden surfaces.
You can also make gesso yourself, for example by mixing white acrylic paint with white craft glue, talcum powder and water. Recipes vary and the result will never be quite the same as shop-bought gesso, so try it on a scrap of paper first. Be careful with talcum powder so you don't breathe in any dust. Stir until there are no lumps left and keep it in a jar with a lid, or it will dry out. Use black paint and you get black gesso.
Acrylic paint, sprays and texture paste
Acrylic paint is pigment in a plastic binder. As soon as the water evaporates, it forms a solid, water-resistant layer. That makes it ideal for layering: once it's dry, you can work over it without the layer underneath dissolving. The downside is that it dries quickly, on your brush too. So wash it out straight away.
Thinned with water, acrylic paint becomes transparent, like a haze. Undiluted, it's opaque. If you want to work wet-in-wet for longer, a retarder or a damp palette helps.
Sprays are liquid inks or paints in a spray bottle. Some keep reacting to water after drying, like the well-known Distress sprays, and some dry permanent. The first kind is lovely to play with: you spray, add water and let the colours run into each other. Use them sparingly, because the colours are very strong.
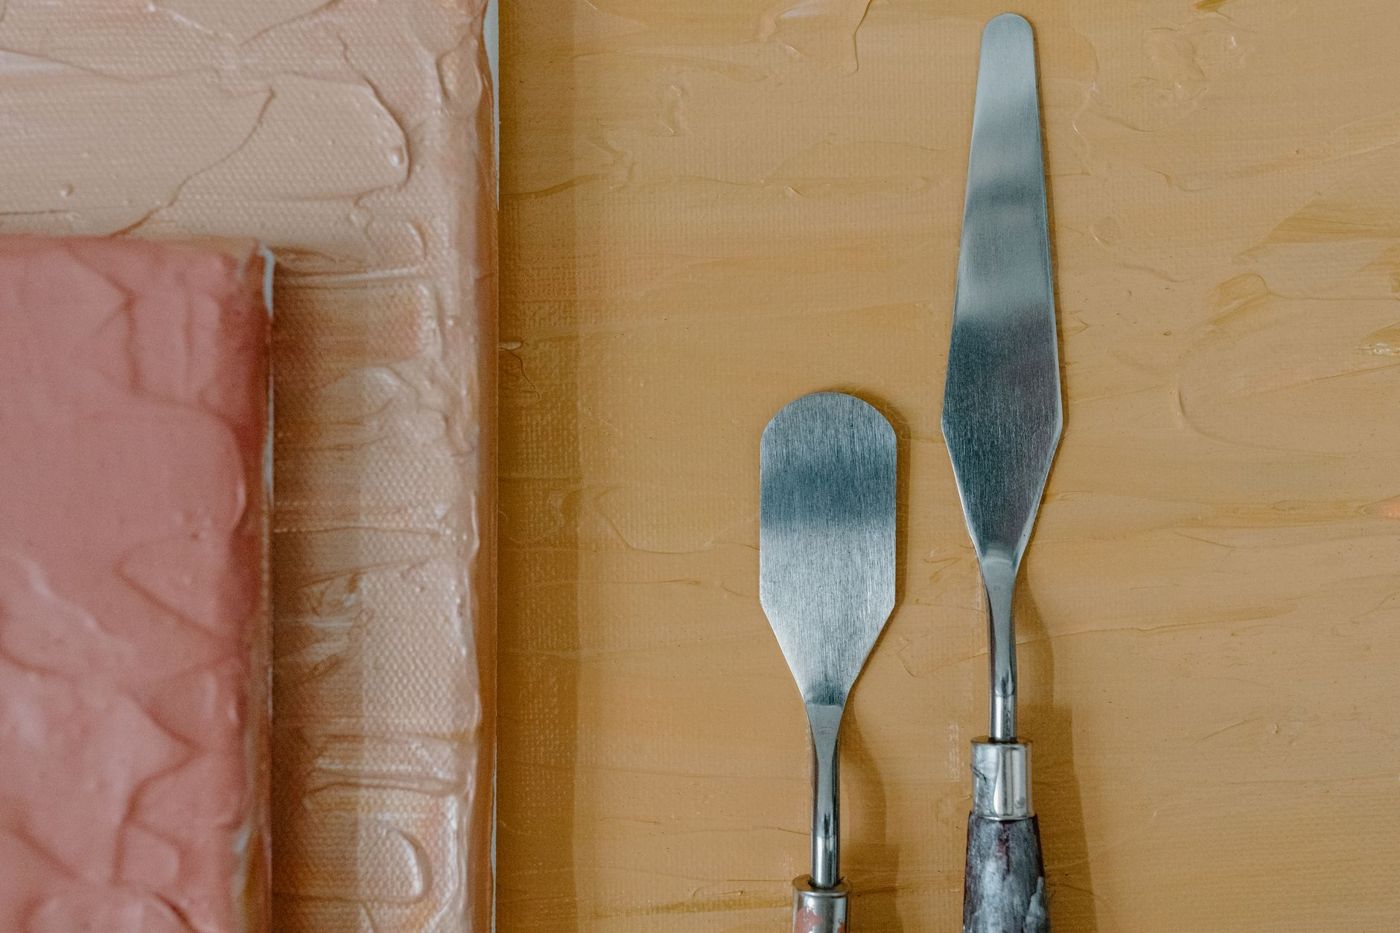
Texture paste, also called structure paste or modelling paste, is a thick paste you apply with a palette knife or spatula, often through a stencil. Once it's dry, you have a raised pattern. A few tricks:
- Fix your stencil in place with a bit of tape. That way it won't slide and no paste will creep underneath.
- Don't smooth the paste out. An uneven layer gives more relief.
- If you want coloured texture, mix a little acrylic paint into the paste. Keep the mixture firm; paint that's too runny makes it slump.
- Wash your stencil and spatula right away, before the paste hardens on them.
You use embossing paste the same way. No paste at home? Glue crumpled tissue paper onto the page with white craft glue and paint over it. That also gives a lovely, irregular texture.
The order of layers
There's no rule set in stone, but a fixed order saves a lot of grief. Roughly, work from flat and wet to raised and dry.
- First glue down paper, lace or other flat pieces that should blend into the background. Whatever you stick down now will get painted along with the rest.
- Add a layer of gesso, all over or leaving gaps. Let it dry.
- Apply texture paste, through a stencil or freehand with a spatula. Let it dry thoroughly; with a thick layer that can take hours, depending on the brand.
- Add colour with thinned acrylic, sprays or ink. Start light and build up to dark.
- If you like, lift off some colour with a damp cloth or baby wipe. The white will then reappear on the raised parts of the paste.
- Bring out the relief by dry brushing: a tiny bit of paint on an almost dry brush, lightly over the raised parts. White, gold or a contrasting colour works beautifully.
- Finish with splatters, stamps, text and perhaps a photo or embellishments (decorations such as stickers, little flowers or buttons).
Embellishments you add at the very end stand out against the painted background. Stick them on earlier and paint over them, and they blend in. Both work; it's a choice.
Unsure about the layout? Lay everything out dry and take a photo. Move things around, take another photo and compare. Or walk away for a bit and look again a few hours later.
Which paper can handle wet media
Thin paper buckles, tears or comes loose as soon as water touches it. For mixed media you want sturdy paper that can take moisture. Good choices are:
- Mixed media paper, made for both dry and wet techniques.
- Watercolour paper, which can take a lot of water.
- Heavy, smooth cardstock (sturdy, plain card), as long as you don't work too wet.
- A mixed media journal, which often contains different kinds of paper.
A layer of gesso makes paper a bit sturdier and less absorbent, although thin paper will still buckle with lots of water. If you're working in an ordinary notebook, glue two pages together if need be, or stick to dry materials. If a page buckles anyway, put a few heavy books on it once it's dry, with a sheet of baking paper in between.
You can read more about paper weights and types in the article on paper that doesn't buckle with glue, paint and water.
Making splatters, drips and texture
This is where it gets playful. A few techniques that almost always work:
- Splatters: thin acrylic paint or ink until it's runny, dip a brush in and tap it against another brush or your finger above the page. An old toothbrush and your thumb give you fine speckles. Let splatters dry before adding the next layer.
- Running drips: put a little paint or ink along the top edge, spray it with water and hold the page upright. The colour runs down in little streams. Repeat for more colour.
- Rings: draw a few rings with paint or ink and spray some water on them. The more water, the further they spread.
- Pools of colour: spray a few sprays next to each other over dry texture paste and add water. The colour gathers around the relief.
- Stamping with household items: a sponge, an old bank card, bubble wrap or the edge of corrugated cardboard give surprising patterns.
Protect your table with an old cloth or baking paper, and keep kitchen roll to hand. Work with a few colours at a time, ideally all warm or all cool, so the whole thing doesn't turn muddy. One odd colour out as an accent actually brings a calm page to life.
That's the whole secret of mixed media: layer by layer, let it dry, look, and carry on. Whatever you don't like disappears under a fresh layer of gesso.
Questions about this topic
What is gesso and what is it used for?
Gesso is a base coat for paper, a kind of primer. The paper absorbs less, paint and paste stick better and colours stay bright.
What order do you use gesso, texture paste and paint in?
First glue down flat pieces, then add a layer of gesso and let it dry. After that come texture paste, colour with acrylics or sprays, details and finally splatters and text.
What paper is best for mixed media?
Use sturdy paper that can handle water, such as mixed media paper or watercolour paper. Ordinary thin paper buckles, tears or comes loose as soon as water touches it.
How do you fix a mixed media page that went wrong?
Put a layer of gesso over it and start again. What was underneath sometimes still shows through and actually adds depth.