· 6 min read
Napkin decoupage: how to stick it down without wrinkles
A pretty napkin on a card, a journal cover or a glass jar: here's how to separate the layers, stick it down without creases and choose the right glue and varnish.
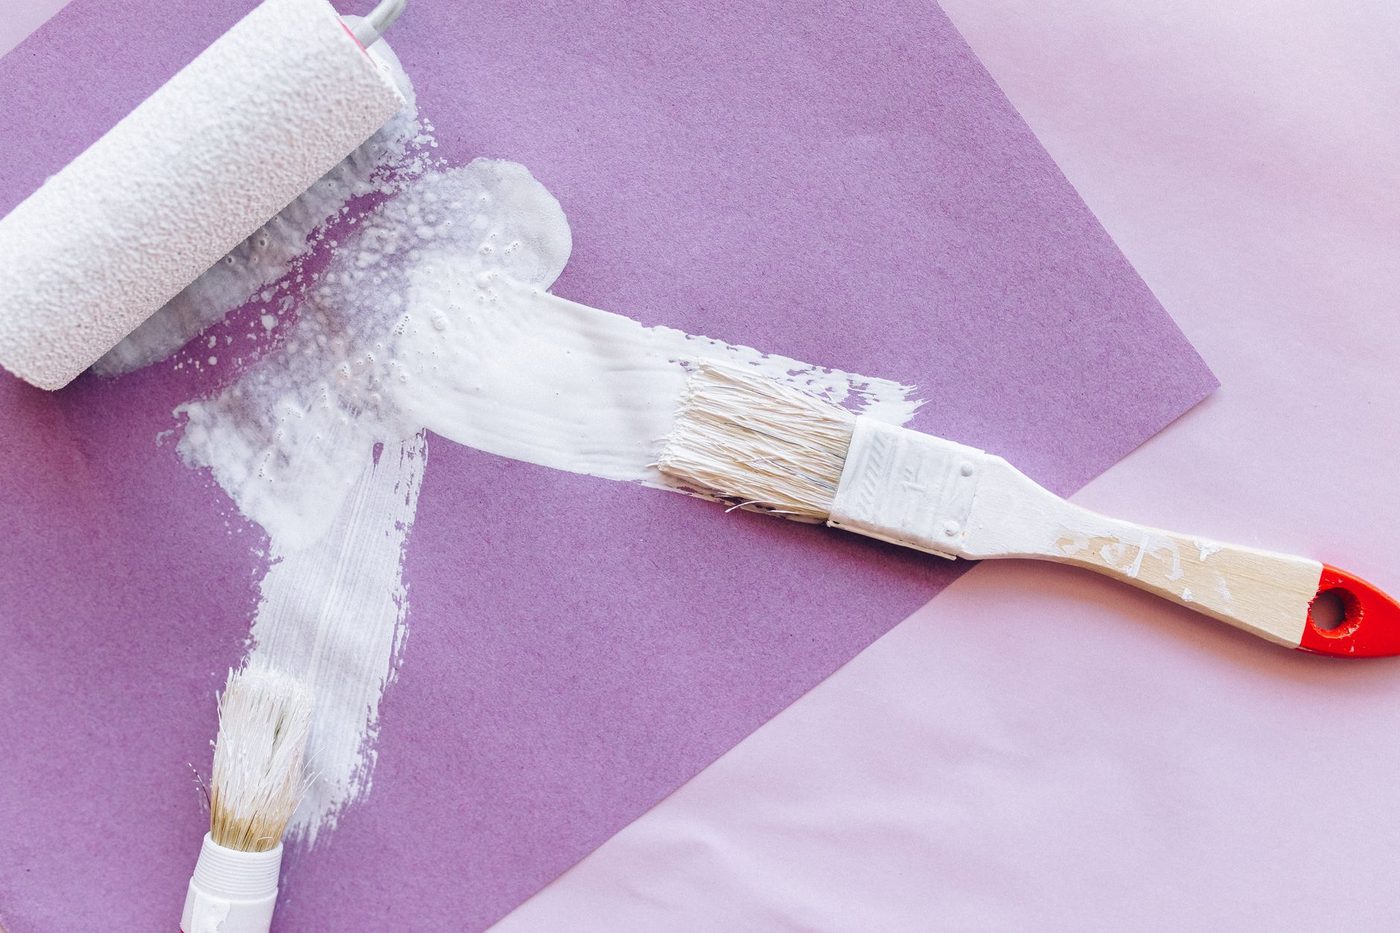
A napkin with a lovely pattern costs next to nothing and can completely change a card, a journal cover or a glass jar. The tricky part is sticking it down: napkin paper is so thin that it creases or tears at the first stroke of the brush. With the right order and a little patience, it works, even the first time.
What decoupage is and what you need
Decoupage comes from the French word for cutting out. You cut or tear an image from thin paper, stick it onto a surface and finish everything with a layer of glue or varnish. That makes the motif look as if it was painted on. The technique is centuries old and used to be done mainly on furniture, with dozens of layers of lacquer. These days a paper napkin is the most popular material, precisely because it's so thin.
You'll need:
- A napkin with a motif you love.
- A surface: sturdy paper or card, a greetings card, a journal cover, wood or glass.
- Decoupage glue, also called napkin glue, or another water-based glue.
- A soft, flat brush or a small sponge.
- A small pair of scissors.
- Optionally, light acrylic paint or gesso to prepare the surface, and varnish to finish.
A good surface
Napkin paper is see-through. Anything underneath shows through. On a dark surface, pale little flowers almost disappear. So choose a white or very light surface, or give your object a coat of white acrylic paint or gesso first.
The surface also needs to be clean, dry and smooth. On a rough or uneven surface the napkin snags and every bump shows. Degrease glass with a little alcohol, and sand down or paint over an old tin first, so the print doesn't show through.
On paper, sturdy white cardstock (thick, plain card) works best. Thin paper goes wavy from the wet glue.
Separating the napkin layers
A napkin usually has two or three layers. Only the top layer is printed, and that's the only one you stick down. The other layers are too thick: the glue doesn't soak through well and the result turns dull and lumpy.
First cut or tear out the motif while all the layers are still together. That's easier than with one loose layer. Only then pull the layers apart.
- Start at a corner and gently slide your fingernail between the layers.
- If that doesn't work, stick a bit of sticky tape on the edge and pull on it.
- A few seconds of warm air from a hairdryer sometimes makes the layers come apart more easily.
Have a look at the middle layer too. On some napkins it's lightly printed and can be used for a second, softer version. You can keep the white bottom layer as tissue paper for other projects.
Tearing instead of cutting gives a soft, frayed edge that blends in almost invisibly on a light surface. Cutting gives a crisp silhouette. Both work, depending on the effect you want.
Sticking it down without wrinkles or air bubbles
This is where the skill lies. A few rules make all the difference.
- Spread the glue on the surface, not on the napkin. A dry napkin can still be moved; a wet one tears.
- Use a thin layer of glue, on an area slightly bigger than your motif. Let it get tacky for a moment if you like.
- Lay the napkin loosely on top. Start at one side or in the middle and let it settle gently.
- Press it down from the middle outwards, with a dry finger, a soft sponge or the flat side of a dry brush. That pushes air and creases towards the edge.
- Then add a second thin layer of glue over the motif, again from the centre outwards. You can still gently smooth away small creases and air bubbles now.
- Let everything dry completely before you carry on or trim anything.
A few extra tricks:
- Work in small pieces. Large motifs crease much more quickly. Cut a large motif into a few parts, take a photo first so you know how it fits together, and stick it back together like a puzzle.
- On rounded objects, work with small torn pieces that overlap slightly.
- Some scrappers place the napkin layer printed side down on a plastic sleeve, dampen the back very lightly with a brush and flip the whole thing onto the glued surface. Then they carefully peel the plastic away.
- Accept a few small creases. On paper they often barely show and actually give it a handmade feel.
Which glue and which varnish
Special decoupage glue is handy, because it sticks and forms a protective layer at the same time. It dries clear and comes in matt, satin and gloss. It isn't strictly necessary, though. What matters most is that the glue is water-based and suits your surface.
- Paper, card and wood: decoupage glue, or white craft glue (PVA). Use white glue undiluted; with lots of water added, the napkin gets too soggy and tears.
- Glass, porcelain and metal: choose a glue or medium for smooth, non-porous surfaces. It's more runny and gives fewer wrinkles. White glue works too, but then add a few good coats of varnish on top, or it will come loose later.
- Candles: there's a special glue for those.
Varnish protects your work from moisture, scratches and dirt. On a card or in a journal, a final layer of decoupage glue is often enough. On objects you handle or rinse, apply two or three coats of varnish, each once the previous one is dry. Check the packaging: some varnishes take a few weeks to cure fully, and by no means everything is dishwasher-safe.
If you want one element to really stand out, you can add a thick, glossy 3D lacquer. Let it dry in its own time and don't use a hairdryer, as that causes bubbles and dull patches.
Decoupage on glass, wood or a cover
On a journal cover or card, work as described above, on a sturdy, light surface. Let everything dry well, then trim the excess napkin along the edge with scissors or a sharp craft knife. You can stamp or write on it later as normal; just use waterproof ink, because the glue layer is smooth.
Give wood a coat of light, matt paint first. After gluing and varnishing, you can lightly work the edges with an almost dry brush and a little grey or beige paint for a weathered look.
On glass the motif is extra see-through. To make it stand out more, once it's dry you can sponge paint onto the glass around the motif: first a layer of light acrylic paint, then the colour you want. Finish with a varnish that's suitable for glass.
If napkin paper feels too fragile, try decoupage rice paper. It's thin too, but stronger, stretches a little over rounded shapes and doesn't tear as easily.
Is it suitable for beginners
Yes. Decoupage is one of the friendliest techniques to start with. The materials are cheap, you don't need any special machines and you can throw away a napkin that went wrong without regret. Start with something small and flat, like a card or a tag, before you move on to a jar or a box.
The biggest difference between a first and a tenth attempt is patience: thin layers of glue, working calmly from the centre outwards and letting everything dry before you carry on. Once you've got the hang of that, you'll naturally stick things down flatter and faster.
Questions about this topic
How do you decoupage a napkin without wrinkles?
Spread the glue on the surface, not on the napkin, lay the napkin down loosely and press it from the middle outwards. Then add a thin layer of glue over the motif and let everything dry completely.
What glue do you use for napkin decoupage?
Decoupage glue or another water-based glue that suits your surface. For paper, card and wood, undiluted white craft glue (PVA) also works, and for glass you choose a glue for smooth surfaces.
Why do you separate the layers of a napkin for decoupage?
Only the top layer is printed, and that's the only one you stick down. The other layers are too thick: the glue doesn't soak through well and the result turns dull and lumpy.
Is decoupage good for beginners?
Yes. The materials are cheap, you don't need any special machines and you can throw away a napkin that went wrong without regret. Start with something small and flat, like a card or a tag.