· 8 min read
Layers and depth on your scrapbook page
A page you want to touch has layers. Here's how to build depth with paper, foam tape and texture, without clutter and without your album bursting at the seams.
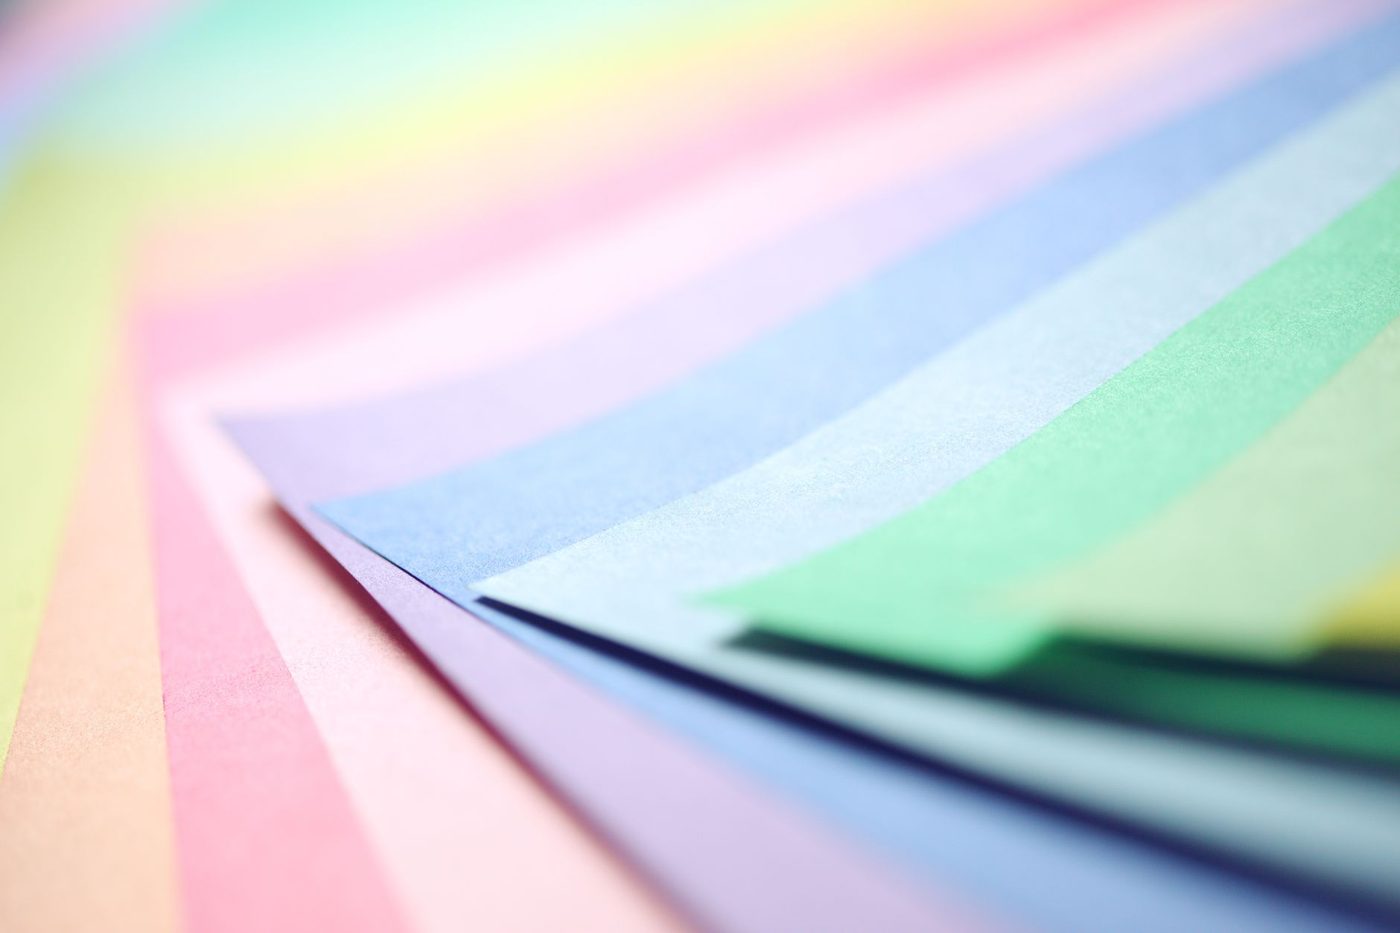
Lay a photo flat on a sheet of paper and it just sits there. Put a piece of different paper underneath, slide a tag halfway under it and lift one little flower with a foam dot, and suddenly the page has depth. You almost want to touch it. That's the whole secret of layering: not more stuff, but stuff that rests on top of each other.
Why layers make a page richer
Layers give your photo an anchor. A photo stuck straight onto the background floats. With a border of paper underneath, a second sheet that peeks out a little or a strip running beneath it, it gets a place where it belongs.
They also guide the eye. Where most of the layers come together is where you look first. That's why you build them around what you want to show, usually your main photo or the title.
And layers tell a story. A piece of the map of your route, a receipt peeking out from under the photo, a bit of lace from your gran's tablecloth: each layer adds a piece of the story. A flat page can be beautiful, but a layered page feels like a moment kept safe.
Build up from large to small
The easiest way to keep layers calm is to stick to a set order. Lots of experienced scrapbookers work like this:
- The background: a full sheet of cardstock (sturdy, plain paper) or patterned paper.
- A panel: a smaller piece of different paper, slightly tilted or straight, that marks out the middle of the page.
- Mats: one or two layers of paper directly under the photo, each a few millimetres larger.
- The photo.
- Small things: tags, stickers, a bit of ribbon, a word.
So work from large areas to small details. If you start the other way round, with the fun little bits first, you often end up with a page where everything shouts equally loudly.
Lay everything out loosely first, without glue. Shift things, turn them, take them away. Take a photo with your phone and look at it: on a small screen you can see straight away whether the page looks lopsided or is too full somewhere. Only once it's right do you start sticking.
How many layers is enough?
There's no set number, but a few rules of thumb help:
- Two or three layers under a photo is usually enough. Any more and it becomes a pile rather than a frame.
- Choose one spot where the layers come together. A second, smaller cluster on the other side of the page is fine, as a counterweight.
- The more photos, the fewer layers and embellishments per photo.
- Leave some empty space. That calm is what lets you actually see the layers.
If you're not sure whether it's finished, stop one step earlier than you planned. You can always add a layer later. Removing one that's already stuck down is tricky.
Foam tape and other ways to lift
Foam tape is double-sided tape with a layer of foam in the middle. It comes on a roll and as separate squares or circles, often called foam squares, pop dots or 3D foam pads. Whatever you lift with it casts a small shadow on the layer below. That's exactly what creates the effect.
A few ways to use it:
- Lift your main photo with a few squares. Don't just put them in the corners; add one or two in the middle too, or the photo will sag.
- With a die-cut flower made of several layers, put a bit of foam only under the top petals. That lifts them away from the bottom layer, and you get a real flower instead of a flat picture.
- Put a cut-out title on foam tape over a darker base. The shadow makes the letters easier to read on a busy background.
- With thin, delicate shapes, you can put narrow bits of foam under the wider parts. It's a bit fiddly, but the shadow is worth it.
Vary the heights. A page where everything sits at the same height on foam is just as flat as a page without any foam. Combine flat stickers on the background with thicker stickers or chipboard (sturdy printed card) in front, and your title gets depth all by itself.
There are also ways to create depth without foam:
- Glue paper only in the middle. The edges stay loose and curl up a little. That gives a light, soft layer.
- Gently curl the petals of die-cut flowers and butterflies upwards over your finger or a pen.
- Place vellum (translucent paper) under or over a layer. You can still faintly see the layer below, which gives a soft sense of depth.
- Slide a photo in front of a few flower stems. Then it looks as though the flowers are growing behind it.
Keeping layers tidy
Layers get messy when there's nothing tying them together. This helps:
- Work with a limited palette, two or three colours, matched to your photo. Pick the colours from the photo itself.
- Use the same paper for the same kind of element. All the hearts in the same red, all the leaves in the same green. That feels calm.
- Group things. Three things overlapping in the corner of a photo read as one whole. The same three things scattered across the page read as random clutter.
- Let embellishments just overlap a corner of the photo, so they belong to it.
- Make sure everything is smaller than the photo. Embellishments should help, not compete.
- If there's already lots of colour and contrast, you need very few extras.
Give the page an underlying order too. An invisible grid, where the edges of your panels and photos line up along the same lines, keeps even a full page easy to read. After that, one element can go at an angle, like a tag or a strip of tape. It stands out precisely because everything else is straight.
Texture with paper, fabric and embossing
Depth isn't only about height. Different surfaces make a page richer too. Smooth next to rough, glossy next to matte, paper next to fabric.
- Mix types of paper: smooth cardstock, kraft paper, pearlescent paper, vellum.
- Tear the edges. Press a metal ruler onto the paper and pull the paper upwards along it with your other hand. For a looser shape, first draw a line with a wet brush; the paper tears more easily there.
- Rough up edges with scissors or sandpaper and rub a little ink over them. Try it on a scrap first.
- Use fabric: a strip of ribbon, hessian, lace, a scrap of cotton, a button.
- Embossing creates texture in the paper itself. With an embossing folder (a patterned template) you press a texture into a sheet of cardstock, without making it much thicker.
- A line of machine stitching around a panel holds the layer in place and adds texture.
- White paint splatters or a little ink across several layers tie them together.
Try cutting a shape out of patterned paper and placing it back as a separate layer. Cutting flowers out of a print (that's called fussy cutting) is a cheap way to use up scraps and gives you an extra layer straight away.
Depth without making your album too thick
Every layer takes up room in your album. A few pages with chunky embellishments and an album soon starts gaping open or the page protectors pull out of shape. Here's how to keep it under control:
- Keep the thickest layers away from the spine of the album. That's where it gets tight first.
- Use foam tape mainly for one or two things per page, not for everything.
- Choose thin ways to add depth: paper glued only in the middle, vellum, embossing, torn edges. They give lots of effect with hardly any thickness.
- Put a chunky page next to a calm, flatter page. That's nice for the eye and for the album.
- Alternate pages with lots of texture with pages without, or stagger the thick spots so they don't sit on top of each other when the album is closed.
- An album with a flexible spine, such as a post-bound album or ring binder, gives more room than a book with a fixed binding.
Store a thick album with lots of texture flat rather than upright, in its own box or on a shelf, and don't put anything heavy on top. That way your lifted layers really stay lifted.
Start with one photo
If you want to give it a go, take a page with one photo. Put a panel and a mat underneath, lift the photo in a few places, and place a small group of three things in one corner. See what it does. Before you know it, you'll look at your paper scraps differently: not as rubbish, but as your next layer.
Questions about this topic
How do you add depth to a scrapbook page?
Work in layers: a background, a panel, one or two mats under the photo and small details on top. Lift a few elements with foam tape, or glue paper only in the middle so the edges curl up.
How many layers should you put under a photo?
Two or three layers under a photo is usually enough. Choose one spot where the layers come together and leave empty space, so the layers really stand out.
How do you keep a layered scrapbook page from looking messy?
Stick to two or three colours, use the same paper for the same kind of element and group small things together. Make sure everything is smaller than the photo and line the edges up along the same lines.
How do you stop your scrapbook album getting too thick from layers and foam tape?
Keep the thickest layers away from the spine, use foam tape in only one or two places per page and choose thin ways to add depth, such as vellum, embossing and torn edges. Alternate busy pages with calm ones.