· 8 min read
Heat and dry embossing: how to add raised texture to your pages
With powder and heat, or with a folder and pressure: two ways to give paper raised texture. Here's how to do both, without stray specks or warped cards.
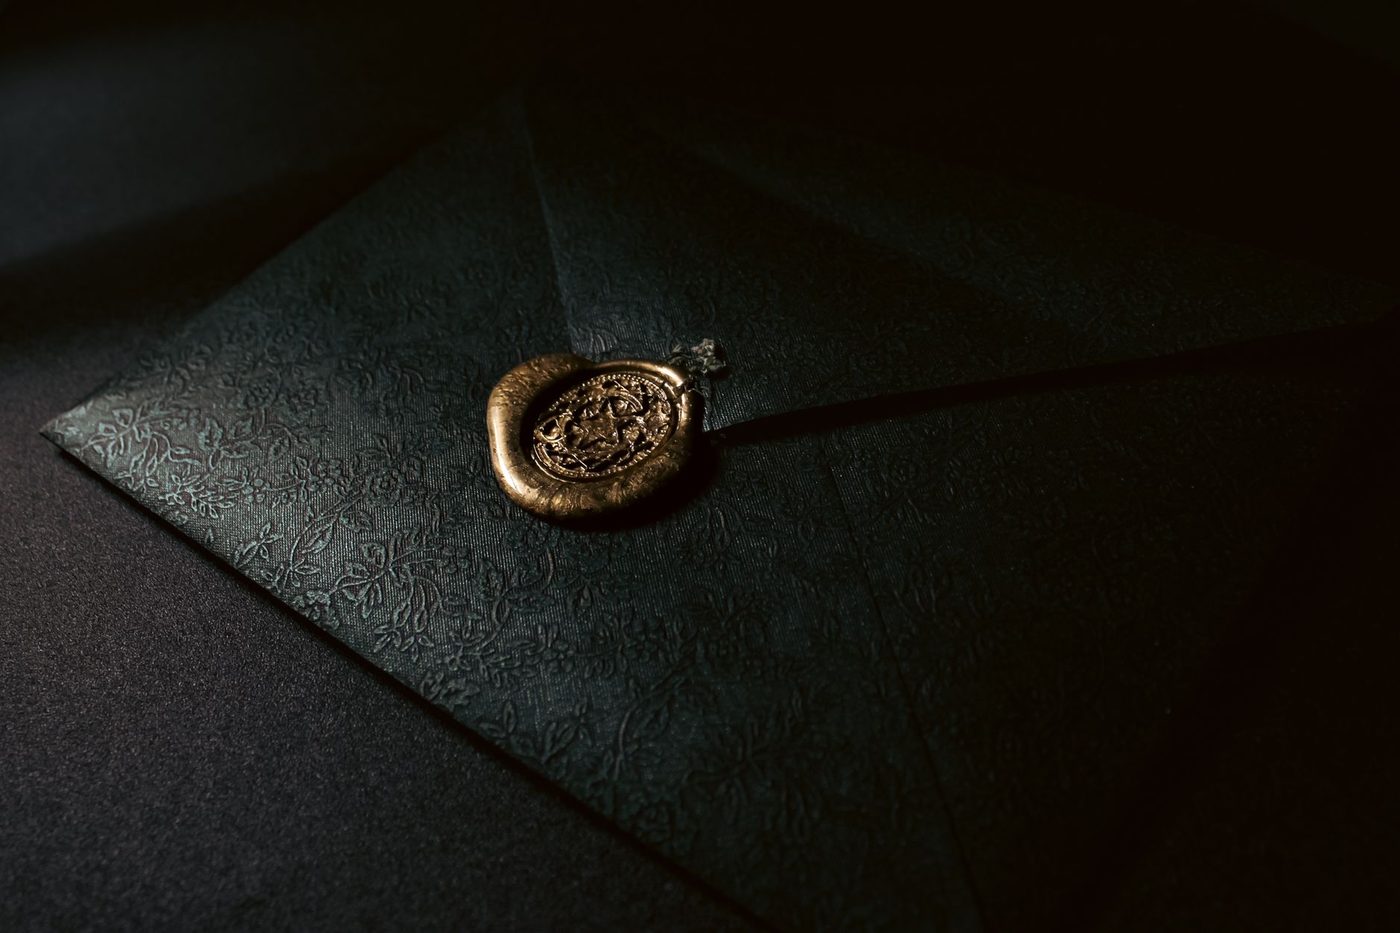
Embossing means creating a raised design in or on paper. There are two ways to do it, and the only thing they share is the result. With heat embossing, you melt a layer of powder into a raised line. With dry embossing, you press the paper itself into a shape. Both give your page something you want to touch, without needing bulky embellishments.
The difference in a nutshell
Heat embossing is sometimes called hot embossing. You stamp with a sticky ink, sprinkle embossing powder over it and heat it until it melts. The result is a glossy or matt line that sits just above the paper, in the colour of the powder. It works well for titles, short bits of text, frames and small motifs.
Dry embossing is sometimes called cold embossing. No ink and no heat are involved: you press the paper into a pattern, either with an embossing folder in a machine or with a stencil and an embossing tool with a little ball at the end. The paper ends up with a raised side and a recessed side. This is especially lovely for backgrounds and for subtle texture in a single colour.
You can also combine them. Melt gold powder over an entire sheet, then run it through an embossing folder while it's still slightly warm, and you get a gold panel with a pattern in it.
What you need for heat embossing
- Embossing ink: usually a clear, slightly sticky ink (often called watermark ink). Pigment ink that stays wet for a long time works too. Quick-drying dye ink dries too fast, so the powder won't stick to it.
- Embossing powder in a colour of your choice. White, gold and clear are a nice place to start.
- A heat gun, also called a heat tool. A hairdryer won't do the job: it doesn't get hot enough, and the strong airflow blows the powder off your paper.
- A stamp, a sheet of paper or a tray to catch the excess powder, and a small, soft brush.
- Optionally an embossing marker, a pen with the same sticky ink, so you can write or draw by hand and then emboss it.
Heat embossing step by step
- First rub your paper with an anti-static bag. More on that below.
- Stamp with the embossing ink. Press firmly and evenly, and lift the stamp straight up. The impression is sometimes almost invisible; that's normal.
- Sprinkle powder over the whole impression straight away, while the ink is still wet. Be generous.
- Tap the excess powder off onto a folded piece of paper and pour it back into the pot.
- Check carefully for any specks where they shouldn't be. Brush them away with the brush.
- Let the heat gun warm up for a moment, not over your paper. Then move it slowly over the impression, a few centimetres away. You'll see the powder turn from dull to shiny. At that point, move on to the next bit.
- Let everything cool for a moment before you touch it.
The nozzle of a heat gun gets very hot. Don't touch it, put it down after use somewhere nothing can melt, and keep it away from the paper itself.
Avoiding stray powder specks
Specks that stick where you haven't stamped are almost always caused by static electricity or by grease from your fingers. An anti-static bag is a little fabric pouch filled with a fine powder. Rub it over the paper just before stamping, and the embossing powder will only stick to the ink.
Work with dry, clean hands too, and hold the paper by its edges. After sprinkling, tap off firmly and check the impression before you start heating. You can still brush a speck away now; once it's melted, it's there to stay.
Preventing warped paper
Paper warps or starts to ripple when it's heated for too long or too hot. A few things help:
- Use sturdy paper. The thinner it is, the sooner it buckles.
- Briefly warm the paper from underneath first, from the back, then finish from the top. The powder melts faster and the paper is exposed to heat for less time.
- Keep moving and stop as soon as the powder turns shiny. Heating for longer won't improve the result. The powder may even go flat and dull, and the paper may discolour or scorch.
- Afterwards, put the sheet under a few books until it has cooled completely.
Vellum, the translucent paper, is extra sensitive. White or gold lettering on vellum looks beautiful, but heat it only very briefly and hold the gun a little further away.
Types of embossing powder
Embossing powder comes in different grain sizes. The names vary from brand to brand, but roughly speaking it comes down to this.
- Fine (also detail, super fine or ultra fine): small grains that stick very precisely to thin lines. Choose this for small stamps, fine lettering and motifs with lots of detail.
- Regular: the standard grain, suitable for most stamps and titles.
- Extra thick (also ultra thick or embossing enamel): large grains that give a thick, raised layer. Use this for larger areas, or when you melt several layers on top of each other for a glass-like effect. On fine stamps, the lines will run together.
Coarse powder on a small, detailed motif gives a grainy, blurry result. Fine powder on a large area gives very little height. So let the size of your stamp help you decide.
Besides the grain, the finish varies too: glossy, matt, metallic, glitter or a mix of several colours. Clear powder is handy because it shows the colour of the ink underneath. It also works as a resist: emboss a motif in clear on white paper, then blend ink over it. The embossed part repels the ink and stays white.
Dry embossing with folders
An embossing folder is a plastic folder with a pattern on the inside, raised on one side and recessed on the other. You place your paper inside and run the whole thing through a die-cutting and embossing machine. The order of the plates you need is given in the instructions or on the machine itself. If it feels stiff or gets stuck, don't force it; check the sandwich. There's more about the machine itself in our article on working with a die-cutting machine.
There are standard folders and 3D folders. A 3D folder has a deeper pattern and gives more texture, and often needs a different plate sandwich.
For a crisper impression, lightly mist a little water on the inside of the folder, not on the paper. This makes the paper slightly more pliable so it takes the pattern better. If you spray the paper itself, it curls more and takes longer to dry.
You can work into an embossed panel afterwards. Lightly sweep an ink pad or blending tool over the raised parts, rub on some wax or metallic paste, or carefully sand the tops with fine sandpaper. This makes the pattern stand out better in photos too, because soft texture often disappears in a photo.
Dry embossing with a stencil and embossing tool
You can do it without a machine too. Place a metal or sturdy plastic stencil on the paper, fix both in place with a bit of masking tape so nothing shifts, and lay it on a soft surface such as a foam mat or mouse mat. Slowly trace along the edges of the cut-out with a ball-tipped embossing tool. It's easiest on a light box or against a window, so you can see the lines of the stencil through the paper.
You press on the back of the paper, so the raised side ends up on the front. Start with a larger ball and only switch to a smaller one for the corners. That way the paper is less likely to tear.
An embossing tool also lets you work more freely: shape paper petals by moving in small circles over the back, or trace a line along the edge of a card.
Which paper works best
For heat embossing, almost any paper will do, as long as it can handle the heat. Cardstock (sturdy, solid-coloured card) works best. Patterned paper, tags, journaling cards and vellum work too, but thin or coated paper ripples more quickly. White, gold and silver look most beautiful on dark paper.
For dry embossing, thickness matters more. Paper that's too thin tears or splits at sharp corners. Paper that's too thick gives angular, flat texture. Something between roughly 220 and 250 gsm is a good middle ground for most folders and stencils. Plain cardstock shows the pattern better than busily printed paper, where the texture gets lost in the design.
If in doubt, do a test on an offcut of the same paper first. It takes a minute and saves you a ruined title on your favourite photo.
Questions about this topic
What's the difference between heat embossing and dry embossing?
With heat embossing, you stamp with sticky ink, sprinkle powder over it and melt it with a heat gun into a raised line. With dry or cold embossing, you press the paper itself into a shape, without ink or heat.
Can you use a hairdryer to heat emboss?
No. A hairdryer doesn't get hot enough, and the strong airflow blows the powder off your paper. You need a heat gun for this.
Why does embossing powder stick where I didn't stamp?
It's almost always caused by static electricity or grease from your fingers. Rub the paper with an anti-static bag beforehand and hold it by the edges with clean, dry hands.
What paper is best for embossing?
Sturdy cardstock works best. For dry embossing, around 220 to 250 gsm is a good middle ground, because paper that's too thin tears and paper that's too thick gives angular texture.