 · 7 min read
How to make a journal from recycled materials
Tea bags, envelopes, a cereal box: the things you'd normally throw away make a journal full of character. Here's how to choose, clean and bind them.
A journal made from recycled materials doesn't start in a shop, but at the recycling bin. A cereal box, the envelope a letter came in, the paper sachet from your tea: it's all paper that already has a story. With a little preparation, it becomes a book that looks like no other. This kind of book is often called a junk journal, literally a journal made of rubbish, although it rarely looks like that.
Which rubbish you can use
For one week, pay attention to what you throw away. You'll see how much usable paper passes through your hands. A few categories scrappers like to keep:
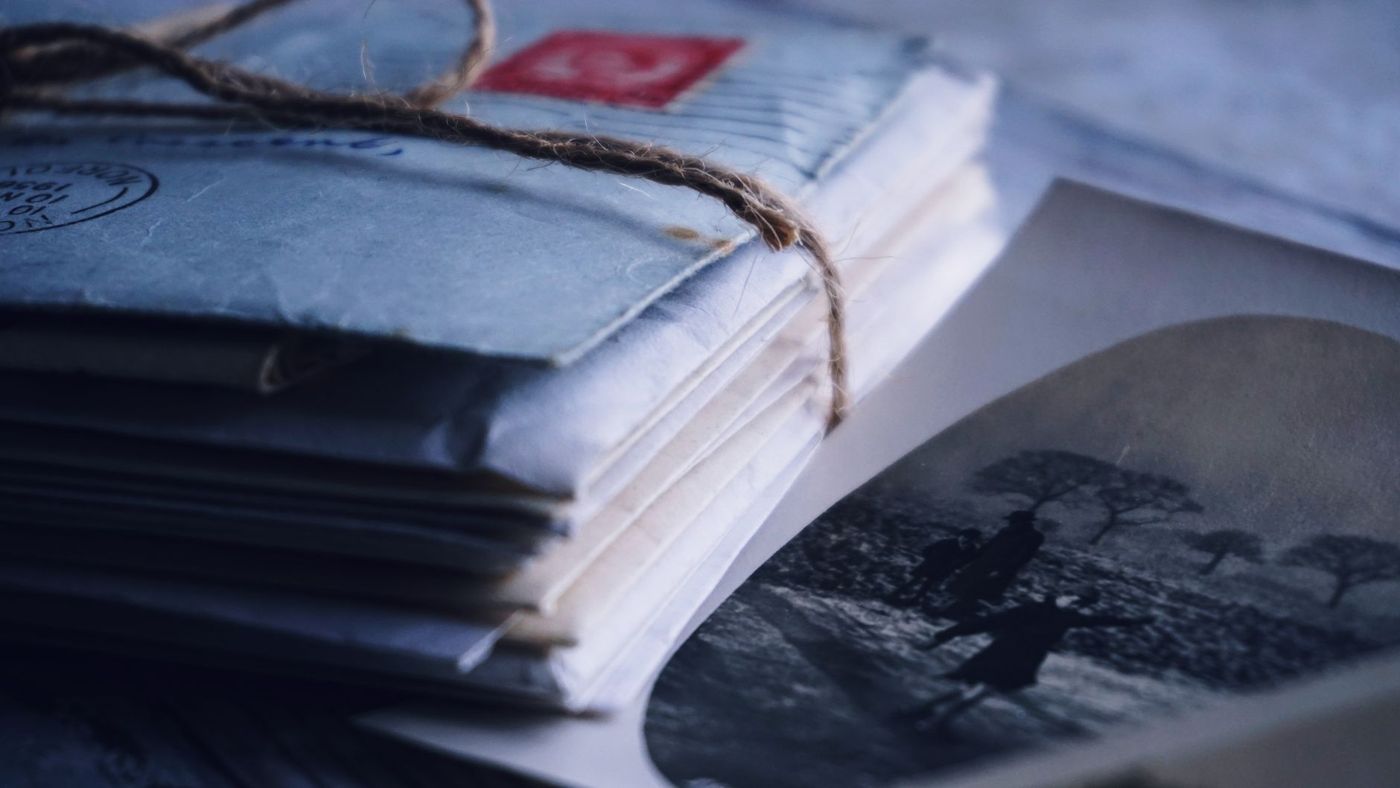
- Envelopes, especially ones made of sturdy or coloured paper, and the inside of bank envelopes with their little blue or grey patterns. An envelope also doubles as a pocket for loose cards.
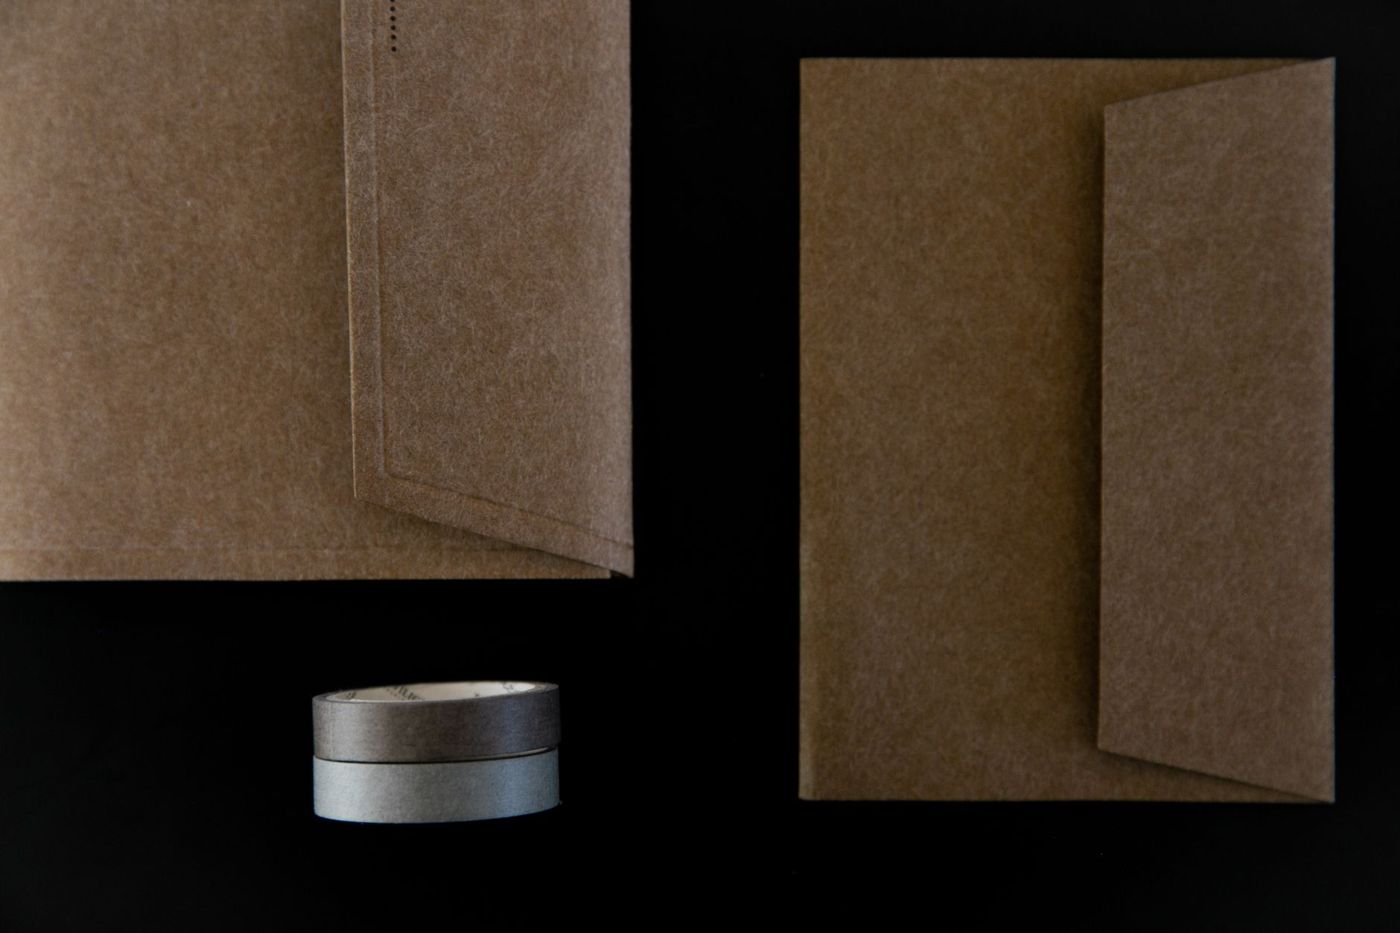
- Cardboard packaging: boxes from cereal, crackers, tea and toothpaste. The grey or brown inside makes a calm background.
- Used paper tea bags. Once dried and emptied, they get stains and shades all by themselves, as if you'd coloured them by hand.
- Old book pages, sheet music, maps and calendar pages.
- Brown paper, wrapping paper and paper bags.
- Clothing tags and ribbons, bottle labels, the paper bands around books, leaflets and the little information card that comes with a bunch of flowers.
- Tickets from days out, and receipts that aren't printed on thermal paper.
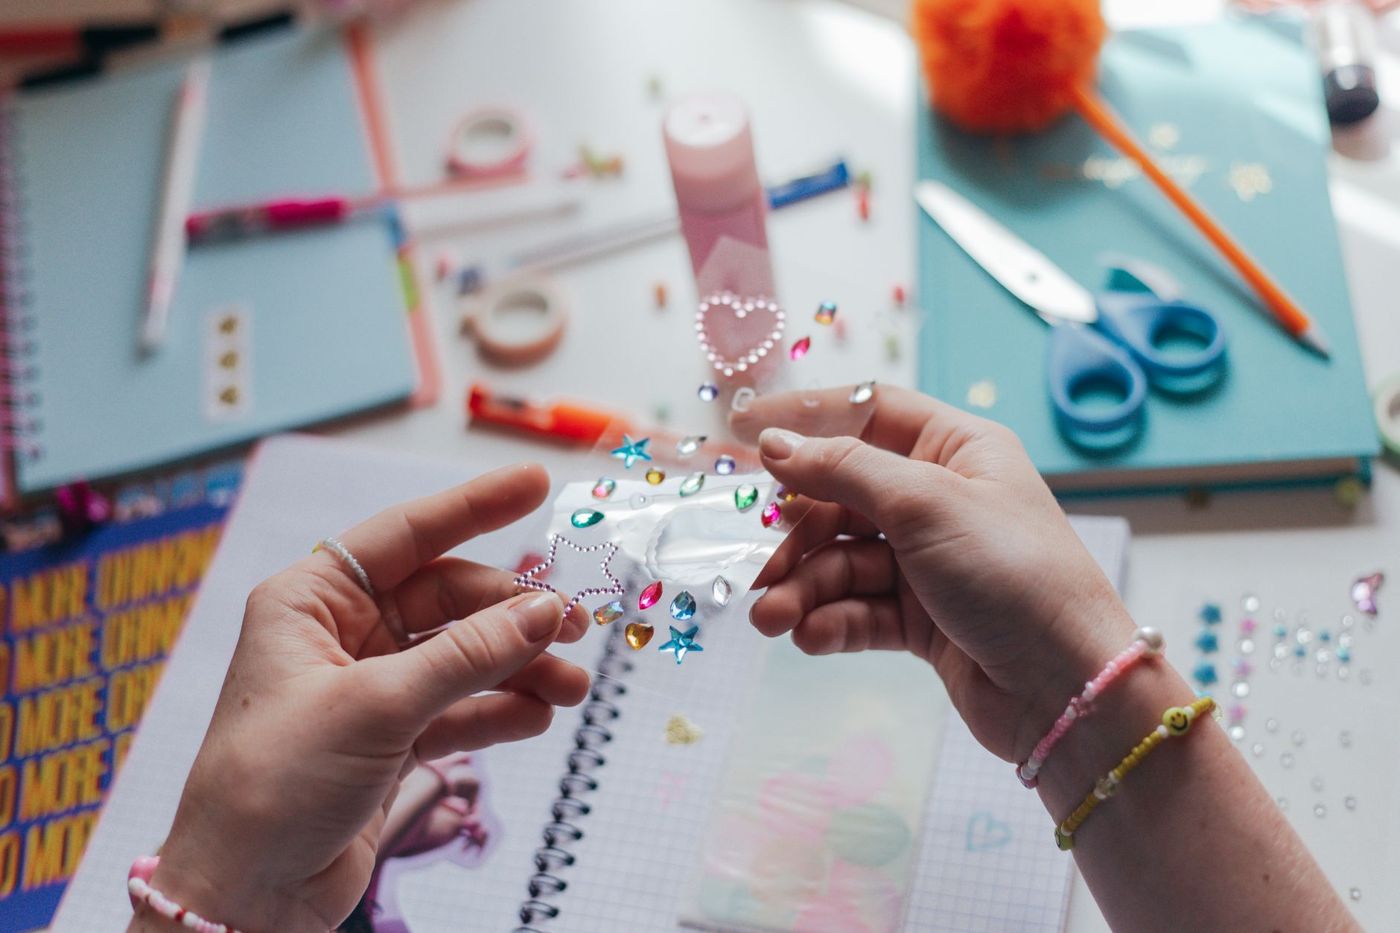
- Leftovers from earlier projects: strips of patterned paper, die-cut shapes, the rest of a sticker sheet.
You don't have to keep everything. Choose what you like for its colour, lettering or texture. A box full of maybes mostly just leaves you stuck.
What's safe and what isn't
Not all rubbish belongs in a book. A few things are better left out or handled differently:
- Grease and food. A pizza box, a greasy bag or a tub that held sauce attracts pests and leaves stains that keep showing through. Anything that still smells of food doesn't belong in there.
- Damp or mouldy paper. Mould spreads to the rest of your book. Anything that smells musty or has black spots goes in the bin.
- Thermal receipts, the smooth till paper that turns black when you scratch it. It fades within a few years and can contain substances you'd rather not touch often. Photograph or scan the receipt if you want to keep what's on it.
- Sharp edges. Remove metal staples from tea bags, the cutting edge from foil packaging or plastic with a hard edge, or sand them smooth.
- Glossy coated card and plastic film. Not dangerous, but glue doesn't stick well to it. Roughen the surface with sandpaper or use a stronger glue.
Something else worth knowing: old paper, newspaper and ordinary cardboard usually aren't acid-free. They turn yellow and can discolour the paper and photos next to them. In a junk journal that's often part of the charm, but don't put an important original photo directly against an old newspaper.
Cleaning and preparing your materials
Preparing takes a little time, but it saves a lot of hassle once you start sticking.
Let tea bags dry completely first, on a tea towel or a rack. Then carefully snip off the staple and the string, open the bag along one side and shake out the tea. A soft brush helps with the last crumbs. If you like, give them a quick iron on a low setting afterwards so they're nice and flat. Thin tea-bag paper tears easily; stick it onto a piece of thin card if you want it sturdier.
Unfold boxes and packaging along the glued seams. Wipe them with a dry or slightly damp cloth, and let them dry properly before you store them. Peel off glue strips and tape where you can.
Then leave everything under a pile of books overnight. Flat materials are much easier to work with, and your book will close better later on.
Store your collection flat and dry in a folder or box, ideally sorted: card with card, thin paper with thin paper, small pieces in a bag.
Making a cover from cardboard
A sturdy box is the basis for a good cover. For a thick book, use sturdy card, such as thin corrugated cardboard or two layers glued together. The thinner card of a cereal box is enough for a small or slim book.
- Work out the size of your pages and add half a centimetre all round. That way the cover sticks out slightly and the edges of your paper are protected.
- Cut two covers to that size with a sharp knife and a ruler on a cutting mat.
- Cut a spine: a strip of card as tall as the covers and as wide as your stack of pages is thick.
- Lay the three pieces side by side with a few millimetres of space between each cover and the spine. That space is the hinge; without it, your book won't open.
- Cover the whole thing with one piece of sturdy paper, such as brown paper, an old map or a piece of fabric. Let it overlap by two centimetres all round, cut the corners off diagonally and fold the edges inwards.
- On the inside, glue an endpaper over the folded edges. It makes it look neat and strengthens the hinge.
Let the cover dry overnight under a weight. If you're binding the book with a few signatures (little stacks of folded sheets), pierce the holes in the spine and sew them in. If you'd rather keep it simple, make holes with a hole punch and bind it with a ring or ribbon. Binding with thread will get its own article.
You can also simply leave the outside as it is. A cover made from a box that still has half a logo on it has something about it too.
Combining recycled and new materials
A journal doesn't have to be made entirely of rubbish. It's the mix that makes it practical.
Use new, acid-free paper or cardstock (sturdy base paper) where it matters: under a photo, for writing you really want to be able to read, and for pages you want to keep for a long time. The recycled materials can go around it, as a background, as a pocket or as a strip along the edge.
If it's a special photo, stick in a print and keep the original separately. That way it doesn't matter what the old paper does over time.
Vary the thickness, too. A book with only thin paper feels floppy; a book with only card won't close. A rhythm of one sturdy page, a few thin ones and then an envelope often works well.
Be careful with wet techniques. Paint, lots of glue or tea make paper wrinkle. Use a thin layer of glue, let everything dry properly and keep the book under a weight while it dries.
Using up scraps and stickers
Scraps are a subject of their own. If you throw them into a big box, you'll rarely use them again. Two habits help:
- Cut them to fixed sizes straight away. Cards of 10 x 15 cm or 7.5 x 10 cm fit into pocket pages and make handy journaling cards. Round the corners and you'll have a little stack that's ready to use.
- Turn them into your own set of embellishments (decorations). Punch or cut shapes from the nicest pieces, such as little flowers, labels and circles, and keep them together in a bag.
Stick narrow strips side by side along the edge of a page, like a colourful border. Tiny snippets become a collage: stick them every which way on a sheet and cut squares or labels from it later.
The last bit of a sticker sheet, the odd letters left over and that one sticker that doesn't go with anything: collect them on a sheet of baking paper or on the backing of an old sticker sheet. In a junk journal, those odd bits fall right into place.
Where to start
Don't start with the whole book. First make a few loose pages from what you collected this week, and see what you like. Choose four or five pieces, let one take the lead and stick the rest around it. The book will grow by itself, and it's allowed to look a bit messy. That's the whole idea.
Questions about this topic
What rubbish can you use to make a journal?
Almost any dry, clean paper and card: envelopes, cereal and tea packaging, dried tea bags, old book pages, tickets and brown paper. Leave out grease, food residue, mould and thermal till receipts.
Why are thermal receipts not suitable for a journal?
Thermal paper fades within a few years and can contain substances you'd rather not touch often. Scan or photograph the receipt if you want to keep what's on it.
How do you make a journal cover from cardboard?
Cut two covers to the size of your pages plus half a centimetre all round, cut a spine and leave a few millimetres of space for the hinge. Cover everything with sturdy paper or fabric and glue in an endpaper.
Is recycled paper acid-free?
Usually not: old paper, newspaper and ordinary cardboard turn yellow and can discolour the paper and photos next to them. Use new, acid-free paper for photos and important things, and stick in a print instead of the original.