 · 7 min read
How to decorate your planner with stickers and washi tape, calmly
A handful of supplies, a few set places for your stickers and one colour rule. That way your journal or planner looks lovely and stays calm and clear.
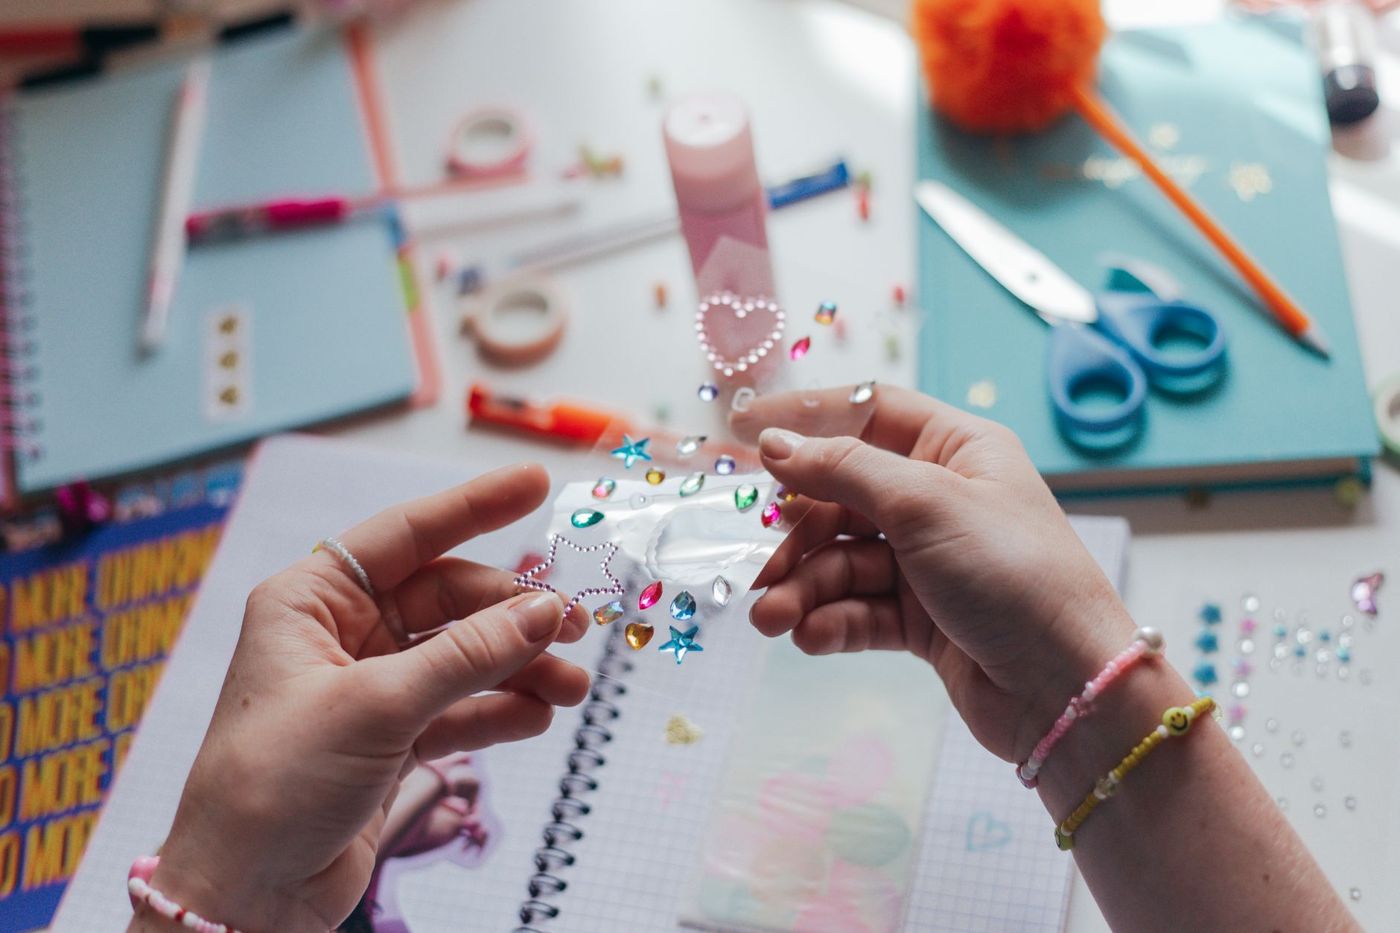
A planner that looks lovely is one you open more often. Even so, a table full of stickers doesn't automatically make your page prettier. Often it just makes it busy. With a few supplies, a few set places and one colour rule, your journal stays clear and still feels like yours.
What you need to get started
Lots of planner lovers give the same advice: buy very little at first and discover your style as you go. This list will take you a long way:
- A notebook that isn't too big. A small size, such as A6, fills up faster and is easier to decorate. Blank or grid paper gives you freedom, a dated planner gives you structure.
- A black pen that dries quickly. A gel pen of 0.38 to 0.5 mm is a nice size to start with. A finer tip can scratch thin paper, and a thicker one quickly makes small writing look messy.
- A few sticker sheets you really love, plus simple shapes such as circles, hearts and confetti. You'll use those shapes almost every day.
- Two or three rolls of washi tape, a thin, lightly sticky paper tape with a print. Choose plain colours or calm patterns such as stripes, dots and gingham.
- Tweezers with a curved tip. They let you place small stickers exactly right and stop you leaving fingerprints on clear stickers.
- Small scissors and a craft knife with a cutting mat. A knife cuts washi tape and sticker edges more neatly than scissors.
- A glue roller and a correction tape roller.
What you're better off leaving for now: stamps with ink pads, because ink soon bleeds through and a stamp easily ends up crooked. Sets of decorative background paper and cheap mystery boxes are also best skipped. A box like that often contains things you wouldn't have chosen yourself. Two sheets that genuinely make you happy will get used more.
Where to put your stickers
A blank page gets easier when you divide it into three parts. At the top goes a header: the date, a word for the day and perhaps one larger sticker. Your writing goes in the middle, with space around it. In a bottom corner, you finish off with a few small stickers.
Before you start, choose one main sticker and about three smaller ones to go with it. Cut them from the sheet but leave the backing paper on. That way you can move them around the page until it feels right.
A few rules of thumb that keep coming up:
- Place three eye-catching stickers in an imaginary triangle. Your eye then moves along them naturally and the page feels balanced.
- If you use several of the same sticker, stick down three or five. Odd numbers look more natural.
- If you write a lot, put the weight of the decoration at the bottom.
- If you write little, put one larger sticker in the middle or slightly lower and fit your words into the spaces around it.
- On a two-page spread, it often works well to put your plans and lists on the left, and stickers, cards or a photo on the right.
- Give a birthday or appointment you don't want to forget one eye-catching sticker, rather than covering the whole week.
Washi tape has its own effect too. A horizontal strip brings calm and works nicely as a header bar or divider. A vertical strip along the edge adds movement to the page.
How to keep it from getting too full
Most busy pages come from three things: sticking without a theme, lots of colours mixed together and wanting to fill every empty spot. You can do something about that on purpose.
Choose one main colour and one or two accent colours per page. Keep stickers within the same family: pastels with pastels, earth tones with earth tones. Black, grey and cream go with everything. Write in black or in the main colour of your sticker, so it all comes together.
A theme helps as well. That can be per day, but also per month: lemons in January, flowers in May, shells in July. Then you don't just reach for every pretty sheet, but for what suits that month.
See white space as part of the design. Empty space actually makes your stickers and your handwriting stand out more. Large stickers with a character on them are the stars of your page. One is usually enough, and the rest can be simple.
If you tend to keep moving things around, you can set yourself a time limit. A fixed five minutes per page works surprisingly well. After a while you'll stick by feel and won't need the clock any more.
Decorating with just your pen
You can make a page lovely without stickers too. Your handwriting doesn't need to be perfect for that. Natural, slightly wonky handwriting is exactly what makes a journal personal.
If you're unsure about straight lines, draw thin pencil lines first. Rub them out once the ink is completely dry. After that, you can add variety with very little effort:
- Write the date or a heading larger, or put a little frame, a dotted line or a simple banner around it.
- Use small circles, stars or arrows as bullet points.
- Draw simple things in the margin: a leaf, a little cloud, a cup of coffee.
- Use a coloured pen to make a little background of dots, stripes or checks behind a heading.
If you'd rather not draw yourself, rub-on transfers are a nice middle ground. Cut out the image, peel off the backing paper, place it on the page and rub firmly with your finger or a spatula. Then slowly peel the clear sheet away. If a bit comes up with it, lay it back down and rub again. Because they're so thin, it looks as if the image has been printed on the paper.
If you accidentally ruin a page
First of all: a crooked sticker is part of it. A year from now, you'll mostly see the day you kept, not those few millimetres.
If you've made a writing mistake, use a correction tape roller in the colour of your paper, white or off-white. You can write over it straight away and it stays flat. If more has gone wrong, stick something over it: a memo sheet, a card, a strip of tape or a sticker. Then simply start again on top.
Try not to peel off a sticker once it's stuck, because the paper often tears with it. Washi tape can often be moved carefully, but on thin planner paper it can take the top layer with it. Test it on a back page first and peel it back slowly, keeping it low along the paper. If you have a ring-bound planner, you can take out a page and replace it. A page that went wrong is also a great place to practise before you cover it up.
Keeping it fun without buying new things every week
The biggest pitfall is when decorating turns into shopping. If you buy everything at once, most of it ends up unused in a drawer. These habits help:
- Keep your leftovers in one tin: half sticker sheets, small bits of tape, loose shapes. Seeing them like that gives you new ideas and lets you stick something down quickly.
- Make your own stickers from washi tape. Stick tape onto the empty backing paper of a sticker sheet, cut out the little motifs and build up a stash.
- Use what you already have: nice packaging, a receipt from a lovely lunch, a card, a piece of a paper bag or pictures from an old calendar.
- Put stickers that don't fit anywhere into a separate little notebook. It will turn into a lovely book on its own, and your planner stays calm.
- Every now and then, look at what you never use and give it away or swap it with another scrapper.
- Keep your daily pages simple, with just a pen, and put your attention into the weekly or monthly pages. Or use two notebooks: a practical planner and one to happily stick things in.
- Pick a set time, for example Sunday afternoon, rather than feeling you have to do it every day.
- On a tired day, one sticker is enough. That's a kept day too.
Try not to compare your pages too much with the packed examples you see online. Your planner isn't a shop window but a record of your days. If the decoration helps you keep writing, it's doing exactly what it should.
Questions about this topic
How do I decorate my planner without it looking too busy?
Choose one main colour and one or two accent colours per page, keep stickers within the same family and leave space empty on purpose. A theme for each month helps you not to reach for every pretty sheet.
Where should I put stickers in a journal or planner?
Divide the page into a header, a middle and a corner. Place three eye-catching stickers in an imaginary triangle, and use several of the same sticker in odd numbers, such as three or five.
What do I need to decorate a planner?
A notebook that isn't too big, a quick-drying black pen, a few sticker sheets, two or three rolls of washi tape and tweezers. Small scissors and a correction tape roller are handy too.
How do I fix a mistake in my planner?
Use a correction tape roller in the colour of your paper, or stick something over it, such as a memo sheet, a card, a strip of tape or a sticker. Try not to peel off a sticker once it's stuck, because the paper often tears with it.