 · 6 min read
How to decorate polaroids and photocards with stickers
A small photo, a few stickers and a sleeve: that's how you start decorating polaroids, without it turning into an expensive hobby.
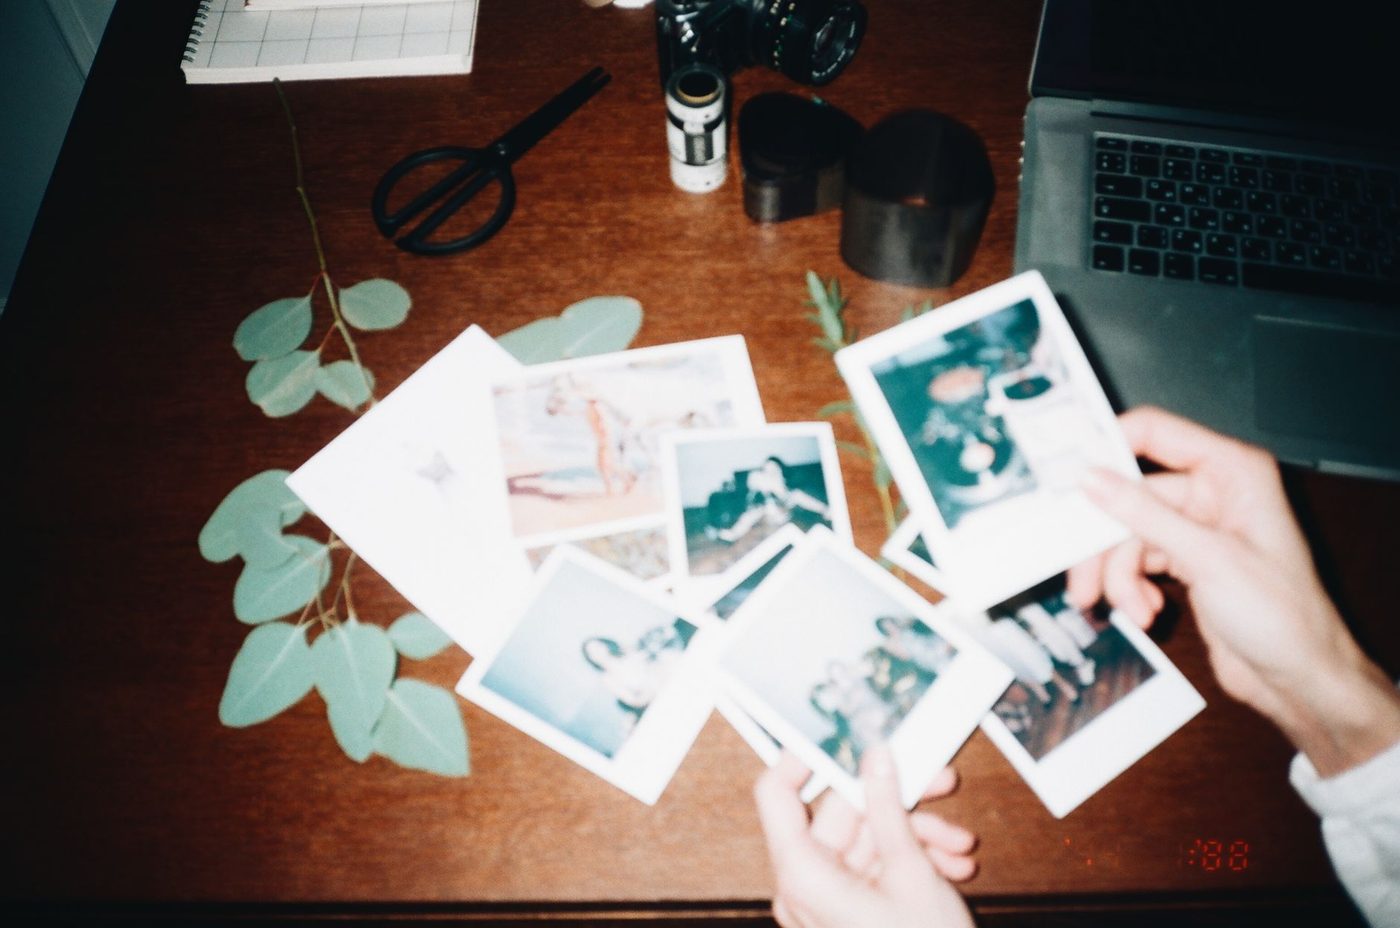
A small photo with a white border, a handful of tiny stickers on top, and you're done. Decorating polaroids might just be the easiest way to get into scrapbooking. You work small, you're finished in ten minutes and you don't need a big table or expensive supplies. It does help to know a few things before you start, though.
What it is and why everyone's doing it
You take a polaroid-sized photo or a photocard and decorate it with stickers, washi tape (thin, decorative paper tape) or a little stamp. Usually it's small stickers in cheerful shapes: hearts, stars, bows, letters. You stick them around the subject, so the photo gets a little frame or a certain mood.
The trend largely comes from South Korea, where it has its own name and where fans of pop groups decorate and collect photocards of their idols. But it works just as well with your own photos: your friends, your dog, your holiday.
Why it's so popular isn't hard to guess. It's small, so it never feels like a big project. A photo is done in a quarter of an hour. And a little stack of decorated cards is lovely to collect, to swap or to tuck into a letter.
Where to get polaroid-style photos
There are roughly three ways.
- An instant camera. Real instant photos, like the ones from an Instax camera, have that recognisable border and that one-of-a-kind feel. The downside is the price: the camera and especially the film are expensive per photo, and in low light the backgrounds quickly turn dark.
- Getting them printed. Lots of photo services offer polaroid-style prints, with a white border and often in sets. Search for polaroid prints or retro prints. Check the size, matte or gloss, and whether you can choose the crop yourself.
- Printing them yourself. With a portable photo printer you can make them at home. With some printers the photo paper is self-adhesive, so you can stick the photo straight down later. Another option is a template with a white border: you place your photos in it on the computer, print them on sturdy photo paper and cut them out. That's the cheapest way, especially if you already have a good printer.
With a real instant photo, one rule applies: don't shake it. It's an old habit, but it doesn't help and it can damage the photo. Lay the photo flat, out of bright sunlight, and wait a few minutes until it has fully developed.
Matte or gloss? Gloss gives bright colours, matte shows fewer fingerprints and is easier to write on. It really is a matter of taste.
Stickers on the photo or on a sleeve
This is the question a lot of people start with, and both are fine.
If you stick the stickers straight onto the photo, everything sits nice and flat and it all becomes one piece. But you can't undo it without damage. For photos you can easily print again, that's no problem.
If you want to keep the photo itself intact, use a toploader. That's a sturdy, clear plastic sleeve that's open on one side, originally made for trading cards. You decorate the outside of the sleeve and slide the photo in. The nice thing: you can fill the same decorated sleeve with a different card each time. Toploaders come in different sizes, so measure your photo or card before you buy them. Many toploaders are made of PVC. That's fine for a short while, but don't leave photos you want to keep for a long time in them, or choose a PVC-free toploader.
A middle ground is a thin, soft polypropylene sleeve around the photo, with the stickers on that. Or you choose removable stickers; they're made especially for this kind of thing.
Which stickers work well
Most decorated polaroids rely on a few types:
- Confetti stickers: tiny shapes such as dots, hearts and stars. They're the basics, because you use them to fill gaps and make borders.
- Letter and number stickers, for a name, a date or a single word.
- A few larger stickers as a focal point: a bow, a flower, a little character.
- Glitter, foil or holographic stickers for a small touch of shine.
On top of that, a pair of tweezers is almost essential. They make it easy to pick up small stickers and put them exactly where you want them. A simple pair from the chemist will do, ideally with a tip that's not too sharp.
Keeping it affordable
To be honest, this can get expensive. If you buy every pretty sheet, it soon adds up, and stickers lying unused in a drawer feel like wasted money afterwards. A few ways to keep it under control:
- Start with a small set in two or three colours you like, plus one sheet of letters.
- Buy sets rather than single sheets; per sheet that usually works out cheaper.
- Buy basic shapes like dots, hearts and stars cheaply. They look much the same from every brand; save your budget for a few special sheets.
- Make your own stickers: draw or print something on sticker paper and cut it out. You can also cut leftover washi tape into small pieces.
- Finish a few cards before you buy new supplies.
Count on roughly half to a whole sheet of confetti stickers per photo if you fill it densely. With less decoration, a sheet lasts much longer.
Pretty with just a few supplies
A well-decorated polaroid often isn't packed at all. A few rules of thumb:
- Choose one or two colours that are already in the photo. A pink jumper, a blue sky: pick up that colour. A third colour is fine as a small accent.
- Keep the face or the subject clear. Decorate around it, not over it.
- Work from a corner or an edge. A little cluster of stickers in one corner, or a row along the side like balloons at a party, instantly looks calm. You don't have to fill the whole photo.
- Group in odd numbers: three or five shapes side by side looks more natural than four.
- Use the white border. It's the place for a date, a name or a single word in a fine pen or letter stickers.
If you're unsure about placement, lay the stickers loosely on the photo first without peeling off the backing, or take a photo of a few options with your phone. Also look at the examples sticker makers show with their sheets; you can learn a lot from them.
Keeping them in a collect book
Decorated cards are delicate: stickers can catch and edges start to curl. A collect book solves that. It's a ring binder with slip-in pockets in small compartments, often A5 or smaller. There are sleeves with four, eight or nine pockets per page, and some are made exactly to polaroid size. Choose polypropylene sleeves; they're safe for photos.
A few ideas:
- Sort by theme or by month, so leafing through becomes a story.
- Put toploaders in a sleeve with larger pockets, or store them upright in a little box.
- Leave a pocket free now and then for a card with a short note or a ticket.
Of course, you can also use decorated polaroids in an ordinary scrapbook, as the focal point of a page. Or you send one in a letter. A card stuck on someone else's fridge is well kept too.
Questions about this topic
How do you decorate polaroids with stickers?
Stick small stickers around the subject, working from a corner or an edge, and keep the face clear. Choose one or two colours that are already in the photo and use the white border for a date or a word.
What is a toploader and why use one for photocards?
A toploader is a sturdy, clear plastic sleeve that's open on one side. You decorate the outside and slide the photo in, so the photo itself stays undamaged and you can reuse the sleeve again and again.
Where can I get polaroid-style photos?
You can use an instant camera, have polaroid-style prints made by a photo service, or print them yourself with a portable photo printer or a template with a white border.
How do you store decorated photocards?
In a collect book: a ring binder with slip-in pockets in small compartments. Choose polypropylene sleeves, as they're safe for photos.