 · 7 min read
How to make a family album with old photos and documents
A shoebox full of old photos, letters and a marriage booklet: here's how to turn it into a family album that tells the story and spares the originals.
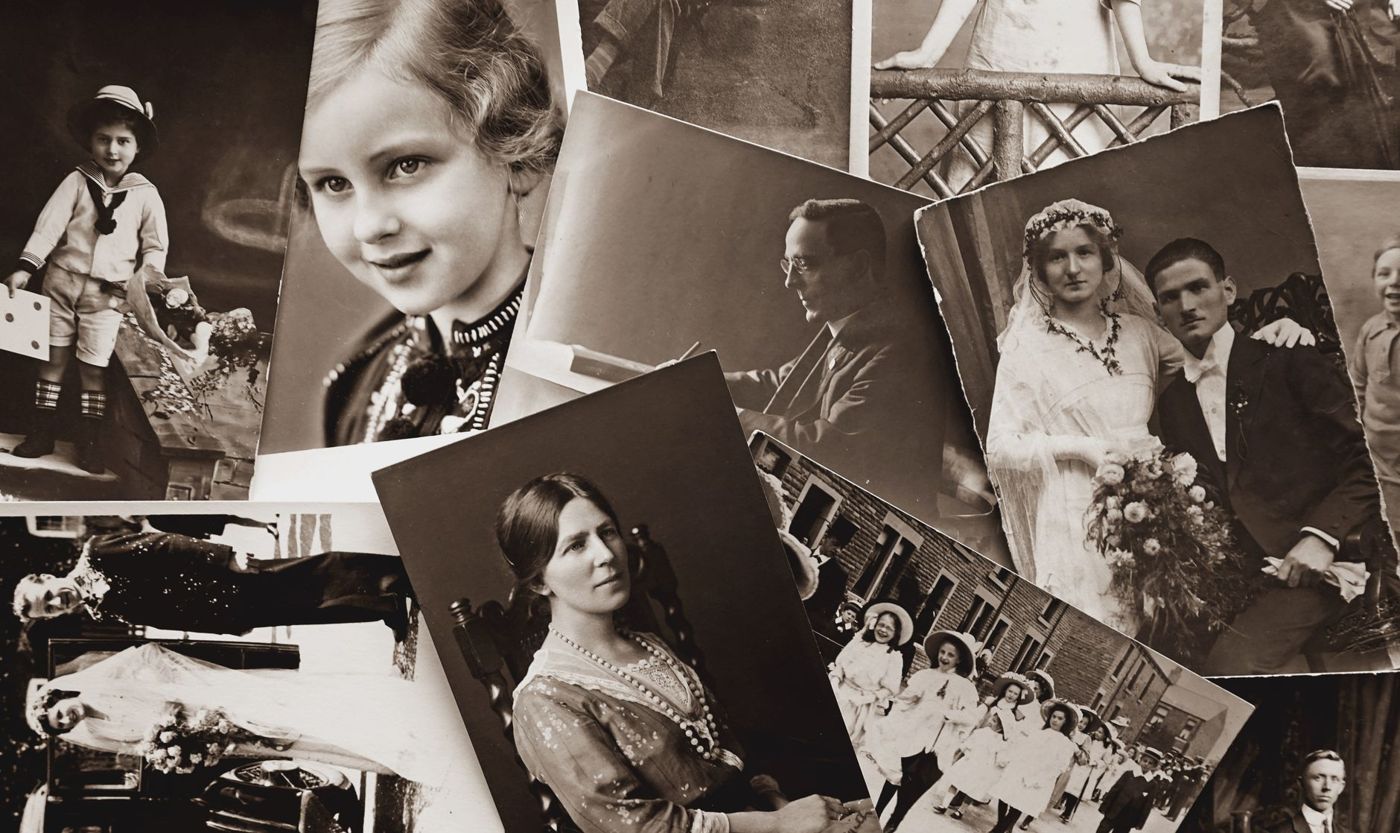
Almost every family has one: a box of photos of people nobody can name any more, a marriage booklet, a few letters in handwriting you can barely read. A family album turns those loose pieces into a story. And it makes sure the names and memories don't disappear with the last generation that still knows them.
Start by gathering and sorting
First, bring everything together: photos from boxes, old albums and the loft, but also from uncles, aunts and cousins. Ask specifically for documents such as birth and marriage certificates, school reports, letters, recipes, memorial cards and postcards. Photos without people are just as valuable: the family home, the first car, the village as it looked before the new houses went up.
Then sort roughly, for example by person, by family or by period. Use archive boxes or folders with dividers. That way you'll quickly find what you need while you work, and the photos that don't go in the album stay well kept too.
It helps to write down what you know at this stage. Ask the oldest relatives to go through the photos with you. An afternoon together at the table with a box of photos often brings up more stories than you could work out on your own in a year.
Choosing a story
A family album becomes clearer if you choose a common thread beforehand. Three approaches work well:
- By person. Each grandad, grandma or great-aunt gets their own chapter. Handy if you have a lot of material per person, such as letters or a soldier's service book.
- By generation. You start with the oldest generation and work towards today. This fits nicely with a family tree and shows clearly how the family grew.
- By place. The farmyard, the street in town, the country part of the family came from. A place connects people who never knew each other.
You can also choose recurring moments, such as weddings or Christmases through the years. Not sure? Look at what you have the most of. The material often shows the way itself.
A big project becomes manageable if you make a framework first. Divide your material across pages or chapters before you start sticking anything down. Then you work page by page and don't have to keep the whole project in view all the time.
Original photos or copies?
For heritage photos, the answer is usually: copies. Old photos are fragile. When you trim them, the edges can crumble and the photo layer can crack. Over time, glue is hard to remove and can warp the paper. On top of that, you often have only one print of an old photo.
A safe way to work:
- Scan every photo and every document at high resolution before you do anything else. Keep the files in two places.
- Print the scans at the size you need. A small photo can happily be bigger in the album.
- If you like, repair small tears, scratches and fading digitally before printing. The original stays untouched.
- Store the originals somewhere dark, cool and dry, in photo-safe sleeves or an archive box (you can read more about this in the article on storing photos safely).
If you still want an original in the album, use photo corners instead of glue. Then you can take the photo out again later or have it rescanned. Never cut into an original.
Working with documents, letters and newspapers
It's the documents that make a family album different from an ordinary photo album. A handwritten letter says something about a person that no photo can show.
Here too, copies are best. You can cut, shrink and stick a scanned marriage certificate or a copy of a letter next to a photo without damaging the original. A printed copy on ivory paper also sits beautifully alongside old photos.
A few ways to give documents a place:
- Fold long letters into an envelope that you stick onto the page. The reader can take the letter out and read it.
- Small originals, such as a memorial card or a train ticket, go in a clear, photo-safe sleeve.
- Photograph a large heirloom, such as a wedding dress, quilt or pocket watch, and include it as a photo.
- Newspapers discolour quickly and can damage other items. Use a copy and keep the original separate.
A family tree makes a strong opening or divider page. If you have it printed across a double page, make sure the resolution is high so that even small names and years stay readable.
Combining old and new photos
A family album doesn't have to stop at grandad and grandma. By combining old and new photos, you show how the story carries on.
- Put an old and a new photo of the same place side by side. The house, the church, the harbour: the difference is often surprisingly big, or surprisingly small.
- Make a generations page with a photo of each generation at the same age, or in the same pose.
- Let old black-and-white photos and new colour photos sit together calmly by choosing a simple colour palette: cream, kraft, grey and one accent colour. You can also print new photos in black and white or sepia for a calm whole.
Go easy on decoration. In a heritage album, the photos and the stories matter most. Classic paper with a light texture and muted colours will still look lovely in thirty years. Better more room for writing than an extra bow.
Recording names, dates and stories
This is the most important part of the whole album. A photo without a name becomes, two generations later, a photo of a stranger. So with every photo, write at least:
- who is in it, with first name and surname, and their relationship to the family
- where the photo was taken
- when, as precisely as you know, or an estimate with 'around'
- what was happening, and why the photo was kept
Use a pen with waterproof, lightfast ink, preferably black. Also write on the back of loose photos, lightly and near the edge, with a soft pencil or a photo pen. If pencil won't take on a glossy back, write on the sleeve or on a little card kept with it. That way the information stays with the photo if it ever leaves the album.
Leave room for the story behind the photo. That grandad cycled to church every Sunday, that grandma's apple pie recipe was never written down exactly, that the family moved during the war. It's those little things that bring the album to life. If you're not sure about something, say so honestly. A question mark is better than a made-up name.
Include stories from relatives who are alive now as well. Write them down the way they're told, with the name of the person telling them. In fifty years, that will be just as valuable as the old photos themselves.
An album for several family members
If brothers, sisters or cousins want a copy too, there are roughly two ways to go.
The first is to work digitally. You design the pages on the computer with your scans and have the album printed as a photo book in as many copies as you need. That's the simplest way to give everyone the same book.
The second is a paper album that you make scans or photos of. You make one original by hand, carefully scan or photograph every page and have them printed as a book. That way the handwork of the original stays visible, and everyone still has their own copy. It's also a reassuring safeguard: if something burns down somewhere or an album goes missing, the story is still with the others.
If you'd rather make a truly handmade album for each family member, it's easiest to use the same set of copies for every book. Make one sample of each page first and then repeat it. Choose an album you can add pages to, such as a ring binder or post-bound album, so there's room for additions later.
Looking after the album itself
A family album lasts a long time if you store it well. Don't put it in the loft or the cellar, but somewhere in the house where temperature and humidity don't change much. A box or cover protects it from light and dust. Keep the pages flat: with too much decoration the album won't close properly any more, and light and dust get in.
And finish it. A family album doesn't have to be complete to be valuable. A first volume with the oldest generation is already a gift to everyone who comes after you.
Questions about this topic
How do you make a family album with old photos?
First gather and sort all the photos and documents, choose a common thread (by person, generation or place) and scan everything before you start. Use copies in the album and write who, where, when and why with every photo.
Should you avoid gluing old photos into an album?
For heritage photos, it's best to work with copies. If you still want an original in the album, use photo corners instead of glue, so you can take the photo out again later. Never cut into an original.
What should you write on old family photos?
Write at least who is in it (with first name, surname and relationship to the family), where and when the photo was taken, and what was happening. If you're not sure about something, add 'around' or a question mark.
How do you make a family album for several family members?
Design the pages digitally and have the album printed as a photo book in as many copies as you need. You can also make one album by hand, scan every page and have it printed as a book.