 · 6 min read
How to make a scrapbook for school in six steps
Need to make a scrapbook for school and not sure where to start? Here's how to choose a topic, gather material and hand in something neat, even when time is tight.
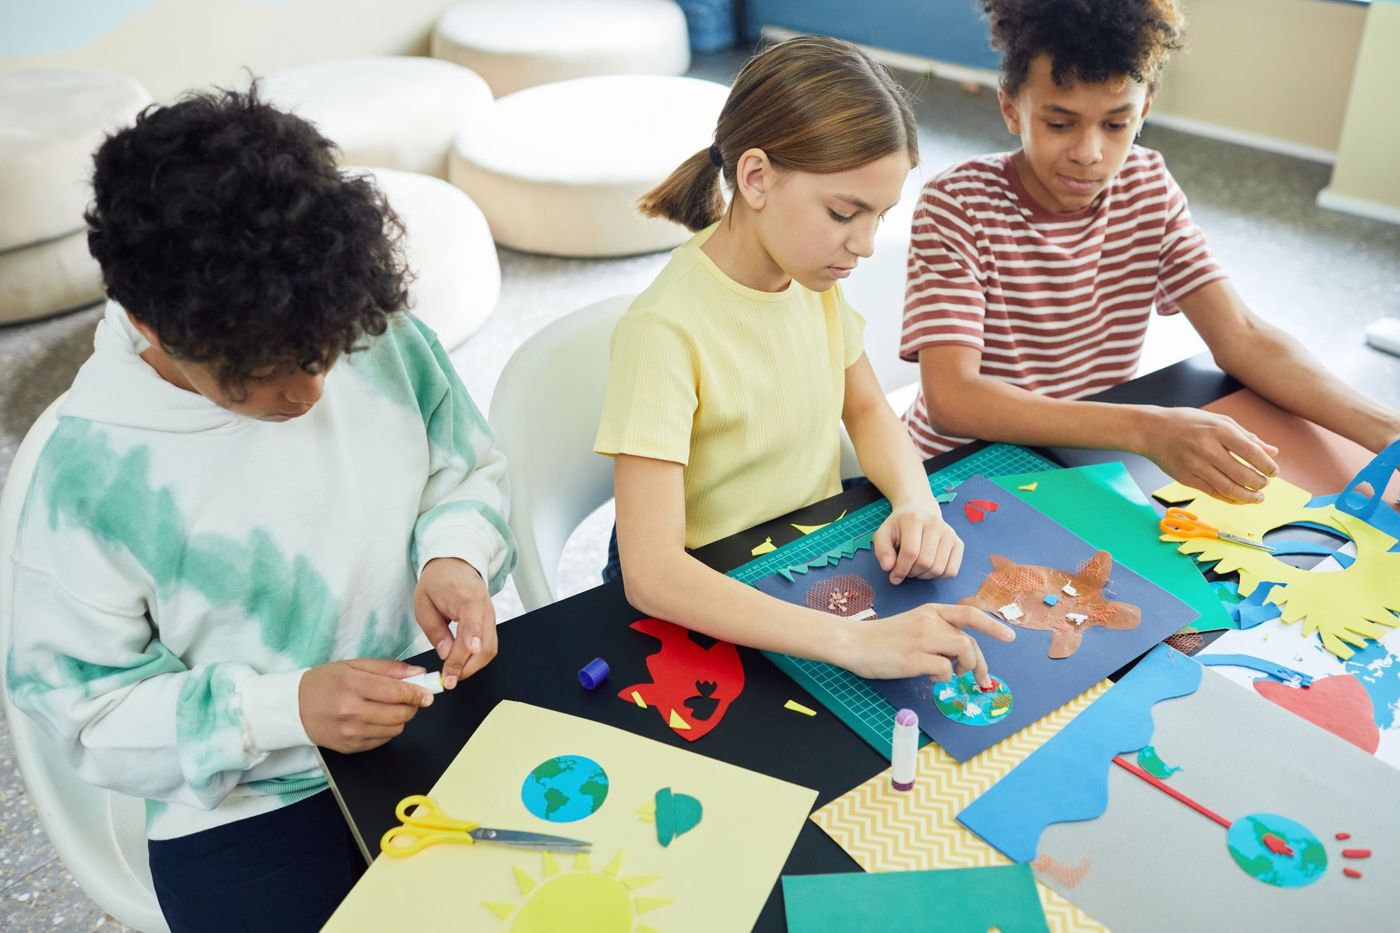
Your teacher wants a scrapbook, the brief is short and the deadline is already set. Don't panic. A school scrapbook is really just a collection of cuttings, photos and text about one topic, neatly organised and explained. With a good plan, you can finish it in a few afternoons.
First, read the brief carefully once more. Does it mention a subject, a minimum number of pages or photos, a size or a topic? Those requirements shape everything else. If it says nothing, choose something that suits the subject.
Choosing a topic you can easily fill
The biggest risk is a topic that's too broad. 'Sport' or 'the environment' gives you so much material that you won't know what to pick. Make it smaller: one sport, one tournament, one animal, one inventor.
A good scrapbook topic:
- is something you enjoy, because then you'll have more fun searching
- is regularly in the news or in magazines, so you have plenty to cut out
- has visuals: photos, maps, graphs or drawings
- can be split into a few subtopics
Examples that work well are a painter and their work, a job or a range of jobs, a famous invention, the history of your village or town, or an environmental problem with subtopics such as air, water and soil. If you're not sure, ask your teacher whether your topic is OK. It'll save you a lot of work later.
Gathering material: newspapers, the internet and your own photos
Start collecting before you stick anything down. Put everything in a pile or a folder and only choose later.
Good sources are:
- newspapers and magazines at home, at your grandparents' or in the library
- leaflets, brochures and tickets from museums, days out or events
- the internet: articles, maps, graphs and images
- your own photos and drawings, for example from a museum visit or a place linked to your topic
If you print something from the internet, paste the text into a word processor first. There you can make the letters bigger or smaller and adjust the margins. That way it fits neatly on your page and looks calmer than a straight printout of a website.
Cut carefully, and collect too much rather than too little. If two newspapers run the same story on the same day, choose one. Only if they see it very differently is it interesting to stick them side by side.
Dividing it into chapters
A scrapbook is much better with a clear order. So sort your material before you start sticking. Two approaches work well:
- By date. Handy for an event, a season or a news story that develops over time.
- By subtopic. Handy if your topic has several sides, such as the life, the work and the best-known paintings of an artist.
You can also combine the two: first by subtopic, then by date within each chapter.
Write at the top of each page or chapter what it's about. Make a table of contents with page numbers beforehand. It helps you while you stick, and shows your teacher straight away that you've thought it through.
A fixed layout keeps everything clear. Ideally, stick one cutting per page, or one cutting with a photo. Too many loose bits on one page looks messy, and your explanation gets lost.
Adding a source and explanation to every cutting
This is where you see the difference between a pile of cuttings and a real scrapbook.
Make a standard label that you stick or write next to each cutting. Put on it:
- the name of the newspaper, magazine or website
- the date it was published, and if you like, the date you cut it out
- the writer or journalist, if named
For something from the internet, write the name of the website and the date you looked at it. That way everyone knows where your information comes from, and that's part of any piece of schoolwork.
Also write a few sentences, in your own words, about what the cutting shows and why you chose it. A short opinion of your own, or a question it makes you think of, makes the scrapbook personal. Underline or highlight the most important sentence in the article, so your reader sees straight away what it's about.
If you use your own photos or drawings, add what they show, where and when.
A cheap base: exercise book, folder or sketchpad
You don't need an expensive album. Any one of these three is enough:
- A large or A4 exercise book. Clear, and the pages stay in order.
- A folder with plastic sleeves, or a ring binder. Neat, and you can still move pages around if your order changes.
- A drawing pad or sketchbook. Sturdy paper that copes with glue better than thin printer paper, and room for bigger cuttings.
If a cutting is bigger than your page, fold it neatly or choose a larger size, such as A3. In a sketchbook, ideally stick things only on the right-hand page; that way the glue doesn't show through and it looks calmer.
You'll also need scissors, a glue stick or sticky tape, a pen, a highlighter and maybe some coloured paper. A piece of coloured paper behind a dark or dull cutting makes it stand out more. Stickers and little drawings are fine, as long as the content stays the star.
Finally, make a cover with the title, your name, your class and the date.
Finishing quickly when the deadline is close
Is it due tomorrow? Then keep it simple.
- Choose a narrow topic you already have material on at home, or that you can quickly find online.
- Gather everything you need in one hour, and print your internet sources all at once.
- Decide on three or four chapters and sort your pile into them.
- Stick one cutting per page, and add the source label and two or three sentences of explanation.
- Make the table of contents and the cover last.
Skip the decoration if you have to. A scrapbook with clear chapters, sources and explanations is stronger than a beautifully decorated book with no text. Finally, check the brief one more time: do you have everything that was asked for, the right number of pages and your name on the cover?
Keep it afterwards
A school scrapbook often gets thrown away once it's been marked, but it's worth keeping. In a few years it'll be a lovely piece of your school days, and the newspaper cuttings show what was in the news that year. Store it upright on a shelf, out of the sun, and it'll last a long time.
Questions about this topic
How do you make a scrapbook for school?
Choose a narrow topic, gather material from newspapers, magazines and the internet, and divide everything into chapters. Stick one cutting per page and add the source and a short explanation in your own words.
How do you choose a good topic for a school scrapbook?
A good topic is narrow, something you enjoy and has plenty of visuals, such as photos, maps and drawings. If you're not sure, ask your teacher whether the topic is suitable.
What should you write next to a cutting in a scrapbook?
Add the name of the newspaper, magazine or website, the date and the writer if known. Also write a few sentences about what it shows and why you chose it.
What do I need to make a scrapbook for school?
An exercise book, ring binder or sketchpad is enough as a base. You'll also need scissors, a glue stick, a pen and maybe some coloured paper.