 · 7 min read
How to store scrapbook supplies: paper, stickers and washi tape
Paper that curls, stickers you forget about and tape at the bottom of a drawer. Here's how to store your supplies so you see them, reach for them and actually use them.
It starts with one pack of paper and a few sheets of stickers. A few years later there's a box under the bed, rolls of tape in three different drawers, and you buy a sticker only to find you already have it. Storage isn't the goal in itself. The point is to see what you have, so you use it.
Where to start sorting
Get everything out. Really everything, from every box and every drawer, and spread it out on a big table or on the floor. Only when it's all together can you see how much you have and where the duplicates are.
Then make rough piles:
- paper and cardstock (sturdy, plain card)
- stickers, letters and die cuts (punched-out shapes)
- washi tape and other tape
- embellishments, the little decorations such as buttons, brads and sequins
- tools: scissors, glue, pens, stamps and ink
Ask yourself a few questions for each pile. What do I use often? What haven't I touched in months? What do I have twice? Anything you no longer like can go, or go to another scrapper. A crafting afternoon or a swap corner in a group is a good place for that.
The most important rule comes next: keep your scrapbooking things together. Whether it's one bag you take to the dining table or a whole wall in a craft room, it should all be in one place.
12 x 12 paper: upright or flat
The large size, 30.5 x 30.5 cm (12 x 12 inches), is awkward. It doesn't fit in ordinary binders or A4 trays. There are two ways to store it, and which one is best depends on how much you have.
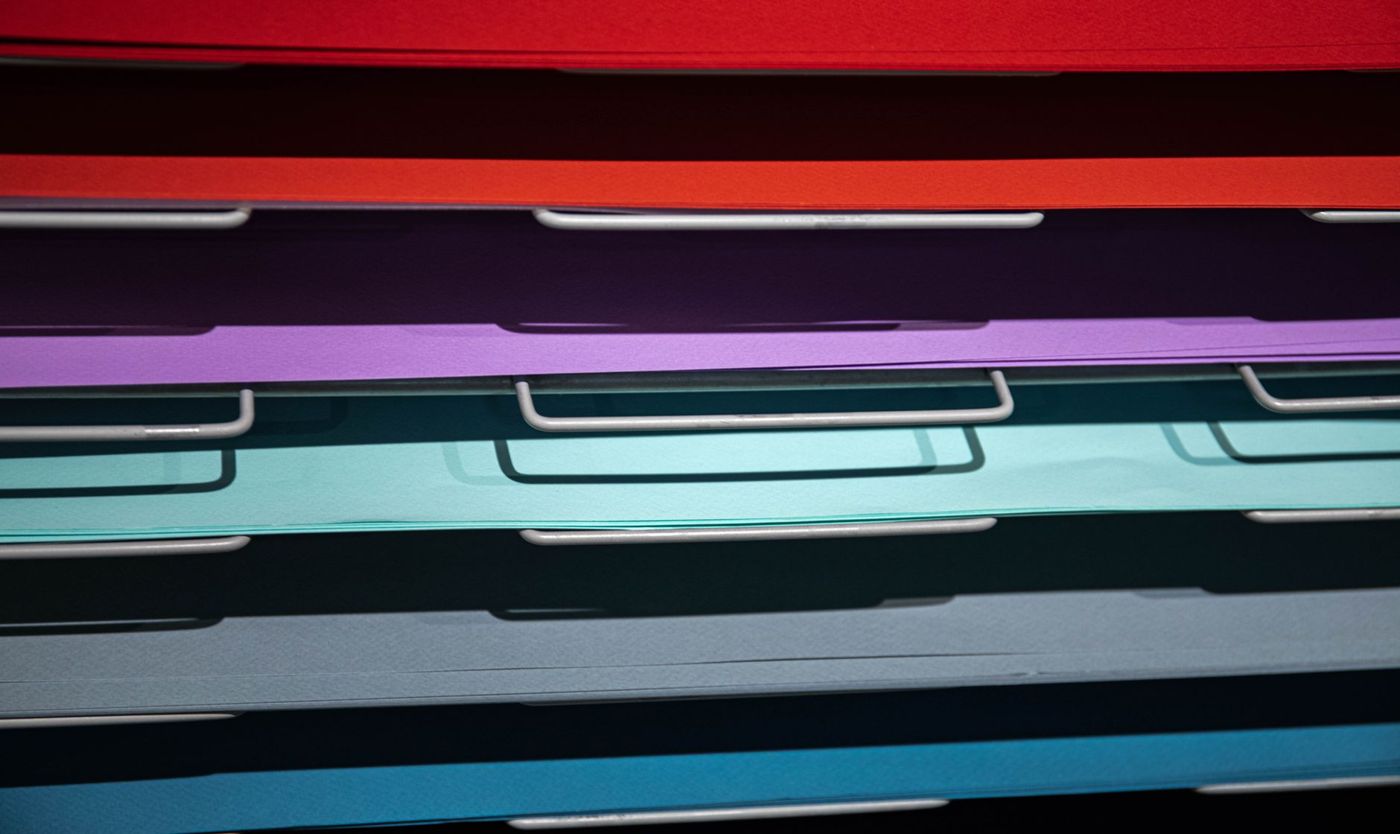
If you don't have much paper, store it flat. In a shallow tray or drawer it stays straight and can't curl. One downside of stacking trays with a raised edge: once they're full, it's hard to get the bottom sheet out. In a large open cube, too, the bottom sheets end up out of reach.
If you have lots of paper, stand it upright. You flick through it like a crate of records and find that one shade or pattern faster. It takes up less space too. There is one pitfall: a half-empty upright holder lets the paper bend. So keep it fairly full, or add dividers so every section stays filled.
Many scrappers use a cube shelving unit with square compartments of about 33 cm. 12 x 12 paper fits in without bending. If you're handy, you can divide a cube with thin shelves on battens, so you get ten or twelve layers per cube and can reach every sheet. A DIY store will often cut board to size for you. Do measure first, though: not every A4 tray or letter tray fits in a cube like that.
If you can, choose something that works both ways, flat and upright. Your collection will grow, and you won't want to buy everything again.
Sorting scraps by colour or by type
Scraps are the pieces left over after cutting: too small for a background, too pretty to throw away. They're handy for mats behind photos, labels and small strips. They only become useless when they disappear into one big bag.
Sorting by colour works well if you build your pages around colour. Put your scraps in folders or tubs from warm to cool: red, orange, yellow, green, blue, purple, plus one section for neutrals and black and white. You can see at a glance what goes with your photo.
Sorting by type works better if you often look for something specific, such as gingham, florals, plain cardstock or Christmas paper. You can also organise by theme or season: birthdays, holidays, festive seasons.
A few tips to keep things tidy:
- Store scraps upright in a narrow tub or in hanging files, so you can flick through them.
- Throw away pieces smaller than a playing card, or put them in one tub for punches and small shapes.
- Some scrappers deliberately keep their tiniest bits unsorted in a pretty tin and pick by feel. That's fine too, as long as it stays one tin.
Keeping stickers visible and portable
Stickers that stay in their packet hardly ever get used. Every time, you have to take them out, look at them and put them back, and that one small step is just enough to make you skip it. What you see, you use.
That's why a sticker album with clear pockets is the easiest solution. You leaf through it like a photo album. An A5 ring binder with clear sheet protectors works just as well, and you can add to it. Keep stickers from the same collection together, and put the ones you use most at the front.
You can move loose small stickers and leftovers from a sheet onto release paper, the smooth backing that stickers come on. They peel off easily again and you can see exactly what you have left. Don't leave very sticky stickers on a plastic sheet for months: they can damage the surface when you peel them off.
If you want to keep it simple, stick whole sheets of stickers into an old notebook with paper washi tape. It costs nothing, and the tape usually comes off again later without tearing the paper.
A few handy details:
- Let sheets you use often stick out a little above the pocket.
- Put tissue paper or baking paper between sheets that stick together.
- Make a tab for each group with one typical sticker on it, so you don't have to leaf through the whole album.
- An elastic band around the album keeps everything closed when you take it with you.
Storing washi tape
Washi tape (thin printed paper tape) is something you want to see. Rolls in a box get forgotten. A few ways that work:
- Upright in a drawer or tray, side by side like little books, so you can see all the edges.
- On a rod or a wall rack, if you have space above your table.
- A piece of each roll stuck onto a sheet of release paper, with a number next to it. That sheet is your colour chart.
- For on the go, wind a short length around a straw or a small card, so you don't have to take the whole roll.
An accordion file is handy for taking things with you: one theme per section, with tape strips and stickers together. Choose a small one, because a big one soon gets bulky.
Storage in a small space
Not everyone has a craft room. Often it's a corner of the living room or part of a shared study. Then this is what works:
- Go up. Wall shelves, a pegboard for scissors and rulers, and a rack above the table free up your work surface.
- Use the inside of a door. An over-the-door shoe organiser with clear pockets fits there and is ideal for glue, pens and paint.
- Choose a rolling cart. Wheel it to the table when you sit down to scrapbook, and put it away afterwards.
- Clear stacking boxes show what's inside without you having to open them.
- A pill organiser or an ice cube tray with large compartments is perfect for buttons and brads.
Make it easy for yourself with a dedicated project bag or crate, too. Everything you need for a page goes in it, and it closes up again when you're done.
A system you'll stick with
The nicest system won't help if you abandon it after a week. So keep it simple.
- Give everything a fixed place, and label it. Boxes and drawers too.
- Make a spot for new purchases. Anything you've just bought goes there first until you have time to put it away.
- Set a limit. Once the patterned paper tub is full, something has to go before anything new comes in.
- Plan a quick tidy-up, once a month or once a season. Half an hour is enough.
- Keep a list of what you already have, or take a photo of your sticker album on your phone. Then you won't stand in the shop wondering.
And put half-finished pages in a set folder, with a sticky note saying what still needs doing. That way you won't forget that a bit of journaling still had to go on.
The goal isn't a space that looks good in a magazine. The goal is that you sit down, pick up what you need and begin.
Questions about this topic
What's the best way to store 12x12 scrapbook paper?
If you don't have much paper, store it flat in a tray or drawer. If you have lots, stand it upright so you can flick through it, and keep the holder fairly full so the paper doesn't bend.
How do you store stickers and washi tape?
A sticker album with clear pockets or a ring binder with sheet protectors lets you see what you have. Stand washi tape upright in a tray so you can see every roll.
How do you organise scrapbook paper scraps?
Sort by colour if you build your pages around colour, and by type or theme if you often look for a particular pattern. Store them upright in a narrow tub or in hanging files.
How do you store scrapbooking supplies in a small space?
Go up with wall shelves, use the inside of a door or a rolling cart, and choose clear boxes. With a dedicated project bag or crate, you have everything for a page together.