· 7 min read
How to make your first scrapbook page, step by step
One photo, a sheet of card and a quiet evening. This is how you make your very first scrapbook page, from the first choice to the last little sticker.
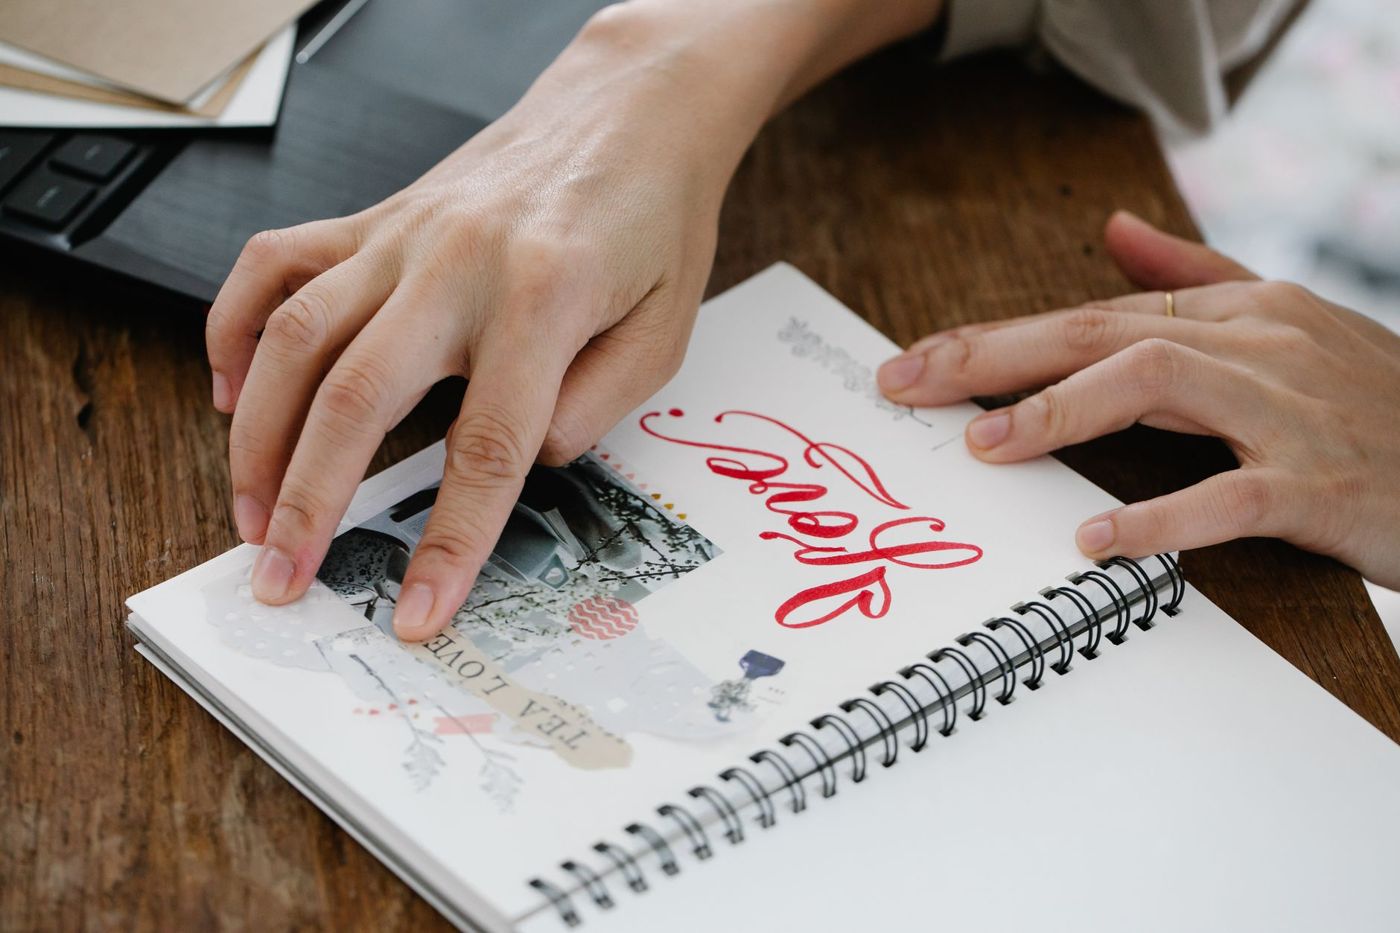
You have a pile of photos, a folder of tickets and cards, and you want to get started. Only: where do you begin? Luckily, you hardly need to know anything for a first page. One photo, a sheet of card and a quiet evening are enough, and below we'll go through it together.
Start with a photo, not a plan
Lots of beginners think they first have to choose a theme or map out a whole album. You don't. The easiest way in is one photo that means something to you: your dog asleep in the grass, dinner with friends, the first warm day on the balcony.
A photo like that brings its own story. You still remember where you were, who was there and why you took it. A theme comes later, once you have more pages and can see what you like to capture.
If you'd rather work with a theme, keep it small. Pick one day, one birthday or one weekend away, not 'our holidays' or 'the kids'. Otherwise you'll have two hundred photos on the table before you know it.
A first project you'll actually finish
Make one page, not an album. A single page is manageable, and once it's done, you have something in your hands straight away. That makes you want to do the next one.
Choose one to three photos from the same moment. One large photo is the calmest and the easiest. With more than three, it soon looks more like a collage than a page.
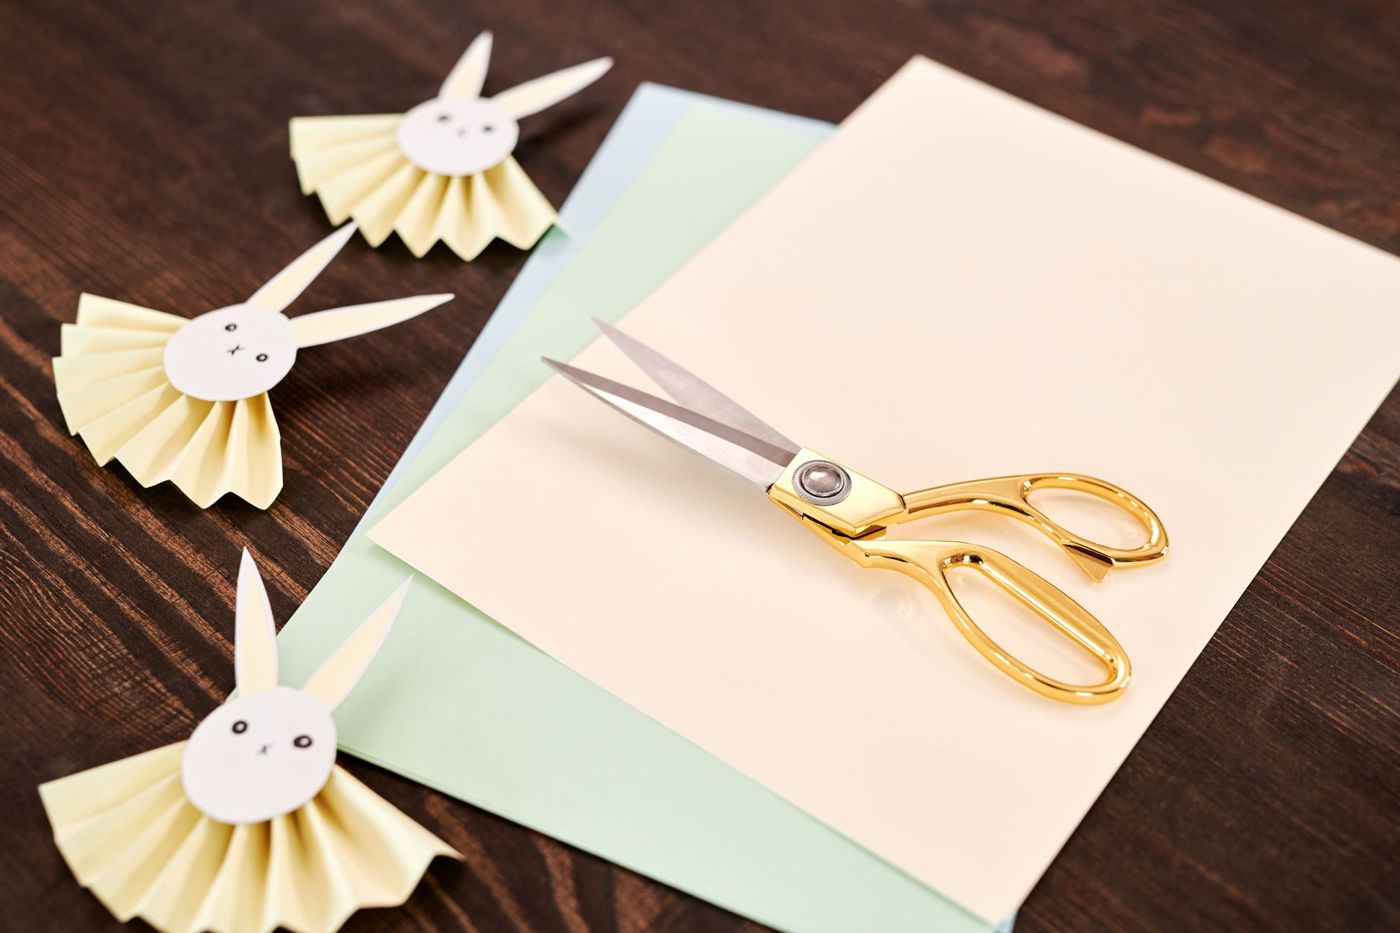
The size doesn't matter much. Many scrappers work on 30.5 x 30.5 cm (12 x 12 inches), the standard size for scrapbook paper, but A4 or smaller is fine for a first go. A smaller page fills up faster, and you're less tempted to stick something in every corner. If you'd like to practise with paper and glue first, a card is a nice warm-up.
Use a print, not the original. Scan an old photo or have a copy made, and keep the real one somewhere safe. If something goes wrong, you simply print a new one.
What to get ready
You need less than the shelves in the craft shop would suggest. For this first page, this is enough:
- a sheet of sturdy card as the background (cardstock: plain, thick paper), in white, cream, kraft or a calm colour
- one or two sheets of patterned paper, which is paper with a printed design
- your photos, ideally printed on matte paper
- sharp scissors or a paper trimmer and a ruler
- double-sided tape for the photos and a glue stick for light paper
- a pen that doesn't bleed through, plus any stickers or tape you already have at home
Glue, types of paper and pens will each get an article of their own. For now, one thing matters: choose card that doesn't bend when you stick a photo on it.
How to build up the page
Work from back to front: first what goes at the bottom, last what goes on top. Don't stick anything down yet at this stage; you're just laying everything out loosely.
- Choose your colours. Look at your photo and pick out two or three colours: a main colour, a colour that goes with it and a neutral such as white, cream or kraft. Use those to choose your paper.
- Lay the background. The sheet of card is your base. If you'd like a bit more, add a rectangle or strip of patterned paper that's slightly smaller than the sheet, so a border of card stays visible all the way round.
- Place the photo. This is the heart of the page, the spot your eye goes to first. Put it just off centre; that looks more natural. First mount it on a piece of card in a contrasting colour, which is called matting. Leave a few millimetres showing at the sides and a little more at the bottom, and your photo gets a little frame.
- Add a title. A few words are enough, such as 'Sunday in the woods' or 'Summer at last'. Write it yourself, use letter stickers or cut letters out of paper. Place it close to the photo, so they belong together.
- Write a short piece of text. Two sentences are already enough: when and where it was, who was there and why you wanted to keep this. Write on a separate card rather than straight onto the page, so you can redo it. Try your pen on a scrap of paper first.
- Decorate last. Think of a sticker, a strip of washi tape (decorative paper tape), a button or a ticket from that day. Start with three small things, group them near the photo or the title, and then see whether that's enough. Usually it is.
Once everything looks right, take a photo of the layout with your phone. That way you know exactly where everything was if something shifts while you're sticking.
Then stick it down layer by layer, in the same order: first the patterned paper, then the matted photo, then the title, text and decorations. Press each layer down firmly before you carry on.
Keeping it simple and still lovely
A calm page almost always looks nicer than a busy one. A few rules of thumb help:
- Stick to two or three colours. Paper from one collection is easiest, because those sheets are designed to go together.
- One pattern is enough. Keep the rest plain.
- Leave empty space. It isn't unfinished; it gives your photo room to breathe.
- Repeat something. If you use a round sticker by the title, put another small circle somewhere else. That way everything feels like one whole.
- Only add something if it suits the moment, not just because you happen to have it lying around.
Mistakes nearly everyone makes
Almost every scrapper has a first page they smile at later. These are the classics:
- too many photos on one page, so nothing stands out any more
- filling every corner, for fear that empty space is boring
- five different patterns, because they were all so pretty
- skipping the text and, ten years on, no longer knowing where it was
- sticking photos down with a glue stick, which can come loose after a while
- sticking down the original of an old photo
- buying everything first and then, with a bag full of supplies, not daring to start
- redoing a slightly wonky title three times
None of these things matter. A first page is a practice page, and you learn most by simply doing it. A title that's a touch crooked or handwriting that isn't perfect is exactly what makes a page personal. In a few years you'll be looking at that moment, not at those few millimetres.
If something really does go wrong, it can almost always be rescued. A new card on top, a sticker over the mark or a fresh print of your photo solves a lot.
How long does a first page take
For a simple first page, allow an evening or an afternoon, and don't be surprised if it takes a little longer. Most of the time doesn't go into sticking, but into choosing: which photo, which paper, and then laying everything out differently once more.
You don't have to do it in one go. Choose your photo and colours one evening, and lay out the page and stick it down another time. Short sessions of half an hour keep it light. Your second page will already be a lot quicker, because by then you know how you like to work.
Once it's finished, slip it into a sleeve and put it somewhere you'll see it. That one page is the beginning of a book.
Questions about this topic
How do I start scrapbooking?
Choose one photo that means something to you and make one page from it, not a whole album. A sheet of card, some patterned paper, scissors and glue are enough to get started.
What do I need for my first scrapbook page?
Sturdy card for the background, one or two sheets of patterned paper, your photos, sharp scissors and a ruler. Add double-sided tape, a glue stick and a pen that doesn't bleed through.
What order do you build a scrapbook page in?
Work from back to front: first the background, then the photo, a title and a short piece of text, and the decorations last. Lay everything out loosely first and only stick it down once it looks right.
What are common scrapbooking mistakes for beginners?
Too many photos on one page, filling every corner and using too many different patterns. It's also best to avoid sticking down the original of an old photo.