 · 6 min read
How to keep tickets, receipts and newspaper clippings in your album
A train ticket, the receipt from that one ice cream, a snippet from the paper. Here's how to stick them in your album without them fading, yellowing or damaging your photos.
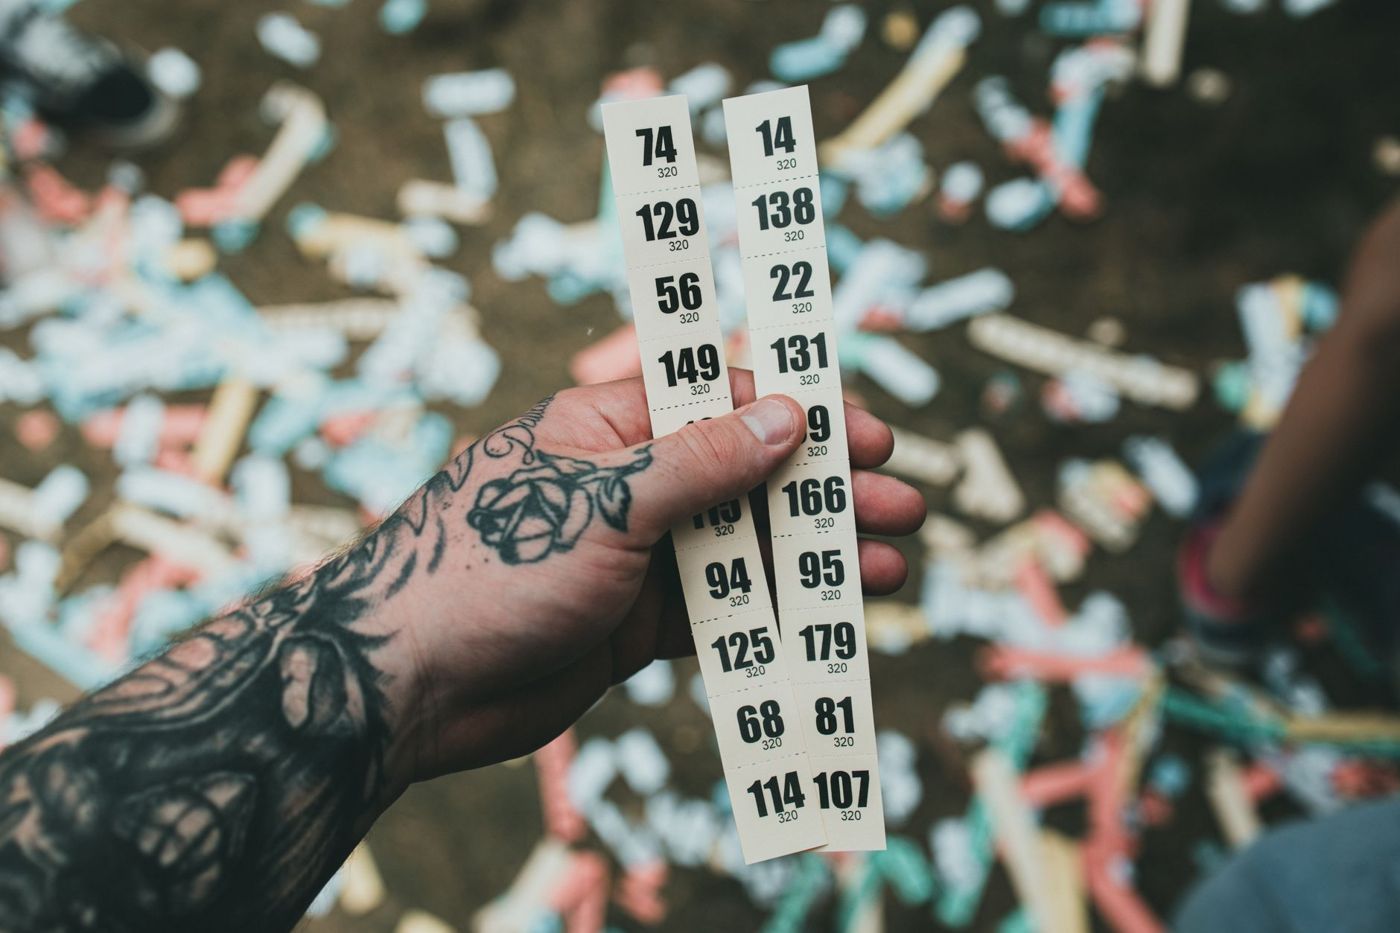
The loveliest things in an album often aren't the photos, but the bits of paper around them. The ticket from your first gig, the map of a city where you got lost, the receipt from a lunch you'll never forget. They make a page feel real. They were just never made to last, and after a few years you notice. A few simple habits keep them readable and protect the rest of your page too.
What is ephemera?
Ephemera are all the bits of paper and small things that were meant for brief use: admission tickets, train tickets, till receipts, postcards, leaflets, menus, letters, birth announcements, labels and newspaper clippings. Scrapbookers have collected them for as long as scrapbooks have existed. In the nineteenth century, people filled whole books with clippings, calling cards and advertising cards, and in archives these clippings are sometimes the only surviving copy of a news story.
Precisely because ephemera are throwaway items, the material is often of poor quality. Cheap paper, ink that isn't lightfast, or a special type of paper that fades on its own. That calls for a different approach from your photos.
Why receipts fade
Most till receipts, parking tickets and some train tickets are printed on thermal paper. There's no ink on it: the paper has a coating that turns black with heat. That same coating keeps reacting to heat, light, rubbing and certain substances later on. That's why receipts fade after a few years, or turn completely grey or black.
What helps keep them readable for as long as possible:
- Scan or photograph the receipt as soon as you can, ideally on the day itself. That way the text is safe, whatever happens.
- Stick a print of that scan in your album, and keep the original in a sleeve or small envelope next to it or behind it.
- Keep thermal paper out of the sun and away from heat, such as a lamp or radiator.
- Don't put it in a PVC sleeve. Plasticisers in PVC can make the text disappear. Choose sleeves made of polypropylene or polyester.
- Touch the printed side as little as possible, especially with hand cream on your hands.
- Don't use wet glue on the front, and don't write on it with a pen that presses hard or gets warm.
A receipt that has almost vanished can sometimes still be read by scanning it and turning up the contrast. Do it straight away; it won't get any better.
Newsprint and acid
Newsprint is made from cheap wood pulp containing a lot of lignin. That's the substance that makes paper acidic and turns it yellow. After a few years a clipping becomes yellow and brittle, and the acid can transfer to whatever is next to it: your acid-free cardstock, the journaling on the page or a photo touching it. You'll see brown stains on the page next to an old clipping in lots of old albums.
You have two options, and often you'll do both:
- Copy it. Make a copy or print of the clipping on acid-free paper and stick that in your album. It looks just the same, you can change the size and it stays white. Keep the original separately in an acid-free envelope or a sleeve.
- Separate it. If you want the real clipping in your album, slide it into a polyester or polypropylene sleeve, or put a sheet of acid-free paper behind it so it doesn't touch your page. Don't stick it directly onto your page and don't use sticky tape.
There's also deacidification spray for paper, which can neutralise the acid in a clipping. It slows down the yellowing, but it's a treatment you can't undo and results vary by product. Test it first on a piece you don't need, and leave anything valuable to a conservator.
Double-sided tickets, letters and postcards
Lots of ephemera have two sides worth keeping. A postcard with a picture and a greeting, a ticket with the date on the back, a two-page letter. Sticking it down means losing one side.
- Photo corners hold a card in place without glue. You can always take it out to read the back.
- A clear polypropylene sleeve or pocket, with the opening at the top, shows both sides. They come in all sorts of sizes, including ones you can stick onto a page.
- A small envelope on your page is ideal for letters and small cards. Write on the envelope what's inside.
- A flap or hinge, a strip of paper you stick to the edge of the card and to the page, lets the card open like a page.
- In an album with page protectors, you can slide a card loose into a slot of a pocket page. That way you can see both sides without anything being stuck to it.
Where you can, remove paper clips, staples and elastic bands from your ephemera. Metal rusts and elastic goes sticky, and both leave stains.
Bulky souvenirs like coins and wristbands
A festival wristband, a coin from abroad, a pin badge or a little shell: they're part of the story, but they're tricky in an album. Hard, thick things dent the page next to them, rub against photos and make the album bulge, which puts a strain on the spine.
What works well:
- Put small things in a sturdy polypropylene pocket and stick the pocket down, not the object.
- Never put metal directly against a photo. Cover sharp edges with a piece of paper.
- Place anything thicker on the facing page in a different spot, so two bulky things don't press against each other. Or give the facing page something of the same thickness, like a piece of foam, so the album closes flat.
- Things that can be flattened, like a fabric wristband, can be cut open and laid flat in a sleeve.
- Really bulky things, like a stone or a cork, belong in a little box next to your album. A photo of the object on the page tells the story just as well.
It's best not to put perishable things, like fresh flowers or a sweet, in your album. They can stain, make pages stick together and attract insects. Dried, pressed flowers are better, but even those are safest in their own sleeve.
Large newspapers and posters next to your album
A whole newspaper from the day your child was born, a gig poster or a large map of a walking route: it won't fit without folding it several times. Every fold is a weak spot. Paper breaks along the fold, especially acidic newsprint, and the thick stack strains the spine of your album.
It's better to store the large piece flat, in an acid-free folder or box in a size that fits, such as A3. In your album, put a small copy, a photo or the bit that matters, like the headline or the date, with a note that the original is in the folder. That way your album stays light and you still have the whole thing.
Small habits that help
- When you travel, bring an envelope or pouch for all the bits of paper, so they don't get crumpled in your bag.
- Write on the back or on a sticky note straight away what something is and when it was. In a year's time you won't remember.
- Don't stick anything down with sticky tape, and use glue that's acid-free and photo-safe.
- Scan special pieces before you use them. Then a slip with glue or scissors doesn't matter so much.
Questions about this topic
How do you keep receipts in a scrapbook?
Scan or photograph the receipt as soon as you can, stick a print of the scan in your album and keep the original in a polypropylene or polyester sleeve, out of the sun and away from heat. Avoid PVC, because plasticisers can make the text disappear.
Why do receipts fade?
Till receipts are usually printed on thermal paper, with a coating that turns black with heat. That coating also reacts to heat, light, rubbing and certain substances later on, which makes the text fade.
How do you keep a newspaper clipping without it damaging other things?
Stick a copy on acid-free paper in your album and keep the original separately in an envelope or sleeve. If you want the real clipping in it, slide it into a polyester or polypropylene sleeve, or put acid-free paper behind it.
What do you do with bulky souvenirs or large newspapers?
Put small things in a sturdy pocket and stick the pocket down. Keep really bulky things in a little box next to the album, and a large newspaper flat in an acid-free folder or box, with a small copy or photo in the album.