· 7 min read
Envelopes, flaps and hidden journaling
Too many photos, a story that isn't for everyone, or a ticket you don't want to glue down: pockets, flaps and tags give you extra room on your page.
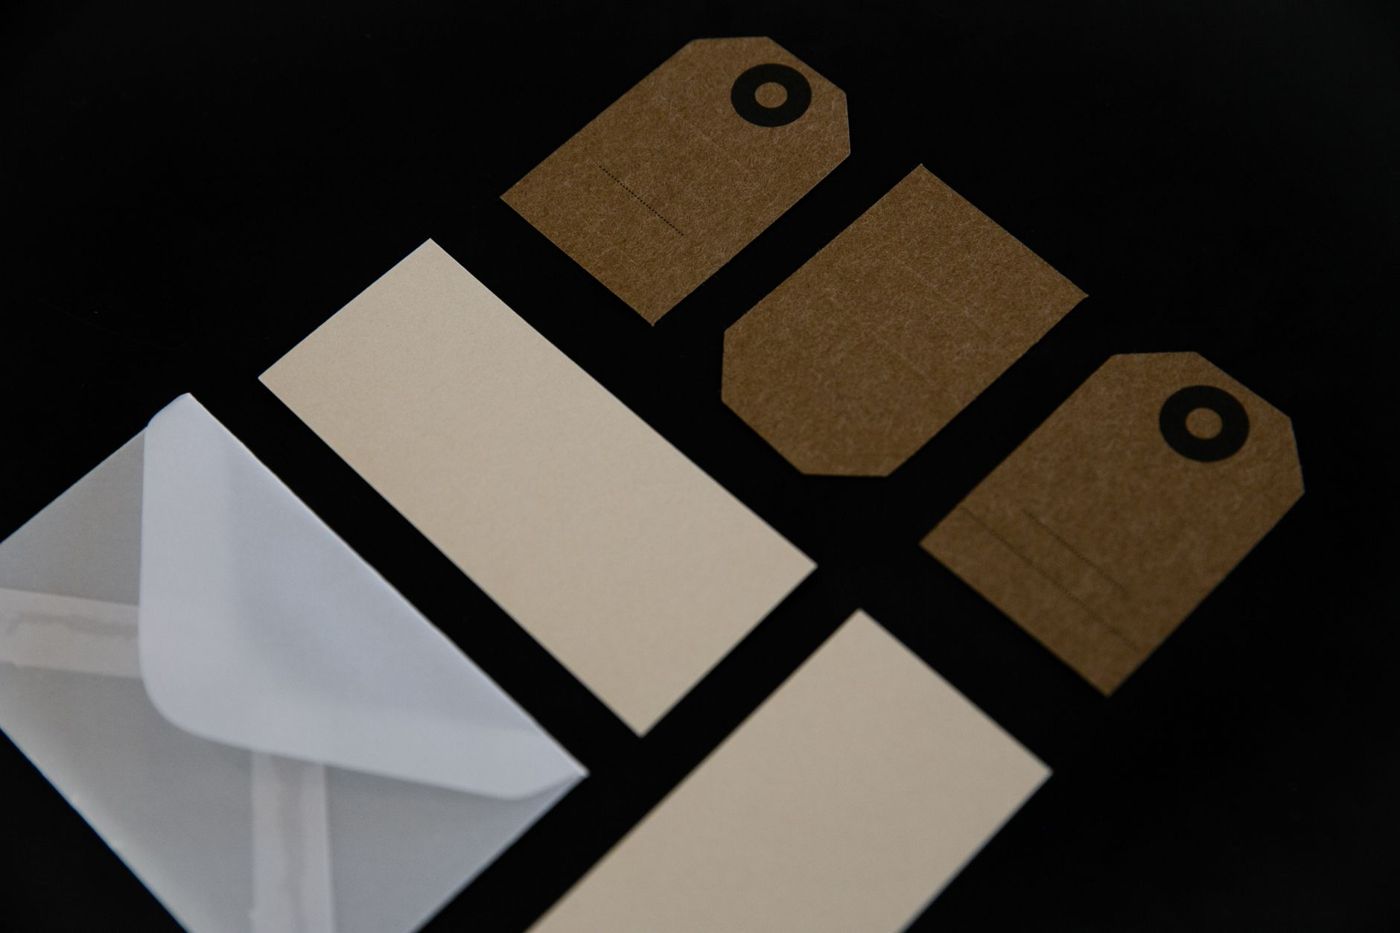
Sometimes it just doesn't fit. You have eight lovely photos and room for three. Or you want to write something down that isn't meant for everyone who leafs through the book. Or there's a ticket, a receipt or a little shell from the beach that you don't want to simply stick down. Pockets, flaps and tags solve that. They give your page a second layer, and whoever opens the book has something to discover.
A pocket or envelope on your page
A pocket is a little sleeve that's fixed on three sides and open on one. You can make it from cardstock (sturdy, plain paper), from patterned paper with a piece of card behind it, or use a ready-made library pocket. An ordinary envelope works just as well.
Here's how to make one:
- Cut a rectangle that's slightly wider than whatever needs to go inside.
- Put double-sided tape along three sides, leaving the top free.
- Stick the pocket onto the page and press the edges down firmly.
If you want it sturdier, you can also stitch the edges, by machine or by hand. It looks nice, too.
Stick an envelope to the page by its back. Don't seal the flap, or you won't be able to open it later without tearing it. A sticker or a scrap of paper on the flap that falls over the envelope when it's closed keeps it neatly shut and shows there's something inside. A few words on the front, like “look inside”, help as well.
Match the pocket to your page. On a page full of flowers, a pocket with a floral print barely stands out, and that's exactly the point if you want to tuck the story away a little.
Flaps for extra photos
A flap is a piece of paper that's fixed on one side and that you can lift. Underneath is a second page, without the book getting a page thicker.
The simplest version: mat a photo on a piece of cardstock slightly larger than the photo itself. Stick the text or a second photo onto the page. Lay the matted photo over it and tape only along the top. Lift the photo and you see what's underneath.
Need more room? Then you can go further:
- A fold-out: a strip of paper twice as wide as the page, folded in half and stuck to the edge. Unfolded, it gives you room for a panoramic photo.
- An insert: a half sheet or smaller page that you glue in between two pages or attach to the edge with a little strip.
- A pull-out photo: a large photo that sits in a pocket and that you slide all the way out to have a proper look.
With a flap, think about the direction. A flap that opens upwards falls back on its own. A flap that opens sideways can catch when you turn the page. A small loop of ribbon or a button makes it easy to grab.
Hidden journaling
Lots of scrapbookers know the feeling: you want to write something down, but it doesn't fit the design. Or the story is too personal to put openly on the page. A difficult time, a letter to your child, something you'd rather keep just for yourself or for one reader. So you end up writing less than you'd really like to.
Hidden journaling takes that pressure away. The words are there, but you don't see them straight away. That means you can write everything down without it getting in the way of your page design. A few places to put your words:
- On a card in a pocket on the back of the page, with a tab just peeking out of the top.
- Behind or under a photo that you lift like a flap.
- On tags tucked behind a photo.
- In a little envelope that looks like decoration from the outside.
- On a strip that you pull out of a label or a pocket.
Write with a pen that won't fade, ideally a pigment pen. Hidden words in particular are often only read again years later. If you're not keen on your handwriting, you can print the text instead.
Do bear in mind: hidden isn't secret. Anyone who picks up the book can open everything. If something really is just for you, keep it in a sealed envelope or leave it out.
Pull-out tags
A tag is a card shaped like a label, often with a hole and a ribbon at the top. In a pocket, it's the handiest kind of hidden space: the ribbon sticks out, you give it a pull and the story appears.
A tag has two sides: a photo on the front, the text on the back. Make it a little shorter than the pocket is deep, otherwise it sticks out too far and the top gets creased. And it's better to trim a bit off the tag than to cram it in.
A few ideas:
- Two or three tags one behind the other in a single pocket, each with its own part of the story.
- A tag with a photo that goes with the photos on the page, and the journaling on the back.
- A pocket with a window of clear plastic, so you can see a picture. Pull out the tag and the picture behind it appears.
Paper scraps are perfect for tags. If you've made lots of layers for other pages, you can easily cut a few tags from the leftover pieces.
Keeping small souvenirs without gluing them
An entry ticket, a coin from abroad, a lock of hair, confetti from a wedding or a dried flower: things like that you do want in your book, just not glued down. Little envelopes are ideal for them.
- Self-adhesive polypropylene pockets (not PVC) and small bags of thin translucent paper are handy for things you want to show.
- A paper envelope with a label on it works for something fragile, such as a lock of hair or something that might fade in the light.
- For loose bits that could fall out, like confetti, a closed bag is better than an open pocket.
Put heavy or bulky souvenirs at the edge of the page, not in the middle. That way they press less on other pages and are less likely to get damaged. Receipts on thermal paper fade over time; make a copy or take a photo to be on the safe side. There's a separate article about that too: keeping tickets, receipts and clippings.
How to stop your pages getting too thick
Every pocket, flap and envelope makes your book a little thicker. Once, you won't notice. But if every page has three, an album won't close any more and falls open like a fan.
A few things that help:
- Choose one element per page to put the focus on. A page with one good pocket works better than a page with five.
- Alternate busy pages with calm ones that have no extra layers.
- Use thin paper for flaps and tags that overlap. Save thick cardstock for the pocket itself.
- Keep souvenirs as flat as possible and spread them through the book.
- For an envelope mini album: stick to four or five envelopes. Any more and it starts to shift and gets bulky.
- If you use a binding machine or rings, plan in advance where the holes will go, so you don't punch through a pocket or tag.
With a post-bound or ring album, you can sometimes add a few extension posts or use bigger rings. That's not possible with a bound book, so there, less is more.
Start with one
For your next page, choose one thing: a tag in a pocket, or a photo you can lift. That's enough to discover how lovely it is to have room for the story you'd otherwise have left out.
Questions about this topic
How do you make a pocket for a scrapbook?
Cut a rectangle of cardstock or patterned paper slightly wider than whatever needs to go inside, put double-sided tape along three sides and stick it onto the page. The top stays open. If you want it sturdier, you can stitch the edges.
What is hidden journaling?
It's writing that's there on the page but not visible straight away, for example on a card in a pocket or behind a photo you lift. It lets you include personal things without them getting in the way of the page. It isn't secret: anyone who picks up the book can open everything.
How do you stop a scrapbook getting too thick with pockets and flaps?
Choose one element per page, alternate busy pages with calm ones and use thin paper for flaps and tags that overlap. Keep souvenirs as flat as possible and spread them through the book.
How do you keep a ticket or souvenir in a scrapbook without gluing it?
Put it in a little envelope or bag that you stick onto the page. A paper envelope suits something fragile, a closed bag suits loose bits like confetti.