· 7 min read
Art journaling: how to get started
A book where you can make a mess, stick things in and write, without it having to look good. Here's what you need and how to make your first page.
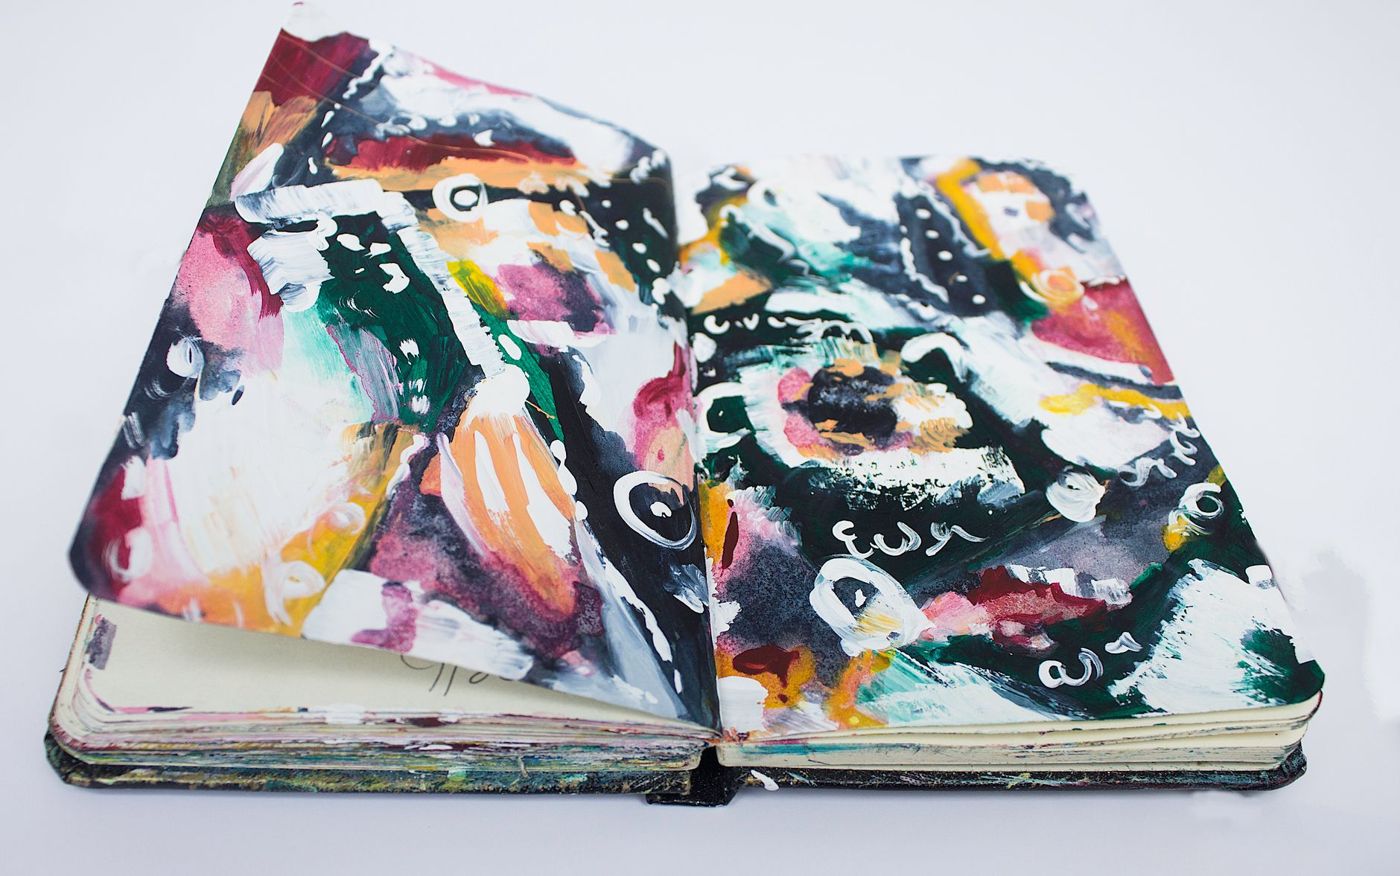
You may have seen them come by: pages full of paint, scraps of magazine, a stamped little bird and one sentence in big letters. That's art journaling. It often looks like art, but it's really a diary in pictures. The best part is that it doesn't have to look good. Here's how to start, with only a few supplies and without knowing what your style is.
What is an art journal?
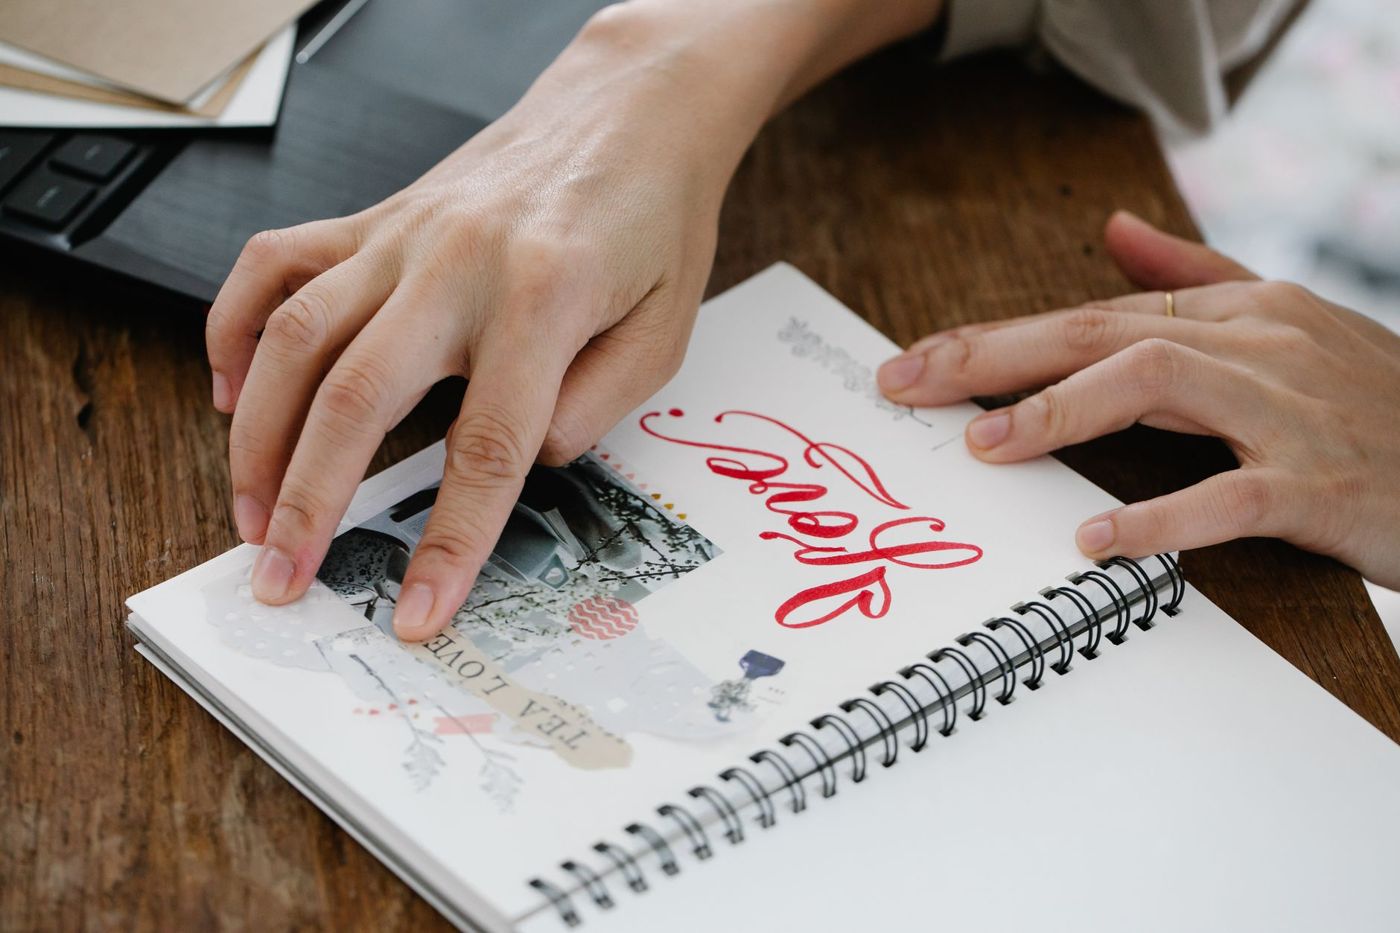
An art journal is a book where you use paint, collage, drawings, stamps and words to show what's on your mind. A feeling, a colour you were in the mood for, a sentence that stuck with you, a day you want to remember. There are no rules about what goes in it. It's about the making itself, not the end result.
The difference from a scrapbook lies mainly in the purpose. A scrapbook keeps memories: photos take centre stage, and it's often made to leaf back through later or to pass on. An art journal is more of a playground. You try out techniques, work through your thoughts and don't have to explain anything. Photos are welcome, but they're not a must.
The line is thin, by the way. Lots of scrappers use art journal techniques as a background for a layout, and an art journal page with a photo on it is really already a scrapbook page.
Which book should you choose?
The most important thing is the paper. Paint, glue and water make thin paper buckle, and whatever you put on one side shows through on the other. So choose paper of at least around 200 gsm. Ordinary printer paper is 80 gsm, so that's well over double. Watercolour paper of around 300 gsm can take even more.
Things to look out for:
- Mixed media books are made for dry and wet materials at the same time. For a first book, that's the safest choice.
- Watercolour books can take a lot of water, but the rough texture can make fine lines tricky.
- A spiral-bound book lies flat when open and lets you turn a page over easily. A bound book feels more like a real book and lets you work across the middle.
- A5 is a nice size to start with: big enough to play, small enough to fill quickly.
It doesn't have to be expensive. An old hardback from a charity shop, a diary or a notebook with slightly thicker paper will do too. Give the pages a coat of gesso first, and glue two together if needed, so they become sturdy enough.
Basic supplies to get started
You need less than the videos suggest. This short list will take you a long way:
- Gesso: a white primer that looks like thick paint. It makes paper sturdier, helps paint stick better and stops moisture from seeping through as much. Once dry, the layer feels slightly rough, so pencil and pastel grip better too.
- Acrylic paint: a few tubes of student-quality paint are enough. White, black and two or three colours you like. Acrylic paint is waterproof once dry, so you can build it up layer upon layer.
- Glue: a glue stick for paper, or matte medium (an acrylic medium that works as both glue and a protective layer) for thin paper, napkins and magazine pages.
- Pens: a waterproof black fineliner, and a white gel pen or paint pen for writing on dark or painted backgrounds. Ordinary felt-tip pens often don't glide well over dry acrylic paint.
- Tools: a flat brush, an old bank or loyalty card for spreading paint, baby wipes for wiping off and a pair of scissors.
Handy for later, but not necessary: stencils, stamps, washi tape, ink and texture paste. Start small and only buy something once you notice you're missing it.
You don't need to buy collage materials. Collect cards, old maps, wrapping paper, receipts, magazine pages and pretty packaging. An envelope or a zip-lock bag for each type makes things easier to find later.
Your first page: background, image, words
A blank white page can be paralysing. That's why it helps to think in three layers. You don't have to do them in one evening: the background today, the image tomorrow and the words at the weekend works just as well.
Layer one: the background
First, spread a thin layer of gesso over the page and let it dry. Then pick one colour and paint the whole page. As soon as it's no longer white, the first hurdle is gone.
A few simple ways to bring more life to your background:
- Put some paint on an old bank card and drag it across the page. The streaks and gaps are exactly what makes it lovely.
- Place two or three colours side by side and let them blend a little where they meet. Choose colours that go together, or it'll turn brown.
- Stick on bits of magazine, old book pages or a napkin and paint partly over them.
- Dab paint through a stencil or flick a little watered-down paint from a brush.
Let each layer dry properly before you carry on. Wet paint on wet paint quickly turns to mud.
Layer two: the image
Choose one thing to be the eye-catcher. That could be a cut-out picture, a stamp, a simple shape like a circle or a heart, a photo or a drawing. If you can't draw, that's no problem: collage and stamps do the same job.
Place your image loosely on the page first and move it around until it feels right. Then stick it down. If you want a crisp stamp on a rough, painted surface, stamp onto thin tissue paper and glue that on. It'll look as if you stamped straight into the book.
Layer three: the words
Words make a page personal. One word can be enough, a sentence that moved you, or a few lines about how your day went. Write big and dare to use your own handwriting. Wonky letters are part of you.
If you want to write something no one is allowed to read, you can do that too. Write it on the page and then paint over it, or write it on a loose card that you tuck behind a flap.
Finally, you can add a few lines, dots or a border with a white gel pen or a black fineliner. That finishes it off.
What if you don't know your style yet?
That's normal, and actually the most fun part. A style comes from making, not from thinking about it. A few things that help:
- Try one new technique on every page. After ten pages, you'll know what you like and what you don't.
- Work with a limited colour palette, for example two colours plus black and white. Limits make choosing easier.
- Use a theme or a word as a starting point when you don't know what to make: a season, a place, a song lyric.
- Feel free to follow a tutorial and copy it. That's practice, and your own choices will creep in naturally.
- Leaf back through once a month. Which pages make you happy? Which colours and techniques keep coming back? That's where your style is.
Ugly pages are part of it. You can always work over them, as a layer of gesso makes everything new again. Or you leave them as proof that you tried something.
Do you have to show your pages?
No. An art journal is yours. Lots of people keep theirs completely private, precisely because that gives them the freedom to make a mess and be honest. You don't have to explain anything to anyone.
Some people like to share a page now and then, with a friend, at a creative afternoon or online. That can inspire you and give you confidence, but it isn't a requirement. If you want to keep or show a page without letting the book out of your hands, you can scan it and choose for yourself who sees it.
Keep your book somewhere you can easily grab it, and make a page whenever you feel like it. Three times a month is enough. It's not about keeping it up, it's about enjoying it.
Questions about this topic
What's the difference between an art journal and a scrapbook?
A scrapbook keeps memories, with photos at the centre. An art journal is more of a playground for trying out techniques and working through your thoughts, and photos are welcome but not a must.
What paper do you need for an art journal?
Paper of at least around 200 gsm handles paint and glue better, and watercolour paper of around 300 gsm can take even more. You can make thin paper stronger with a coat of gesso.
What do you need to start art journaling?
A book with thick paper, gesso, a few tubes of acrylic paint, glue and a waterproof pen are enough. You don't need to buy collage materials: cards, magazine pages and packaging work just fine.
Do you need to be able to draw to keep an art journal?
No. Collage, stamps and words do the same job as a drawing, and an art journal doesn't have to look good.