· 8 min read
Which glue to use for photos, paper and embellishments
Tape runner, glue dots or liquid glue after all? What's safe for your photos, what's best left alone and what to reach for with ribbon, vellum and heavy embellishments.
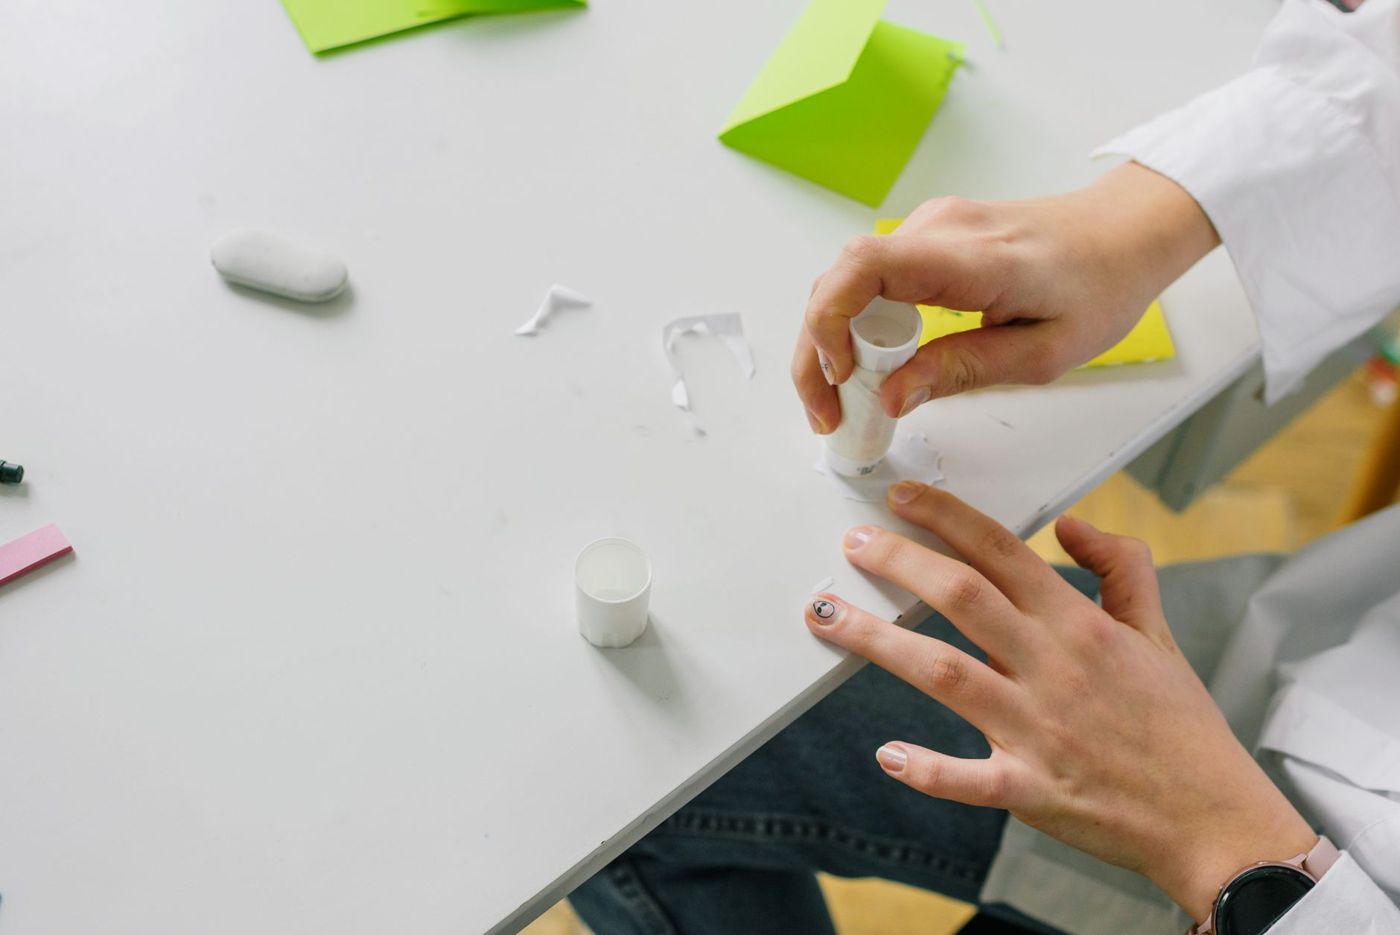
Glue is the least exciting thing in your stash, yet it decides whether your page is still intact in twenty years. If you've ever leafed through an old album, you'll know the yellowed strips of sticky tape and the photos that simply come loose. Below you can read, type by type, what each one does, what you're better off leaving alone and what to reach for with ribbon, vellum and heavy embellishments.
Wet and dry adhesives
Wet glue is anything liquid or spreadable that has to dry: liquid craft glue, glue sticks, glue paste and spray adhesive. It often holds strongly and fills in unevenness. The downside is the moisture: paper can start to ripple, and you have to wait until it's dry.
Dry adhesive comes ready on a roll or sheet and sticks straight away. There's no drying time and no moisture involved, so your page stays flat. The best-known types:
- Tape runner or adhesive roller: a dispenser you use to run a thin layer of glue or tiny dots across the back of your paper. Quick and clean, for paper on paper and for photos. There are refillable and disposable versions. Press lightly and evenly, or the tape will run crooked or jam.
- Double-sided tape: often stronger than a tape runner and can be cut to size. Use an old pair of scissors or non-stick scissors for this, because it makes your good scissors sticky and blunt.
- Photo squares: small squares of double-sided tape, also called mounting squares. One in each corner of a photo is enough, and you can't see them under the photo.
- Glue dots: circles of adhesive on a sheet or roll. You can get them flat for light paper, thicker for buttons and other embellishments (decorations such as buttons, flowers and charms), and as a narrow strip for ribbon. There are permanent and removable types.
- Foam tape and 3D pads: thick pieces of foam with adhesive on both sides, to lift something up and add depth.
What's safe for photos
Photos are chemically sensitive. Acidic glue, acidic paper or acidic sleeves can seep into a photo over the years, causing yellowing and discolouration. So check the packaging for acid-free, pH-neutral and photo-safe (or archival). If the packaging says PAT, the product has been tested for harmful reactions with photos. We explain exactly what acid-free paper means in a separate article.
For photos, dry adhesives are the better choice: a tape runner, photo squares or double-sided tape sold as photo-safe. Always put the adhesive on the back, never on the image side.
Acid-free doesn't automatically mean something will hold for a long time. Cheap glue sticks in particular lose their strength over time, so photos come loose after a few years. For paper on paper, a good glue stick is fine; for photos, you're better off choosing a dry adhesive.
The safest option is photo corners: small triangles you slide the photo into. Only the corners are stuck down, and the photo itself never touches any glue. If you have an original you don't want to lose, stick in a print or copy and keep the original separately.
What you're better off not using
Some adhesives are in every drawer, but don't belong in an album that needs to last.
- Ordinary sticky tape: yellows, turns brittle and lets go after a few years, leaving a brown stain as a keepsake.
- Rubber cement: sticks strongly and stays flexible, but the classic types discolour and give up over time. Conservators come across old albums where the rubber cement has failed and everything is lying loose in the book. Acid-free versions do exist, but they're messy and show through thin paper.
- Wet school glue or white craft glue that doesn't say acid-free: lots of water, so rippling and stains. Not designed to stay good for decades.
- Hot glue: the heat can damage photos, and the blobs make your page thick and lumpy.
- Foam directly on a photo: not all foam is acid-free. If you want to raise a photo, mount it on a mat of cardstock (sturdy, plain card) first and put the foam under that mat.
Ribbon, vellum, fabric and heavy embellishments
Ribbon sticks down most neatly with a narrow strip of double-sided tape or an adhesive strip on the back. You can also fold the ends over and stick them to the back of the page, so nothing shows. If you're working with liquid glue, hold the ribbon in place with a small peg or pin until the glue is dry.
Vellum is tricky, because almost every glue shows through it. Only stick it where something will go on top later, such as a title, a photo or an embellishment. Or fix it mechanically with brads (split pins), staples or a few stitches with needle and thread. A thin, even layer of spray adhesive also gives a smooth result, without streaks or dots.
Stick thin fabric down with a thin layer of spray adhesive or with liquid craft glue spread out with a small brush. Use only a little, so the glue doesn't soak through the weave.
For heavy embellishments made of metal, plastic or chipboard (thick, sturdy card), liquid craft glue is the strongest. Use only a little: glue that seeps out from under a charm can discolour the paper around it. Buttons and small enamel dots stay put with thick glue dots.
Stick clear acrylic shapes down with a clear glue that dries transparent, so you don't see white patches through the plastic. Glue like this dries slowly. A handy trick is to add a glue dot to hold everything in place until the glue has set, because a glue dot on its own can slide on a page that stands upright.
For sequins, gems and delicate die cuts, a glue pen with a fine tip works well. With many glue pens, if you press something down while the glue is still wet, it stays put. If you let the glue dry until it's tacky first, you can move it again later. Read the packaging, because this varies from brand to brand.
How to avoid wrinkles and bumps
Wet glue and paper get on fine, as long as you stick to a few things.
- Use less than you think. Spread the glue thinly with a small brush or a plastic spatula, or put down small dots instead of covering a whole area.
- Put the glue on the piece you're sticking down, not on the background. That way you know exactly where the glue is.
- Work on sturdy paper. Thin printer paper ripples much faster than cardstock.
- After sticking, smooth it down with a bone folder, from the centre outwards, with a sheet of scrap paper in between to prevent marks.
- Let it dry flat under weight, for example under a few heavy books, with baking paper in between so nothing sticks together.
- Need to stick down a large area? Then reach for a tape runner or spray adhesive instead of liquid glue.
- Do a test on an offcut first, especially with photos printed at home. Wet glue can make ink run.
Use spray adhesive in a well-ventilated room, with a large box or old newspaper to protect your work surface. Spray adhesive usually isn't made for photos: use it on paper and embellishments, and only on photos if it says photo-safe. Also, lay everything out loosely on the page before you stick anything down. What isn't stuck yet doesn't need peeling off.
If you want to remove photos later
Do you think you might want to swap a photo or take it out one day, for example because something is written on the back? Then choose one of these methods.
- Photo corners. Slide the photo into the corners and stick the top two down first. With thick photos, such as Polaroids, stick down two diagonally opposite corners first.
- Repositionable photo squares. Stick them along two sides first, straighten the photo and then add the other two. This stops the photo from bulging.
- Removable glue dots. They hold well, but can be carefully pulled off again later.
- Washi tape. Sticks lightly and usually comes off again without tearing. Lovely as a decorative border, but too weak to hold an important photo on its own.
Repositionable spray adhesive lets you slide things around for a while, but after that it's simply stuck. So you can use it to make corrections, but not to remove anything later.
Just stuck a photo in the wrong place? Slide a piece of dental floss behind the photo and carefully work it back and forth with a sawing motion. Photos that have been stuck down for years need more than that.
A small basic kit
You don't need ten kinds of glue. Two or three will get you a long way: a tape runner for paper and photos, a liquid glue with a fine tip for details and heavy embellishments, and glue dots or foam tape for buttons and height. Add a packet of photo corners for the photos you want to be able to remove.
Put the cap back on your glue stick and glue pen after use, or they'll dry out. And write on the packaging when you bought it. An adhesive that's been sitting in the drawer for years often sticks less well than you'd think.
Questions about this topic
What glue is safe for photos?
Choose a dry adhesive that's acid-free and photo-safe, such as a tape runner or photo squares, or use photo corners. Always put the adhesive on the back of the photo, never on the image side.
What glue should you avoid in a photo album?
Ordinary sticky tape, rubber cement, hot glue and wet school glue aren't meant for an album that needs to last. They yellow, lose their strength or damage the photo.
How do you stop paper wrinkling when using wet glue?
Use only a little glue, spread it thinly and work on sturdy paper. Then let the glued sheet dry flat under weight, for example under a few heavy books.
How can you remove photos from a scrapbook later?
Go for photo corners, repositionable photo squares or removable glue dots. If a photo is accidentally stuck in the wrong place, carefully slide dental floss behind it and work it with a sawing motion.