· 6 min read
You don't have to be creative to scrapbook
Can't draw, don't like your handwriting? With scrapbooking, it matters less than you think. Here's how to do it anyway.
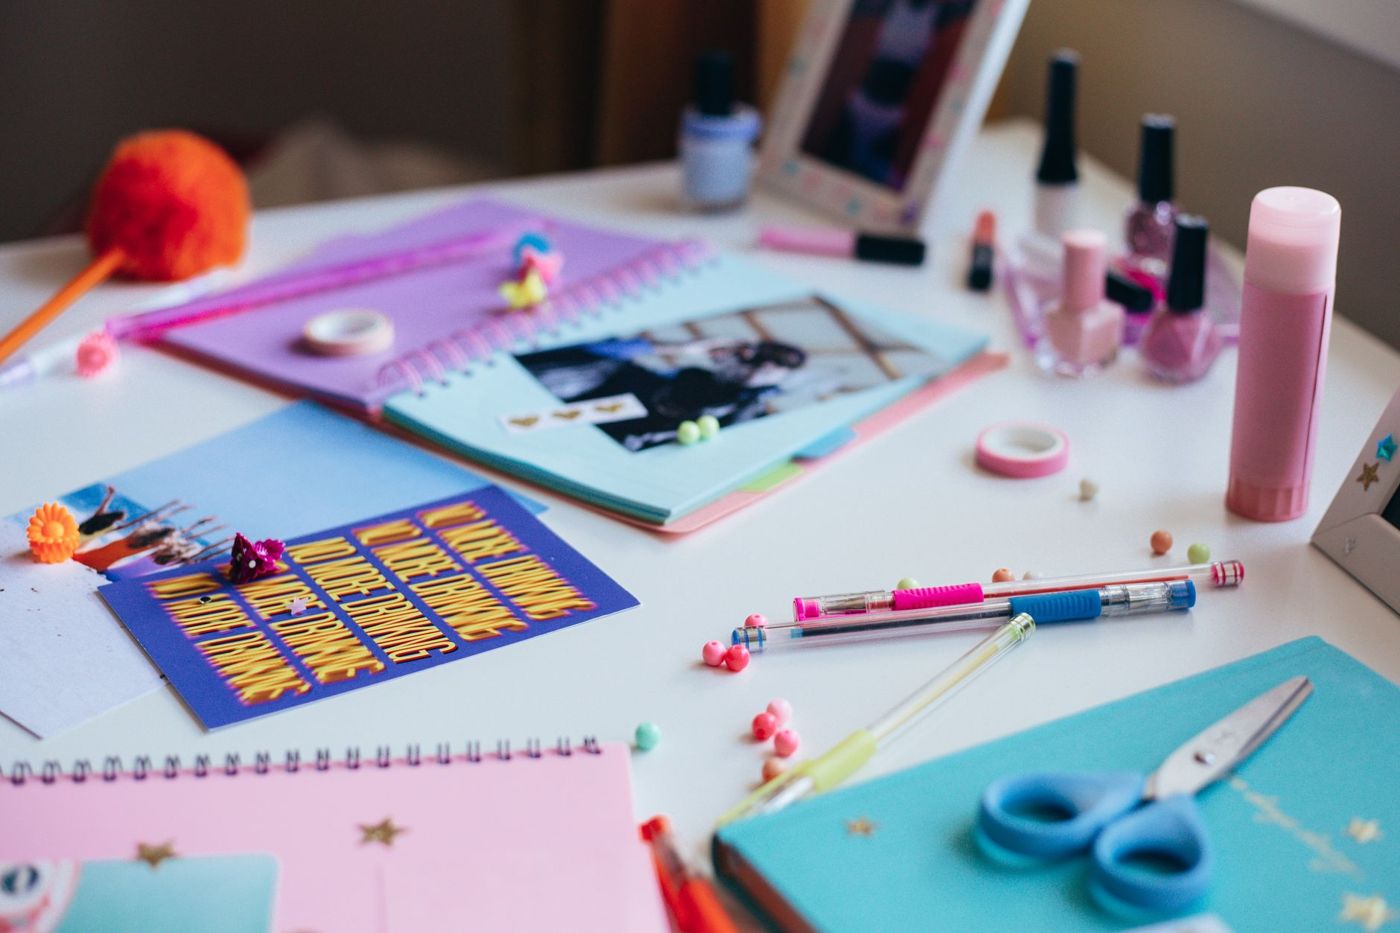
Many people who are unsure say the same thing: I can't draw, my handwriting is ugly, I'm just not creative. With scrapbooking, that matters less than you think. You work with photos and paper that already exist, and your job is mostly choosing what goes together and giving it a place. You learn that simply by doing it.
Do you need to be able to draw or write nicely
No. Most scrapbook pages involve no drawing at all. The paper already has a pattern, the photos tell the story and you buy or cut out the decorations. Drawing is a nice extra for those who want it, not a requirement.
Handwriting is just the same. Lots of scrappers don't like their own handwriting, yet that handwriting often ends up being the most personal part of the page. If you'd still rather not see it, there are plenty of alternatives:
- write in block capitals, which look calm and are easy to read
- use letter stickers for titles
- stamp a word or date with an alphabet stamp set
- type your text, print it and cut it out
And what you write doesn't have to be literature. Who, where, when and one sentence about what you remember is enough. Nobody is going to mark your book. Spelling and beautiful sentences are a side issue.
Scrapbooking is mostly choosing and arranging
You're not making a work of art out of nothing. You start with a photo that means a lot to you, find a sheet of paper with a colour that also appears in that photo, and start moving things around. Lay everything out loose first, without glue. Look, leave it for a moment, look again and move things once more. Only stick it down when it feels right.
That's where most of the work is, and it's exactly the kind of work you also do when you decorate your home or pick an outfit. You don't need to be able to make anything, just to see what you like.
Choosing also means leaving things out. A beginner scrapper often puts too much on, afraid the page will look empty otherwise. One main photo or two or three smaller photos per page is enough. Make the most important photo the biggest and place the rest around it, so the eye knows straight away where to look.
For many people, a white page is the hardest place to start. So start on patterned paper instead, in other words printed paper with a design. There's already something there, and that takes away the pressure of the blank sheet.
Tools that make it easy
There are plenty of tools that do the thinking for you. They're not tricks for people who can't do it; experienced scrappers use them just as much.
- Sketches. A sketch is a simple drawing of a layout, the structure of a page, with boxes for photos, a title and text. You fill those boxes with your own materials. That way you don't have to think about the structure, and yet every page still looks different.
- Kits and collections. Paper and embellishments (decorations such as stickers, labels and cards) from the same collection are matched in colour and style. Everything goes with everything, so you can hardly get the combination wrong. For digital scrapbooking, ready-made kits exist too.
- Stamps. With a few stamps you can add a title, a date or a small motif to your page without drawing. If a stamp comes out crooked, that's fine; it's part of handmade work.
- Frames and pens. Draw a frame around a bit of text by hand, without a ruler. It can be a little wonky. With a fine pen and a thick one you can also vary the size and weight of your lettering, and that quickly adds depth.
Feel free to look at pages you like as well and copy the layout with your own photos. That's how most scrappers learn. A beginners' workshop or an afternoon of scrapping together helps too: you see how others arrange and choose, and you don't have to figure everything out yourself.
A practical tip: only buy what you'll really use for your next few pages. A big stash doesn't make choosing easier; if anything, it makes it harder.
When your pages look less nice than the ones online
What you see online is a selection. They're the best pages, photographed in good light, often by people who have been scrapping for years. With bullet journals, too, people give up, or never even start, because they think every page has to be a work of art. So don't compare your first page with someone else's hundredth.
Your book is for you, first and foremost. Lots of experienced scrappers say their first page was messy, with crooked photos and clashing colours, and that they're still attached to it. In a few years you'll mainly see the moment in the photo, not how straight it was stuck down.
If something really bothers you, work out what exactly it is. Usually a page is simply too full. Take one thing away and look again. Often that's all it takes.
You'll find your own style naturally
You don't have to choose a style in advance. It's what's left from the choices you keep making. After ten pages or so you might notice that you always reach for the same soft colours, or that you leave lots of space, or that you'd rather fill every bit.
After a while, lay your pages side by side. Which do you most enjoy looking at? Do more of that. What felt like a chore? Leave it out from now on.
You can also collect pictures and pages that appeal to you in a folder or notebook. Every now and then, look at what they have in common: the colours, the amount of decoration, the way the photos are placed. That way you see what you like, even before you make it that way yourself.
Small exercises to build confidence
Start small. One page about one moment works better than trying to fill a whole album straight away. These exercises help make it easier to begin:
- One photo, one paper, one word. Choose a photo, a sheet of paper that goes with it and one word as a title. Nothing more. You'll notice how calm a page like that looks.
- Follow a sketch exactly. Take a simple sketch and stick to it completely. You practise arranging without having to second-guess the layout.
- Make two versions. Lay your materials out loose and take a photo of them with your phone. Move everything around and take another photo. Compare them side by side and choose. This trains your eye, and you'll see straight away that there isn't just one right answer.
- Stick down something small. Make a page around a cinema ticket, a receipt or a note. Small things carry less weight than that one precious photo, so it's easier to dare to start.
- Write a title three ways. In capitals, in joined-up writing and with a thick pen. Do it on a scrap of paper. Your own hand often turns out to be nicer than you thought.
- Pick a gentle rhythm. Aim to make one page a week, no more. An achievable goal keeps it fun.
If something goes wrong, turn the page and start again. Everyone starts somewhere, and every page you make makes the next one easier. A book full of what you treasure becomes beautiful all by itself.
Questions about this topic
Do you need to be able to draw to scrapbook?
No. Most scrapbook pages involve no drawing: the paper already has a pattern and you buy or cut out the decorations. Drawing is an extra for those who want it.
What can I do if I don't like my handwriting?
Write in block capitals, use letter stickers or an alphabet stamp set, or type your text and print it out. Lots of scrappers later find their own handwriting is the most personal part of the page.
What is a sketch in scrapbooking?
A sketch is a simple drawing of a page's layout, with boxes for photos, a title and text. You fill the boxes with your own materials, so you don't have to come up with a layout yourself.
How do I find my own scrapbooking style?
You don't have to choose it in advance. After ten pages or so, lay your work side by side, see what you most enjoy looking at, and do more of that.