 · 8 min read
Paper that doesn't buckle with glue, paint and water
Wrinkles after gluing, a bulging page after watercolour or a curl after embossing: here's how to stop paper buckling, and how to get it flat again.
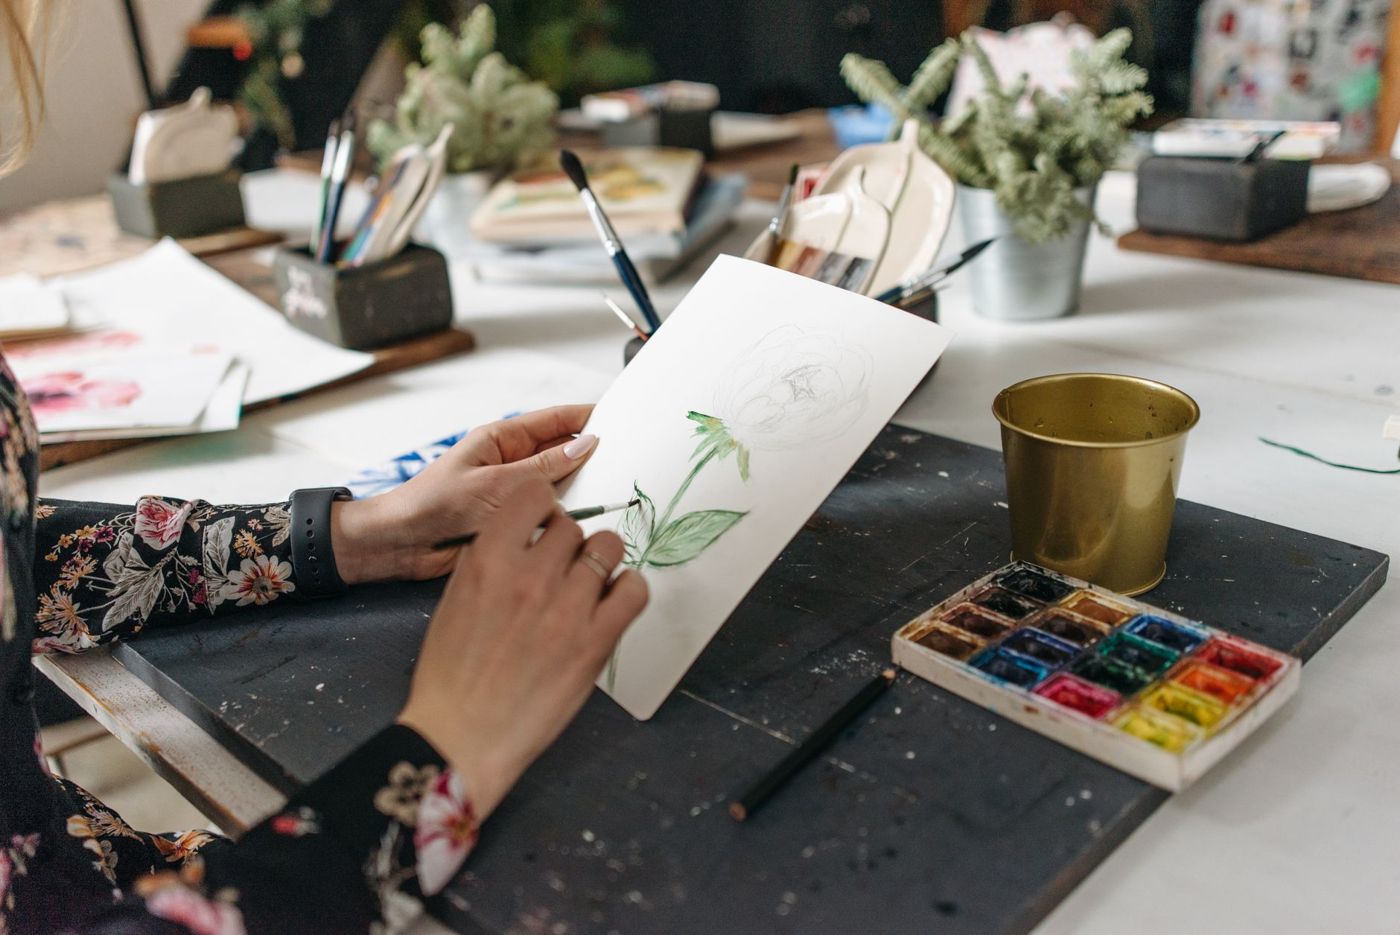
You stick a lovely sheet of patterned paper onto your page and an hour later it's full of wrinkles. Or you paint a soft watercolour background and the whole page bulges like a roof tile. Buckling paper is one of the questions scrappers ask most, and the good news is that you can largely prevent it. And if it does happen, you can usually get it fairly flat again.
Why paper buckles
Paper is made of fibres, usually from wood. Those fibres absorb moisture and swell, especially in width. If water, wet glue or paint gets onto one side of the sheet, that side expands while the other side stays dry. The paper has nowhere to go, so it starts to bulge.
As it dries, the fibres shrink again, but not everywhere at the same speed and not always back to their old shape. Where the paper was wettest, ridges remain. That's why wet glue often leaves waves running in one direction: the direction the fibres lie in the sheet, known as the grain.
Heat works the same way, but the other way round. When you emboss with a heat tool, one side of the paper dries out very quickly and shrinks, so the sheet often curls towards the heat.
So three things decide how much trouble you'll have: how thick and sturdy the paper is, how much moisture you put on it, and whether you treat both sides the same.
Which paper can handle water and paint
Thin paper buckles fastest. Ordinary drawing paper or printer paper of 80 to 120 gsm warps from just a little glue. If you want to work with wet materials, choose paper that's made for it.
- Watercolour paper is made to get wet. It's sized, so water doesn't soak in deeply straight away, and it's heavy. The thicker it is, the less it buckles. Paper of around 300 gsm stays a lot calmer than thinner kinds.
- Mixed media paper is sturdy and can take paint, ink and a bit of water. Great for art journals and backgrounds.
- Heavy cardstock, the plain card many scrappers use as a base, copes well with dry adhesive and a little paint. Large amounts of water, not so much.
- Textured drawing paper looks sturdy, but it eagerly soaks up wet glue and buckles because of it. Smooth paper of the same thickness does better.
If you still want to paint on thin or pretty patterned paper, you can seal it first. A thin layer of clear gesso or a matte acrylic medium stops paint and water soaking into the fibres. Let that layer dry completely before you carry on.
Another option: paint or colour on a separate piece of watercolour paper and stick it onto your page afterwards. Lots of journalers do this in their thin planner or notebook. The page stays flat, and you can let the piece dry first and only then fix it in place.
Wet glue without wrinkles
Often it isn't the paper but the glue. White craft glue and wood glue are largely water, and that water goes into the paper. On a card or page, that's often exactly when things go wrong.
The easiest fix is dry adhesive. Double-sided tape, a tape runner or a good glue stick add almost no moisture to the paper, so they won't make it buckle. For large areas, such as a sheet of patterned paper on a base page, that's by far the calmest choice.
If you do use wet glue, for example for a collage or a piece of thin paper that needs to line up exactly, these habits help:
- Use as little as possible. A thin, even layer. Too much glue dries unevenly and leaves bumps.
- Spread the glue with a palette knife or a soft brush, from the centre out to the edges.
- With thin paper: put the glue on the base, not on the thin paper itself.
- Let the paper relax for a moment. Wait a minute after applying glue: the paper curls first, then goes limp again. Only then stick it down.
- Smooth it down from the centre outwards with an old bank card or a plastic scraper. Wipe away any glue that squeezes out at the edges straight away.
- Work on baking paper or old magazines you throw away as you go, so your work doesn't stick to the table.
You can also lightly dampen thin paper beforehand with a plant mister. It buckles first, then relaxes. Because it has already expanded before it's stuck down, it shrinks more evenly afterwards.
Pay attention to the grain too. If the fibres of the paper and the base run in the same direction, they shrink together as they dry and everything stays flatter. You can find the grain by gently bending a sheet: it bends more easily one way than the other.
Finally, let a glued page dry flat, with a sheet of baking paper on top and some weight, such as a few books. Giving it a day to dry before you slide it into your album is well worth it.
Preparing watercolour paper beforehand
If you're really working wet, with lots of water and soft blends, even thick watercolour paper buckles a little. There are two ways to limit that.
The simple way: tape the sheet down all round with masking tape onto a sturdy surface, such as a board, a sheet of glass or a cutting mat. The paper can't lift up and dries flatter. Let it dry completely before you remove the tape, and peel the tape off slowly, at an angle away from the paper, so you don't tear the edge.
The thorough way is stretching, the way painters do it:
- Wet the whole sheet, with a sponge or by briefly laying it in a tray of water.
- Let it drain for a moment, so it has fully expanded.
- Lay it flat on a board and fix the edges all round with gummed paper tape, which you wet to make it stick.
- Let it dry lying flat. The paper shrinks and pulls taut like a drum.
You can then work as wet as you like on that taut sheet. Only once you've finished and everything is dry do you cut it free. For a small card it's a bit much, but for a large background or a spread you want to fill with watercolour, it really makes a difference.
Let wet work dry on its own rather than with a heat tool. Fast, uneven drying actually causes more warping.
Getting buckled paper flat again
If it's happened anyway, there are a few ways to rescue it. It won't always be perfect, but it's often good enough to stick onto a page.
- Press it. Put the sheet between two sheets of clean paper under a big pile of heavy books. The heavier and the longer, the better. A few days isn't too long.
- Iron it with damp tea towels (for unpainted paper). Lightly dampen two tea towels with a plant mister; they should be damp, not wet. Put the paper between them and go over it with an iron on a medium setting, calmly and evenly, until the top towel is dry. Turn the bundle over and repeat. Then leave it under the books for another night.
- Iron dry work with baking paper in between. A painted piece that's only slightly warped can also be ironed flat on a low setting with baking paper between the iron and the paper. Keep moving and don't stay in one spot, or the colour may change.
Never wet painted paper itself to flatten it; your colours may start to run. Try ironing on an offcut of the same paper first, especially with paint, gesso or embossing powder: heat can soften them or make them shiny.
If it's going into a frame or between pages in a sleeve, slight buckling often disappears by itself because it gets pressed flat.
Heat embossing without warping
With heat embossing, you melt embossing powder with a heat tool. On thin paper that quickly causes a curl. What helps:
- Use heavy cardstock instead of thin paper.
- Keep the heat tool moving and a few centimetres from the paper, so you don't heat it for longer than needed. As soon as the powder turns shiny, you're done.
- Warm up the heat tool for a moment first, next to your work. The powder then melts faster.
- Let the sheet cool under a book after embossing. A slight curl usually straightens out again.
With thin paper, a slight curl is often hard to avoid. Stick an embossed piece of thin paper onto a sturdier base, or try it on a test piece first.
With dry embossing, using an embossing folder in a die-cutting machine, some scrappers dampen the paper beforehand for a crisper relief. Water actually makes the paper curl and dry slowly. It's better to spritz a tiny amount onto the folder itself instead of the paper, or leave it out altogether. Put that page under some weight for a while afterwards too, and it will stay flat.
Questions about this topic
Why does paper buckle when you put glue or paint on it?
The fibres absorb moisture and expand, more on the wet side than on the dry side. As they dry, they shrink unevenly, so the paper stays wavy.
How do you stop paper wrinkling when you glue it?
Use dry adhesive where you can, such as double-sided tape or a glue stick. If you use wet glue, use only a little, spread it from the centre outwards and let the page dry flat under weight.
How do you flatten buckled paper?
Put it between clean paper under a pile of heavy books; a few days isn't too long. You can also iron unpainted paper between lightly damp tea towels and then leave it under the books for another night.
How do you stop watercolour paper buckling?
Tape the sheet down all round with masking tape onto a sturdy surface, or stretch it with gummed paper tape. Let it dry lying flat and only cut it free once everything is dry.