· 7 min read
How to make your own cards with your scrapbooking supplies
With your leftover patterned paper, a card is quick to make. These are the basics: the right card stock, a size that fits the envelope, a crisp fold and a calm layout.
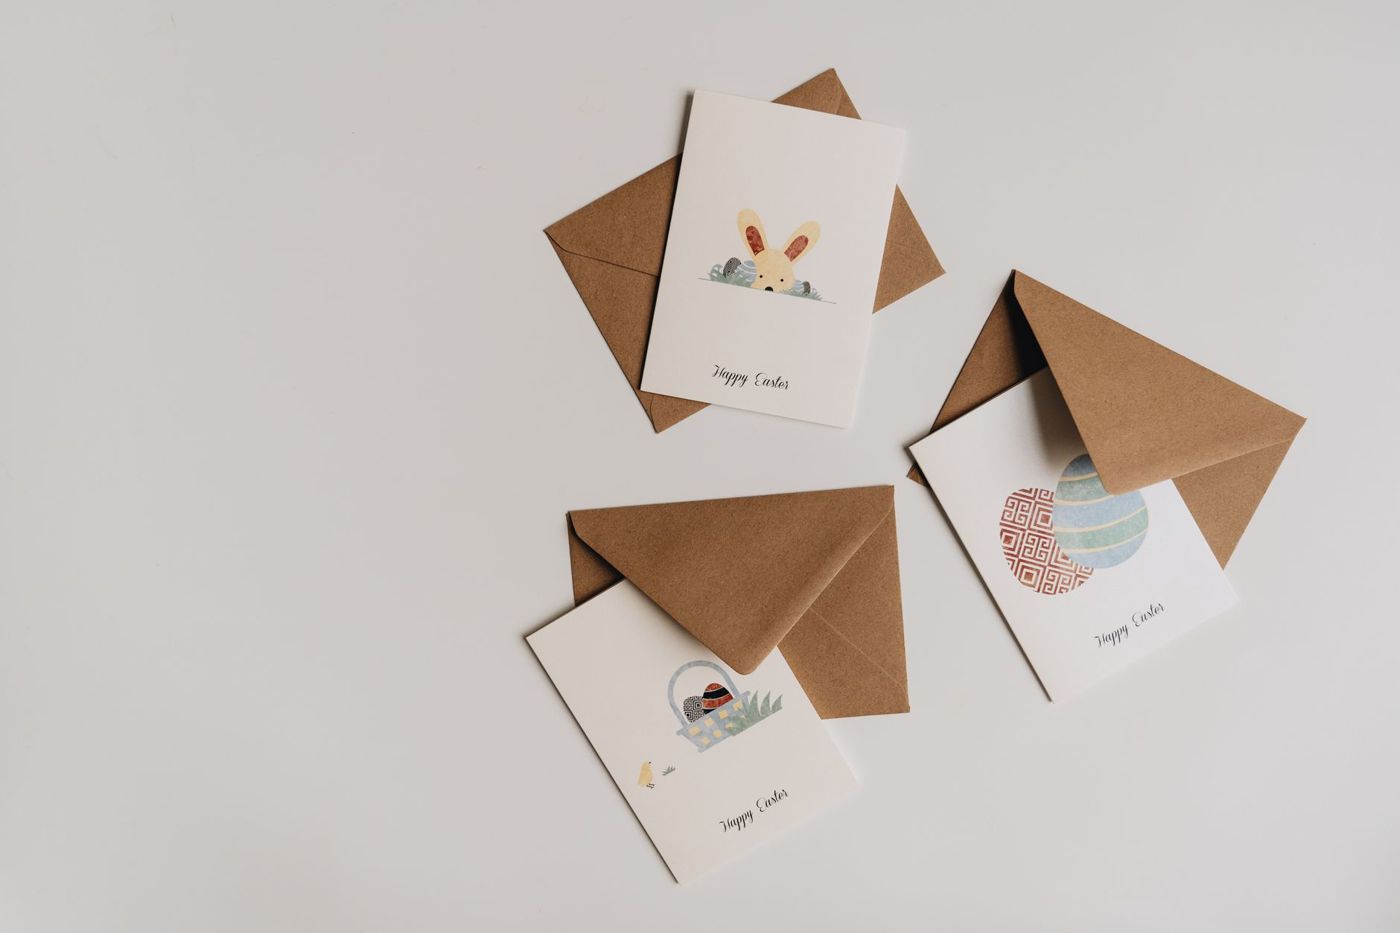
If you scrapbook, you already have everything you need to make cards: leftover patterned paper, stickers and a few die cuts left over from a page. A card is also a nice place to practise, because on a small format you quickly see what works. Whether a card looks neat depends mostly on the basics: sturdy card stock, a size that fits an envelope and a crisp fold.
Sturdy card stock for the base
The card base is the folded piece of card that everything goes on. It needs to stand upright, even with a few layers stuck on. For that you use cardstock, sturdy plain card.
- As a rule of thumb, around 220 gsm is enough for a simple, flat card.
- If you're adding several layers or heavy embellishments, choose 250 to 300 gsm. Thinner card bends or falls over.
- White, cream and kraft (brown card that looks unbleached) are the handiest colours to start with. A stamped image comes out best on smooth white card.
Patterned paper, the printed paper from your paper pads, is too thin to make a card on its own. Stick it onto card as a layer. The same goes for two-tone card with a white core. It's lovely for tearing edges, but it's usually too floppy for a base.
Sizes and the envelope that goes with them
Start with the envelope. A card that doesn't quite fit is a waste of all that work, so choose your size before you start decorating. These are the usual sizes:
- A piece of card measuring 14.5 x 21 cm, scored at 10.5 cm. Folded, the card measures 10.5 x 14.5 cm and fits a C6 envelope (11.4 x 16.2 cm). You get two from one A4 sheet.
- An A6 card: half an A4 sheet (14.8 x 21 cm), folded to 10.5 x 14.8 cm. This also fits a C6 envelope.
- An A5 card of 14.8 x 21 cm goes in a C5 envelope (16.2 x 22.9 cm).
- A slimline card: 21 x 18 cm, scored at 9 cm, folded to 9 x 21 cm. Narrow and elegant. It fits a DL envelope (11 x 22 cm).
- A square card, for example 15 x 15 cm, with a square envelope that's slightly bigger.
A portrait card has the fold at the side, a landscape card at the top, like a little tent. If you're following an American tutorial, the base is often 4¼ x 5½ inches (10.8 x 14 cm). That size also fits a C6 envelope, so there's no need to convert.
Scoring and folding
Scoring means pressing a shallow groove into the card where the fold needs to go. This weakens the fibres there, so the card bends neatly instead of cracking. With sturdy card, scoring is pretty much always necessary.
You can score with:
- a paper trimmer with a scoring blade, so you can cut and score with one tool
- a scoring board with a bone folder
- a ruler and something blunt, such as an empty ballpoint pen, an unbent paperclip or a small crochet hook
A few things that help:
- Line the ruler up exactly with the measurement and press firmly, but not so hard that you go through the card.
- Fold along the groove and flatten the fold with a bone folder. Put a sheet of paper in between so you don't get shiny streaks on dark card.
- Card has a grain: most of the fibres run in one direction. A fold that runs with the grain comes out smoothest. If a fold cracks raggedly, cut the next base from the sheet in the other direction.
- Try out a new paper trimmer or a new pack of card on a scrap first. If the cut is ragged, the blade is blunt and you can replace it.
A simple layout in four layers
A card is really a small page. These four layers will almost always do the job:
- Base. The folded card in white, cream, kraft or a colour.
- Mat. A layer of patterned paper or coloured card that's slightly smaller than the front, so a narrow border of the base stays visible all round. For a 10.5 x 14.5 cm card, 9.5 x 13.5 cm is a good size, leaving half a centimetre of border on each side. You can add a second, slightly smaller mat on top.
- Focal point. The one thing that catches the eye: a stamped or die-cut flower, a picture from your paper pad, a tag or a small photo. Don't automatically put it in the middle. Slightly higher or slightly to the left often looks more natural.
- Sentiment. A greeting, stamped, as a sticker or handwritten on a strip of card. Place it close to the focal point so they belong together.
Liquid glue gives you a moment to slide a layer straight, double-sided tape is quicker. With 3D foam tape, thick foam tape, you lift a layer and add depth. Stick it just inside the edges so you can't see it from the side.
If the base is dark, stick a light sheet inside that you can write on. Two or three heartfelt sentences say more than a long, generic message.
Calm and clean, or full of layers
Clean and simple, often shortened to CAS, is a style with lots of white space: a white base, one focal point, a short sentiment and nothing else. It looks calm and crisp, but it takes precision. A crooked fold or a glue mark shows straight away.
A layered card uses several mats, different papers, foam tape and embellishments: decorations such as buttons, pearls, ribbon or die-cut leaves. For scrapbookers that often feels familiar, and it's a good way to use up scraps. Strips of equal width give a calm background, and die cuts left over from a page still find a home this way.
Both styles work, as long as there's one clear focal point. Cards mostly go wrong through too many colours, too much decoration or papers that don't go together. A few guidelines:
- Choose two or three colours and stick to them.
- Work from one paper collection, perhaps the same one as your last page. Then your card and album match.
- Leave some space open somewhere, even on a layered card.
- Don't add decoration just because you happen to have it lying around.
Keep the inside and the parts that fold against each other as flat as possible. Otherwise the card won't close properly, and with special fold styles it will catch.
Posting a bulky card safely
Foam tape, buttons and shaker cards, cards with a little window full of sequins that slide back and forth, make a card thick. That's lovely when it's in your hand, but on the way a sorting machine can flatten or pull off parts that stick out.
- Stick everything down well. Hold the card upside down and give it a shake: anything loose, stick down again.
- Keep embellishments a little way from the edges, as that's where a card takes the most knocks.
- On a shaker card, check that the window is sealed all round so no sequins leak out.
- Put the card in a cellophane bag or fold a sheet of paper around it, so glitter and glue residue don't stick to the envelope.
- Place a piece of sturdy card on both sides, or choose a padded envelope or a flat box.
- Use an envelope that's roomy enough so the card isn't squashed.
A thick envelope sometimes won't fit through the letterbox or costs more postage. If in doubt, check the post's current rules, or have it weighed and measured at a post office counter before you post it. If a card is very fragile, it's best to hand-deliver it.
A little stack ready to go
Once you've got the hang of the basics, cut and score a few cards at once and stick a mat on each in advance. When there's a birthday on the calendar, you only need to add a focal point and a sentiment. That way you can make a card in a quarter of an hour that looks like it was made with care.
Questions about this topic
What card stock should I use for handmade cards?
Use cardstock for the base. As a rule of thumb, around 220 gsm is enough for a simple card; for several layers or heavy embellishments choose 250 to 300 gsm. Patterned paper is too thin for a base, so stick it onto card as a layer.
What size card fits in a C6 envelope?
A 10.5 x 14.5 cm card, or an A6 card of 10.5 x 14.8 cm, fits a C6 envelope of 11.4 x 16.2 cm. An A5 card of 14.8 x 21 cm fits a C5 envelope.
Why do you need to score card before folding it?
Scoring presses a shallow groove into the card, which weakens the fibres so it bends neatly instead of cracking. With sturdy card, scoring is pretty much always necessary.
How do I post a bulky card with foam tape or sequins?
Stick everything down well, keep embellishments a little way from the edges and put the card in a cellophane bag. Use a roomy, sturdy envelope and, if in doubt, check the post's current rules.