 · 7 min read
How to choose and place embellishments without the clutter
Stickers, buttons, little flowers and labels: how many do you use, and where? Here's how to decorate your page so your photos stay the star.
You have a lovely photo, a sheet of paper that goes well with it, and a box full of little treasures. Then it starts: another sticker, another button, another flower. Before you know it, you can't see the photo any more. Choosing and placing embellishments is less a matter of taste than you might think. With a few simple habits, every page becomes calmer and stronger.
What are embellishments, exactly
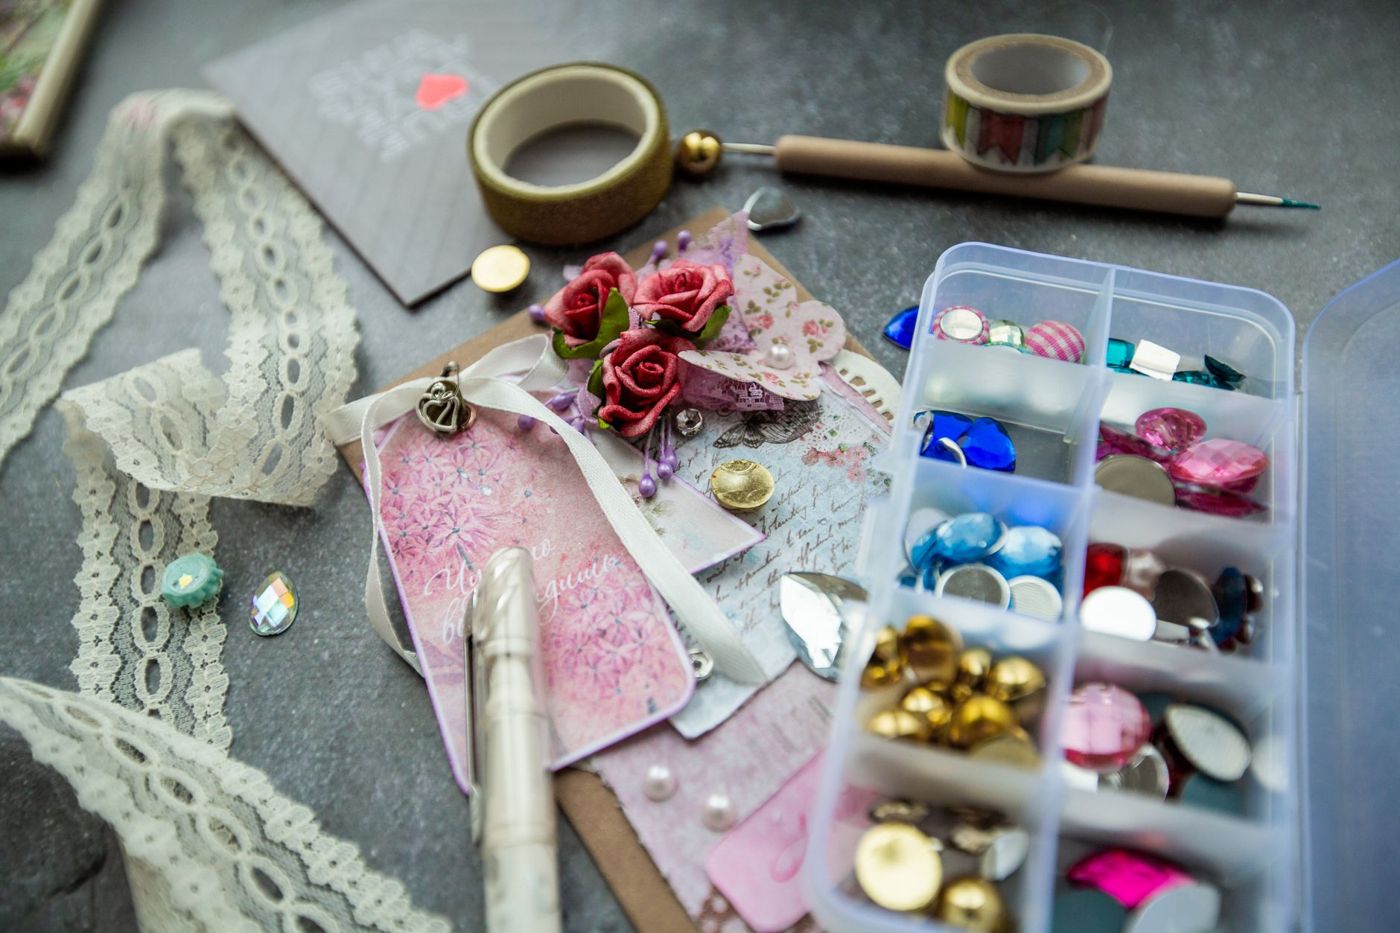
Embellishments is the umbrella term for everything you add to a page to finish it, besides your photos, paper and text. They're the accents. Think of:
- stickers, from flat paper stickers to raised puffy stickers
- die cuts: shapes cut out with a die-cutting machine, bought loose or cut yourself
- chipboard: shapes and letters made of sturdy card
- enamel dots and epoxy stickers: small glossy dots and domes
- brads (split pins), buttons, pearls, gems and sequins
- paper or fabric flowers, leaves and sprigs
- labels, tags and cards
- ribbon, twine, lace and washi tape
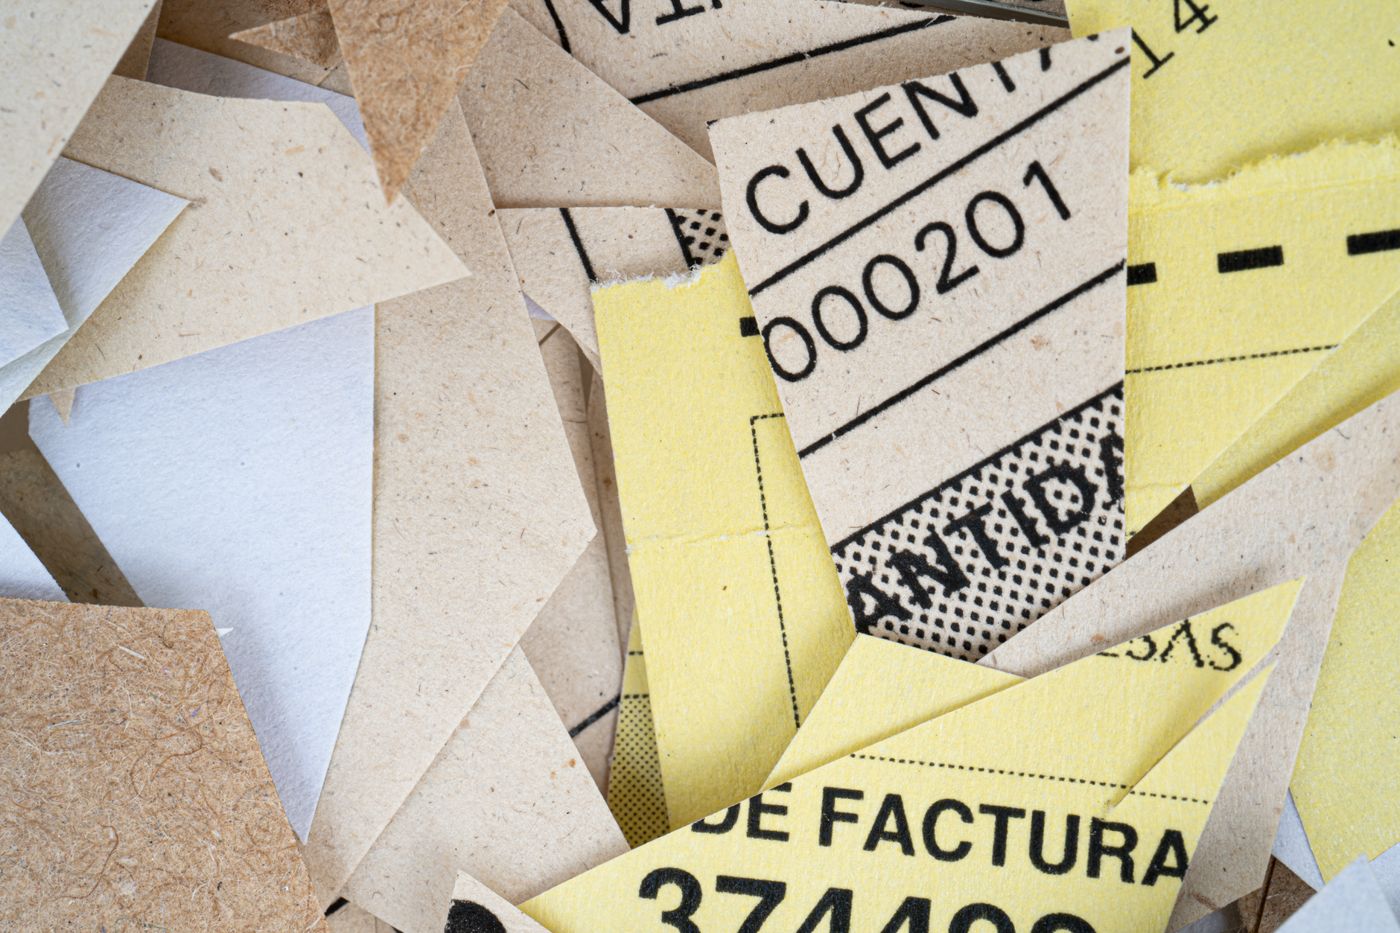
- ephemera: paper from real life, such as tickets, labels and leaflets, but also the cut-apart pieces from a collection
There's a handy way to divide them. Some embellishments have a clear meaning, like a little aeroplane, a cake or a word. Others are neutral: buttons, brads, dots and gems suit almost any subject. Those neutral pieces are the workhorses of your box, because they add colour and texture without telling a story.
How much is enough
There's no fixed number, but there is a good question: does this piece help my photo or my story? If not, leave it out. Don't add anything just because it's pretty.
A few rules of thumb that many experienced scrappers come back to:
- The more photos, the fewer embellishments. A page with five photos often needs no more than one or two small groups. A page with one photo can take more.
- Choose a limited colour palette and keep your embellishments within it. Two or three main colours per page keeps things clear.
- Sometimes one well-chosen sticker in the right spot is all you need.
- Let empty space be. That space lets your photo breathe, and it isn't something you have to fill.
If you're unsure, lay everything loosely on the page and take a photo with your phone. On the small screen you'll see straight away whether it's too full. Then take one piece away and look again. Only stick things down once you're happy.
Grouping in clusters
Single stickers scattered across the page quickly look messy. It's better to group them in a cluster: a small group of embellishments that together form one whole. You build a cluster from large to small.
- Start with a larger piece as a base, such as a label, a card or a scrap of paper.
- Place one or two medium-sized pieces on or against it, for example a flower or a die cut.
- Finish with something small: a word sticker, a button, a few dots.
Odd numbers often look more natural than even ones. Three dots around a cluster work better than two or four. Vary your materials too: a hard metal or glossy piece feels warmer with something soft beside it, like a paper flower or a bit of ribbon.
A cluster can also flow into your title or a bit of text. When two groups sit close together, you read them as one. That way the bottom of a page becomes one flowing band instead of a row of separate bits.
The triangle rule
A visual triangle guides the eye across the page. You place three clusters or three accents in the same colour so that together they form a triangle around your photo. The eye jumps from point to point and keeps coming back to the photo.
It can be very small. Three red buttons in different places, three strips of the same gingham paper or the same leaf three times. It doesn't have to be an equilateral triangle; a lopsided one actually looks more lively.
If you like working with the rule of thirds, you can combine the two. Imagine the page divided into nine equal squares. Put your main photo on one of the intersections and place the clusters along the lines. That gives you structure without making it stiff. There's more about these kinds of design principles in a separate article.
Embellishments around the photo, not on top of it
The photo is the most important thing on the page. So don't stick anything right across a face or over the moment itself. Embellishments belong beside it, around it or just under the edge.
A few spots that almost always work:
- On a corner of the photo. A cluster that overlaps the corner by half connects the photo to the page.
- On the edge where photo and paper meet. A flower or label there softens the hard line of the photo's edge.
- Tucked under the photo. Glue only the middle of your photo or paper layer, so you can slide a leaf, a tag or a piece of ephemera underneath. It then looks as if it's peeking out from behind.
- Where several photos meet. With three photos, you can place three small clusters on the outer corners so they become one group.
Ideally, choose embellishments that echo what's in the photo, and take the colours from the photo itself. A little bird with a photo in the park, a tiny fork with a dinner out. Don't be afraid to let something stick out over the edge of the page and trim off the excess afterwards. That feels airier than keeping everything neatly inside the lines.
Chunky embellishments without a bulging album
Depth brings a page to life, but an album that won't close is no fun. And chunky pieces can leave marks on the photos on the facing page.
Here's how to keep it under control:
- Use thin foam tape or foam pads of 1 to 2 mm. That already gives visible shadow and depth.
- Replace the final layer of paper with a row of stitching, a stripe of paint or a strip of tape. Tape adds an extra layer without adding thickness.
- Use a strip of paper or stitching where you'd otherwise use a thick ribbon.
- Save buttons, large flowers and 3D pieces for one spot per spread, and don't always put them in the same place. If all the chunky pieces sit in the bottom right, the album will close at a slant.
- Press paper flowers a little flatter, or choose flat versions such as vellum or die-cut flowers.
Store albums with lots of texture upright and don't put anything heavy on top. A post-bound album with extension posts or a ring binder with larger rings gives more room for thick pages.
Making better use of what you already have
Most scrappers have more embellishments than they'll ever use up. You don't need to keep buying new collections to keep your pages exciting.
- Cut motifs from patterned paper. A cloud, a flower or a hot-air balloon from a sheet is free embellishment that matches your paper perfectly. This is called fussy cutting.
- Use scraps. Strips, circles, labels and little flags are easy to make from offcuts of earlier pages. Small irregularities are what make them lively.
- Turn ephemera into a cluster. A ticket, a label or a piece of a map makes a great base for a group.
- Repeat one element. The same little stamp or postage stamp three or five times, in a row or loosely scattered, looks intentional, and you only need one kind.
- Replace one large piece with a group of small ones. If you don't have a large flower, three buttons, a mini tag and a sticker together create the same effect.
- Shape your stickers. Gently curve a sticker or a sprig over your finger before you stick it down, so it sits less flat and looks more alive.
- Organise your box differently. Sort your embellishments by colour instead of by type. Suddenly you'll spot combinations you'd otherwise miss.
And above all: don't stick everything down straight away. Move things around, look, take things away. The best page is usually the one where you took off one last thing at the end.
Questions about this topic
How many embellishments should you put on a scrapbook page?
There's no fixed number. Ask yourself whether each piece helps your photo or story, and leave it out if it doesn't. The more photos on the page, the fewer embellishments you need.
What are embellishments in scrapbooking?
Everything you add to a page to finish it, besides photos, paper and text: stickers, die cuts, chipboard, buttons, flowers, labels, ribbon, washi tape and ephemera.
How do you make an embellishment cluster?
Start with a larger piece as a base, such as a label or card, add one or two medium-sized pieces on top and finish with something small. Odd numbers, such as three or five, often look more natural.
How do you stop a scrapbook album getting too thick?
Use thin foam tape, replace the final layer of paper with stitching or tape, and spread chunky pieces throughout the album. Don't always put them in the same place, or the album will close at a slant.