· 7 min read
What is a scrapbook sketch and how do you make a page with it?
A sketch is a floor plan for your page. Here's how to use one, adapt it to your own photos and draw one yourself.
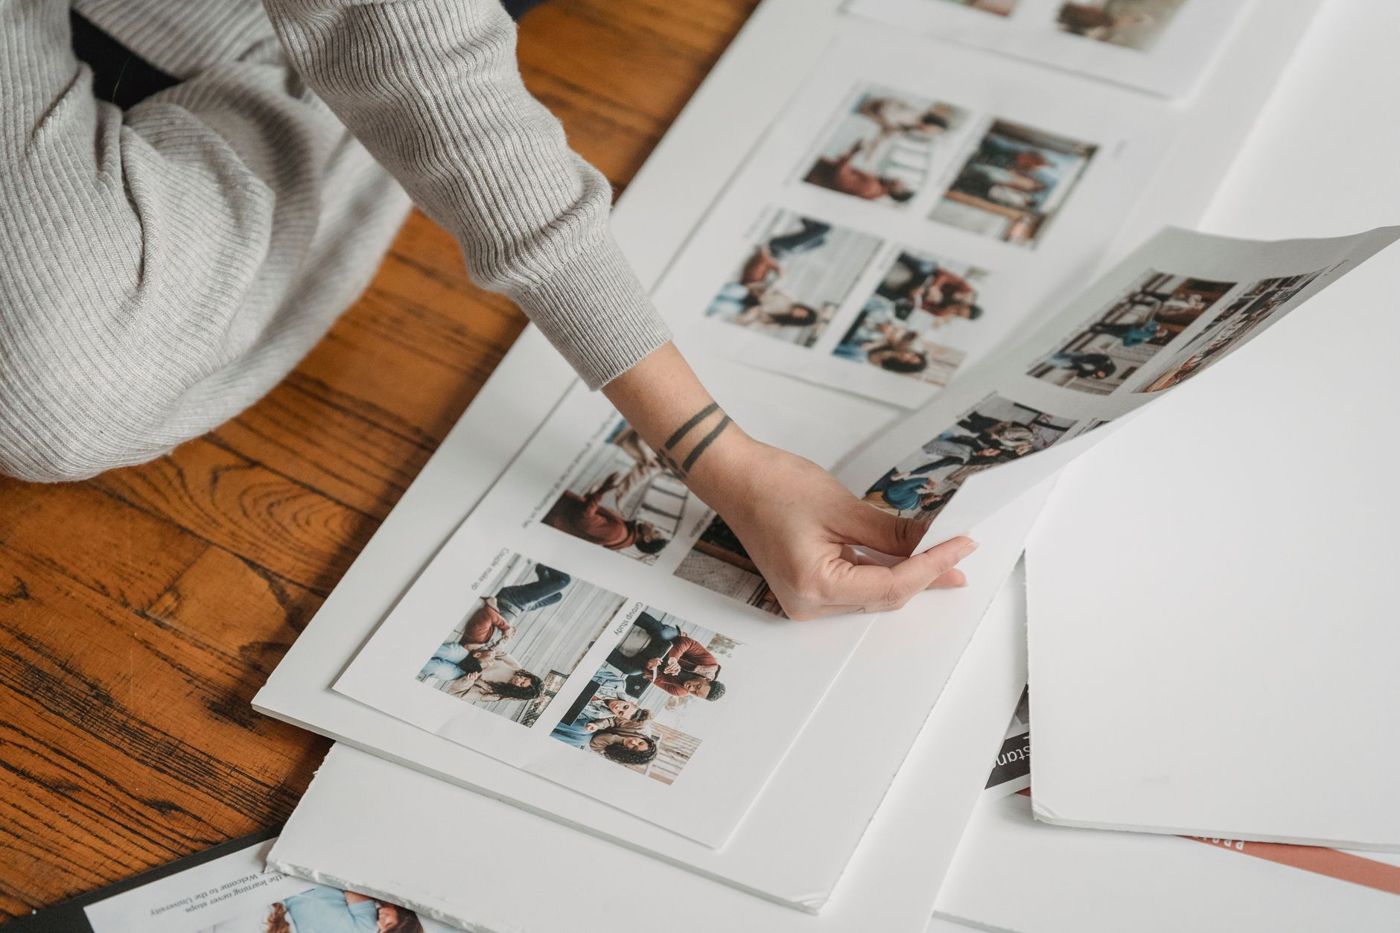
You've picked your photos, the paper is ready, and still you keep staring at that blank page. Where does the photo go, where does the title go, and how do you stop it turning into a mess? A sketch makes that first decision for you. You get a floor plan, and you fill it in with your own photos and your own story.
What a sketch is
A sketch is a simple drawing of a page. All you see are shapes and lines: rectangles for photos, a bar for the title, a few stripes for strips of paper and a circle where embellishments go. Sometimes it also shows where the journaling belongs, the written part of your page.
There are no colours, patterns or themes in it. That's what makes a sketch so useful: the same drawing becomes a beach page, a birthday or an ordinary Tuesday, depending on what you put on it. Lay twenty versions of one sketch side by side and they hardly look alike.
A sketch helps most when you're short on time, want to catch up on a backlog or simply don't know where to start. The design work is already done; you get to choose and stick.
How it differs from a template
In practice the words get mixed up, in other languages too. Still, it helps to know the difference.
A template is fixed. In digital scrapbooking it's a ready-made layered file that you drop your photos and paper into; you don't decide the shapes and sizes yourself. On paper, scrappers often mean a stencil or guide for tracing or cutting out a shape when they say template.
A sketch is an idea, not a stencil. It shows how the parts relate to each other, but the sizes, materials and finish are up to you. That means you can shift it, stretch it and turn it until it suits whatever is on your table.
Do you have to follow it exactly?
No, but you can. Copying a sketch exactly, with the same boxes in the same places, often gives you a calm, balanced page. There's nothing wrong with that, because your photos and paper already make it your own.
You can also use it as a guide: follow the main lines and leave things out, add something or move it as you go. If an empty corner feels like it's missing something, put a flower or a label there, even if it isn't in the drawing.
And sometimes you take just one thing from it. The grid, for example, or the spot your eye goes to first. From that one idea you build up your own page.
A sketch is meant to get you going, not to put you under pressure. Even in challenges on scrapbooking blogs the rules are usually relaxed: you can turn, shift and adapt.
Fewer photos than boxes
Four photo boxes don't mean you need four photos. Use what you have and give the remaining boxes a different job:
- a block of journaling or a tag with your story
- a subtitle, or simply the place and the date
- something you've kept, such as a ticket, a leaflet or a label from a piece of clothing
- a panel of matching patterned paper or a cluster of embellishments (decorations such as stickers, buttons and paper flowers)
You can also merge two boxes into one large space for a photo that deserves more room. If your photo is bigger than the one in the sketch, decorate a little less. Otherwise the page quickly gets too full.
More photos than boxes
Divide a large box into smaller ones. Where the sketch shows one portrait photo, two landscape ones might fit, for example. Place the photos or their mats (the border of paper underneath) close together. That way the eye still sees them as one block and the structure of the sketch stays intact.
A space meant for paper or a title can also become a photo. Just make sure there's still room somewhere for the title and a few words.
Rotating, flipping and resizing
A sketch has no fixed top. Turn it a quarter and a portrait photo becomes a landscape one. That way you adapt the drawing to your photos instead of the other way round.
Flipping is handy when someone in your photo is looking towards the edge of the page. Flip the sketch so their gaze falls inwards. Flipping also works well for a double-page spread: use the sketch as it is on the left and mirrored on the right.
By rotating and flipping, you can use one sketch several times in the same album without anyone noticing. That's nice when you're making a whole book about one holiday or one year.
Many sketches are drawn for 30.5 × 30.5 cm (12 × 12 inches), but it's the proportions that matter, not the centimetres. If you work on A4 or smaller, stretch or squash the drawing. There are also sketches for cards, and they work just as well for a small page.
Swapping elements
You don't need to have everything in the sketch at home. A few swaps scrappers often use:
- A ribbon becomes a strip of patterned paper or a row of stitches with needle and thread.
- A large flower becomes a cluster of small things: buttons, brads (small split pins), mini labels and stickers.
- A flower that doesn't suit your subject becomes a star, a little car or another shape that does.
- Too many layers of paper? Make the last layer from washi tape, paint or stitching.
- A title box becomes a photo, or a photo box becomes a journaling card.
- No room for words? Turn one of the photo boxes into a journaling box, or write on a tag and tuck it behind a photo.
If the designer has added a colour scheme, you can copy it or leave it be. Sometimes a combination you'd never choose yourself is exactly the nudge you need.
How to build the page
- Choose a sketch that appeals to you and suits the number of photos you want to use.
- Decide whether you need to rotate or flip it for your photos.
- Lay down the base first: background, paper panels and photos, with straight edges. With sketches that have lots of blocks, this gives the calmest page.
- Then place the embellishments loosely on top and move them around until it feels right.
- Only when everything is in place do you start cutting and sticking.
A common mistake is sticking things down straight away. A photo that fitted nicely in your head often turns out too big on paper. Lay everything out loosely first and take a photo of it if needed, so you can go back if you start moving things.
Where to find sketches
Sketches are easy to find. Many designers and scrapbooking blogs post a new one every week or month, often as a challenge where you can share your version. These series exist in many languages, and because a sketch is made of shapes, the language doesn't matter.
Search Pinterest or Instagram for terms like scrapbook sketch, layout sketch or sketch challenge. Scrapbooking magazines and books about layouts (page designs) regularly include a few too. Don't just look at the drawing, but also at the pages others made with it. Only then do you see how many directions you can take it.
Making your own sketch
If you see a page you love, you can draw a sketch of it yourself. It's also a good exercise in understanding why a page works.
- Put a sheet of paper next to the page or over a printout. Squared paper helps you keep the proportions.
- Draw the largest shapes first: background paper, mats and photos as rectangles.
- Add the title as a bar and the journaling as a few lines.
- Draw embellishments as circles or crosses, only where there's really a cluster.
- Leave out colours, patterns and small details.
- Write down the photo sizes, for example 10 × 15 cm.
Notice where your eye goes first and how it then moves across the page. Do the embellishments form a triangle around the main photo, for example? Put a dot where that focal point is, so you'll know later what it was all about.
You can do this with your own pages too. A layout that turned out well becomes a sketch you can reuse later. Keep them together in a notebook or folder, and you'll always have a starting point ready. What is and isn't fair when you copy someone else's page, you can read in our article on scraplifting and CASE.
Questions about this topic
What is a scrapbook sketch?
A sketch is a simple drawing of a page with rectangles for photos, a bar for the title and a few stripes for strips of paper. It shows how the parts relate to each other, but the finish is up to you.
Do you have to follow a scrapbook sketch exactly?
No. You can copy it exactly, use it as a guide or take just one idea from it. You can also rotate it, flip it and resize it.
What if I have fewer photos than boxes in a sketch?
Give the remaining boxes a different job, such as a block of journaling, the place and date, a ticket you've kept or a panel of patterned paper. You can also merge two boxes into one large photo.
Where can I find scrapbook sketches?
Many designers and scrapbooking blogs post a new sketch every week or month, often as a challenge. Search for terms like scrapbook sketch or layout sketch, or look in scrapbooking magazines and books about layouts.