 · 7 min read
Making a wedding album: choosing, arranging and decorating photos
Hundreds of wedding photos and a box full of cards. Here's how to choose what goes in, divide up the day and make an album you'll keep coming back to.
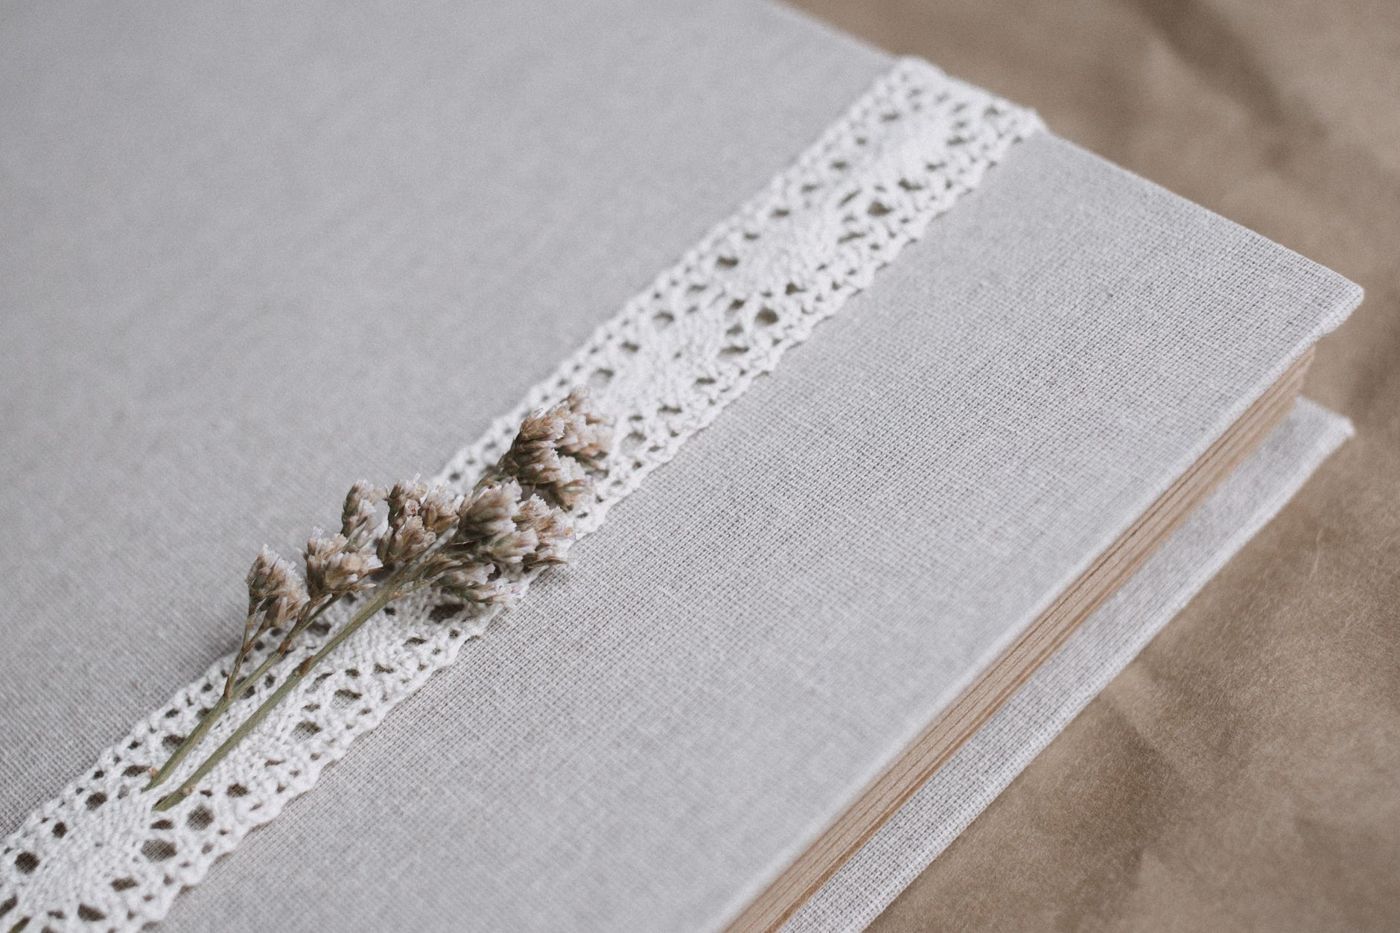
After a wedding you often have hundreds of photos, from the photographer, from guests and from your own phone. On top of that there's a little pile of paper: the invitation, the order of service, a menu, a place card. A wedding album of your own brings all of that together. It doesn't have to be perfect, as long as it's yours.
This article is about an album you make yourself, for you or as a gift for a newly married couple. Ideally, start not too long after the day itself. Little things, like who made that joke at the cake, slip away faster than you think.
Choosing the best wedding photos
You don't have to show everything. An album with twenty photos of the same kiss is less beautiful than one with the single kiss that really hits home. So be strict.
A handy approach is to make three piles.
- Big moments: the arrival, the "I do", the rings, the first kiss, cutting the cake, the first dance.
- Details: the dress, the suit, the bouquet, close-ups of the rings, the tables, the cake.
- Feeling: a hug, a tear, a look between two people, guests laughing.
For each moment, see which photo is best and leave out the near-duplicates. Torn between two? Choose the one with the loveliest expression, not the one with the sharpest background.
Don't forget the guests' photos. They often include moments the photographer missed, like getting ready at Grandma's house or the party at midnight. For large, full-page photos you do want a sharp file, or the print will look grainy. A lower-quality photo can still work perfectly well small, in a row or on a card.
A layout: getting ready, ceremony, party
Follow the day. Then the album tells its own story, and you don't need to explain much.
- An opening page with your names, the date and the place. A lovely portrait or the invitation fits well here.
- Getting ready: hair and make-up, the buttons on the dress, the tie being straightened, the nerves beforehand.
- The ceremony: the arrival, the "I do", the rings, the kiss, the moment you walk out together.
- The photo shoot and the family photos, if you have them.
- The party: the toast, the dinner, the speeches, the cake, the first dance and the guests.
- A closing page: the last photo of the evening, a card from guests or a few lines of your own.
If you met a long time ago, you can add a few pages before all this about your story: how you met, the proposal, your first trip together. The honeymoon can go at the back, or in a separate mini album.
Give the big stories a page of their own and keep the rest more compact. A pocket page protector, where you slip several small photos into separate pockets, is ideal for the many photos from guests or of the dinner. That way you don't have to give every photo a whole page.
Colours and mats that suit wedding photos
A wedding album looks calmer if you stick to one colour palette from front to back. Take the colours of the day itself: the flowers, the bridesmaids' dresses, the table decorations. White, cream, pastels, gold or silver often work well, with one or two accent colours.
A mat is a piece of card or paper you stick underneath a photo, so it gets a border around it. A few tips:
- On one spread, two pages side by side, use the same kind of mat throughout. It keeps things calm.
- For the mat, choose a plain colour or the quieter side of a patterned paper. The photo should stand out, not the paper behind it.
- A double mat looks elegant: first a narrow cream border, then a wider one in a deeper colour.
- If you have old black-and-white photos or photos of parents and grandparents, brown, grey and dark green go well with those tones.
Lace, pearls, satin ribbon and vellum, the translucent paper, all suit a wedding. Use them sparingly. A small cluster of embellishments in one corner of the page looks richer than a little bit everywhere. Repetition helps too: a flower motif or piece of ribbon that comes back throughout the album ties it all together.
Adding the invitation, menu and cards
It's the paper keepsakes from the day that make an album personal. Think of the invitation, the order of service, the menu, a place card, the label from a wedding favour, a card with wishes from guests.
Here's how to add them:
- Slip the invitation into a clear sleeve or envelope, so you can take it out and unfold it. Gluing down the whole back hides whatever is printed on it.
- Make a flap: stick the menu down along one side only, so you can lift it and hide a photo or some writing underneath.
- If you don't want to damage a card, attach it only at the edges, with photo corners.
- A small pouch with a piece of ribbon, some confetti or a dried petal from the bouquet looks lovely. Don't put it right against a photo, because hard or bulky things can leave scratches when you close the album.
- A scrap of fabric from the dress or the tie works too, if there's any left over.
Keep the paper you want to last, like photos and the invitation, with acid-free materials where you can. Put dried flowers and confetti in a separate pouch, so nothing else is affected.
Words and quotes for wedding pages
The most important thing to write down is what you'd otherwise forget. Who gave the best speech? What went wrong, and what made you laugh? What did you think when you saw the other person arrive? Those are the sentences that become the most precious later on.
A few ideas:
- Names and date on the opening page, with the places of the ceremony and the party.
- A few lines with each big photo: who's in it and what happened.
- The vows you made, or part of them.
- The lyrics of your first dance song.
- Cards on which guests wrote a wish.
Quotes and short phrases can finish a page off nicely. Think of the well-known English sayings you often see on stickers and stamps, or a line from your favourite song or a poem that was read out. Don't use too many. One quote per page is enough; the story is yours.
Unsure about your handwriting? Print the words on a card and stick that in. Still, always write something by hand, even if it's only the date. In twenty years, handwriting will feel more personal than any font.
Mistakes to avoid
- Wanting to include everything. Then it becomes a pile of photos instead of a story. Choose the best for each moment.
- Too many styles mixed together. Three different colour schemes, rustic and glam embellishments on one spread: it looks busy. Stick to one style.
- Important photos too small. The "I do" or the first kiss deserves space, and can happily fill a whole page.
- No white space. Leave margins and quiet areas, so the photos can breathe.
- Waiting too long. The sooner you start, the more details you'll still remember.
- Spelling mistakes in names and dates. Check everything before you stick it down, or ask someone else to read it through.
- Glue that makes paper wrinkle or lets go after a few years. Choose a glue made for photos and paper.
An album as a gift
If you're making the album for another couple, you can leave a few pages blank. Put in some photos you took yourself, and leave room for their own favourites from the photographer. A small pocket with a personal note or the guests' wishes finishes it off.
A 30 x 30 cm (12 x 12 inch) album gives plenty of room for large photos and paper. A smaller size, such as 20 x 20 cm, fills up faster and fits more easily on a shelf. A nice box to go with it keeps it dust-free, especially if there are loose bits inside.
Questions about this topic
How do I choose photos for a wedding album?
Choose the best photo for each moment and leave out the near-duplicates. A handy approach is to make three piles: big moments, details and feeling.
How should I lay out a wedding album?
Follow the day: an opening page, getting ready, the ceremony, the photo shoot, the party and a closing page. That way the album tells its own story.
How do I put a wedding invitation and menu in an album?
Slip them into a clear sleeve or envelope, or attach them only at the edges with photo corners. A flap under the menu gives room for a photo or some writing.
What size is best for a wedding album?
A 30 x 30 cm album gives plenty of room for large photos and paper. A smaller size, such as 20 x 20 cm, fills up faster and fits more easily on a shelf.