 · 9 min read
How to make a holiday scrapbook from your travel photos
Eight hundred photos on your phone and a bag full of tickets. Here's how to turn them into an album that stays clear and that you'll actually open again.
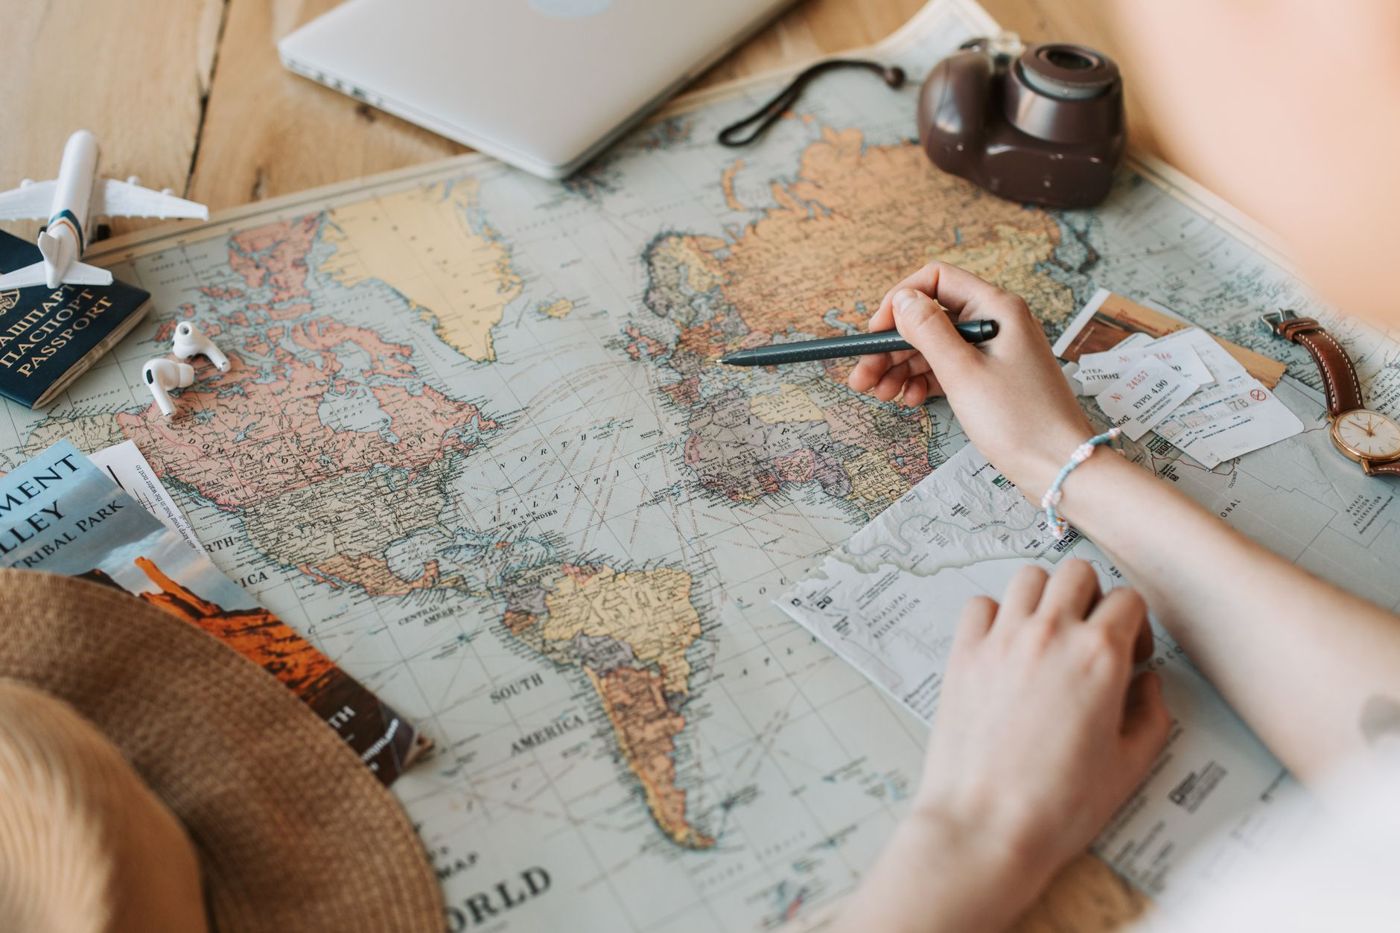
You've been home a week, the suitcase is unpacked and there are hundreds of photos on your phone. In a drawer there's a little pile of tickets, a map with a coffee stain and a sugar sachet from that one café. You can turn all that into an album you'll still love opening in ten years' time. The secret isn't more material, it's choosing.
Start while it's still fresh
The longer you wait, the more details slip away. After a few months you no longer remember what that village was called or why you laughed so much at the station. So soon after you get home, sit down for a while with your photos and a notebook.
Go through the trip day by day and jot down a few keywords for each day: place names, what you did, the weather, what you ate, something someone said. It takes an evening and it's worth its weight in gold when you start on the pages later. The album itself doesn't have to be finished straight away. Lots of scrapbookers only collect material and rough notes while travelling, then make the book at home in their own time.
Lay everything you kept out on the table too: tickets, receipts, leaflets, business cards, wristbands, packaging. Sort it straight away into little piles by day or by place. Then you know what you're working with.
How to choose from hundreds of photos
The most important rule: twenty strong photos make a nicer album than a hundred average ones. You don't have to keep everything that turned out well. The rest simply stays digital.
Choose in rounds. First get rid of the duplicates, the blurry ones and the near-identical ones. Then pick, for each day or place, the photos that really tell you something. With every photo, ask yourself whether it brings back a memory the others don't.
When choosing, aim for a mix:
- a few wide shots of the place or the landscape
- photos of you together, because those are the ones you'll look at longest later on
- details: a door, a street sign, the market, your plate of food, the tiles in the hotel
- one or two photos that aren't perfect but capture exactly how it felt
Those detail shots are especially handy when you're laying out your pages. They fill small gaps and give a page atmosphere without you needing extra decoration. If you didn't take any, keep it in mind for your next trip. Photographing an object from a few angles gives you more choice later.
By day, by place or by theme
Before you start sticking, decide how you'll organise the album. There are three approaches that work well.
By day is the simplest and suits a touring holiday or a short city break. You follow the trip as it happened, from leaving to coming home. The downside: not every day gives you the same amount. A travel day in the car doesn't need its own spread, so feel free to combine it with the next day.
By place works well if you've been to several places. Give each city or region one spread, meaning two pages side by side. If you stayed somewhere longer, that place can have two spreads. You'll soon notice that you have to cut things, and that's a good thing. A nice trick is to give each place its own main colour, for example sandy tones for an old town and blue for the coast.
By theme suits a holiday in one place, such as a cottage by the sea. Then you make chapters such as landscape, food, days out and the cottage itself. Another fun idea: an A to Z album, with a memory for each letter.
You can combine these too. A trip told day by day, with one page about all the food in between, reads nicely.
Lots of photos on a page without it becoming a photo book
A photo book puts photos neatly side by side. A scrapbook makes choices: what matters most, and what supports it? You can see that difference straight away.
Choose one to three main photos per page. These are usually the photos with people in them or the moment that meant the most. Give them a mat, a border of card or paper slightly larger than the photo, for example a centimetre all round. That makes them stand out. The rest of the photos can go smaller and unmatted in a block together, butted up against each other or with a narrow gap. A grid of small landscape and detail shots reads as one whole and doesn't feel crowded.
Vary the sizes. One large 15 x 20 cm photo next to a row of 10 x 10 or 7.5 x 10 cm photos gives calm and rhythm. Square photos look restful; a mix of shapes looks a little more modern.
And then there are the photos that don't quite fit on the page but that you still want to keep. There are tricks for those that make the album hold more than you can see:
- a small envelope or pocket on the page, with a little stack of extra photos inside
- a flap that folds open, with a photo or a bit of text underneath
- a fold-out page that's wider or taller than the album
- a waterfall of small cards that you pull down
That way the page itself stays clear and the extra photos still find a home.
Using tickets, maps and souvenirs
Paper you picked up along the way is what makes a holiday album truly yours. Think of entry tickets, train tickets, boarding passes, till receipts, sugar sachets, beer mats, the bag from the bakery, a postcard or a leaflet in a language you can't read.
A few ways to use them:
- A map as a background. Stick a piece of map underneath your photos, or mark the route you drove or flew with stickers or a drawn line.
- Cut out just the nice bit. From packaging or a leaflet you often only need the logo or the pattern. That saves a lot of bulk.
- A scrap of local newspaper adds instant atmosphere. Make a copy of it, because real newsprint yellows and can damage photos.
- Put tickets you want to be able to turn over in a pocket made of vellum, a semi-transparent paper also known as tracing paper.
- Keep bulky things in an envelope or pocket so the book still closes.
- Dried leaves or little flowers that you pressed in a book while travelling can go in too. Put them in a small sleeve, because plant material can stain photos lying against it.
Be selective. Not every receipt needs to go in. Pick the pieces that look good or tell a story. Paper from your travels is often acidic, so mount photos on a mat of acid-free card or work with copies. Till receipts printed on thermal paper often fade after a while, so make a copy or take a photo of them if they matter. How to store this kind of paper safely is covered in a separate article on tickets and receipts in your album.
If a map is already very colourful, lay a sheet of vellum over it. The colours soften and you can write on it.
A holiday page that doesn't overwhelm
A trip brings a lot of colour and a lot of stuff. That's exactly why a holiday page gets too full so quickly. Three things help.
Limit your colours. Choose three or four main colours that suit the destination, for example taken from your photos themselves. If a day is a jumble of tickets in every colour, pick one colour that ties everything together, such as pink paper as a base.
Leave some space empty. A calm page with a bit of breathing room around the photos looks stronger than a packed collage. You don't have to fill every gap.
Decorate sparingly and with meaning. Choose embellishments, the decorations such as stickers, stamps and labels, that match what's in the photo: a little fork next to a photo of food, a little boat by the harbour, a little bird by the park. Take the colours from the photo. Often one well-placed sticker is enough. An album with lots of text and photos can happily have less decoration. A sticker or ticket that hangs over the edge of the page is fine too. It gives more breathing room than cramming everything neatly into the middle.
Repeat what works on the first page. The same tape, the same little date stamp and the same lettering for the titles turn separate pages into one book. A fixed spot for the place name and date helps too.
Working on one album with your travel companions
Making an album with the people you travelled with is a lovely way to make the holiday last a little longer. It works best if you agree on a few things beforehand.
First set the basics together: the album size, the colour palette, how you'll organise it and the lettering for the titles. Within that, everyone can make their own pages. Divide up the days or the places, for example. Everyone has different photos and a different way of seeing things, and it's lovely to see that come through.
A few ideas for doing it together:
- A spread with your photos on the left and your travel companion's on the right, from the same day. That way you see two sides of one trip.
- Ask everyone to write a card about their favourite moment and put them in an envelope in the album.
- A page about what was happening back home in the meantime, with the date and the place.
- Take turns with the handwriting in the short bits of text. It makes the album feel lively.
If you live far apart, you can collect the photos digitally in a shared folder first and then have one person make the book. Or everyone makes a few pages at home and you put them together in a post-bound or ring-bound album, which makes it easy to add pages.
Start small
You don't have to make a thick book straight away. Start with the one day or the one place that moved you most. Once that spread is done, you know which colours, lettering and layout work, and the next pages go much faster.
Questions about this topic
How do I make a holiday album from my travel photos?
Start soon after you get home by making notes about places, the weather and what happened. Then choose a handful of strong photos for each day or place and build your pages around them.
How many photos should go on a holiday scrapbook page?
Choose one to three main photos per page and put the rest in a smaller block together. Twenty strong photos make a nicer album than a hundred average ones.
How do I add tickets and maps to a scrapbook?
Use a map as a background under your photos, cut out just the nice bit and put bulky things in an envelope or pocket. Paper from your travels is often acidic, so mount photos on a mat or work with copies.
How do I make one holiday album together with my travel companions?
Agree on the size, colours and lettering beforehand and let everyone make their own pages within that. If you live far apart, collect the photos in a shared folder.